Content Creation Workflow: Steps, Roles, And Templates

Most teams don't have a content problem, they have a process problem. Ideas get lost in Slack threads, drafts sit in review limbo for weeks, and publishing happens whenever someone remembers. Without a defined content creation workflow, even talented teams produce less than they should, and what they do produce often misses the mark.
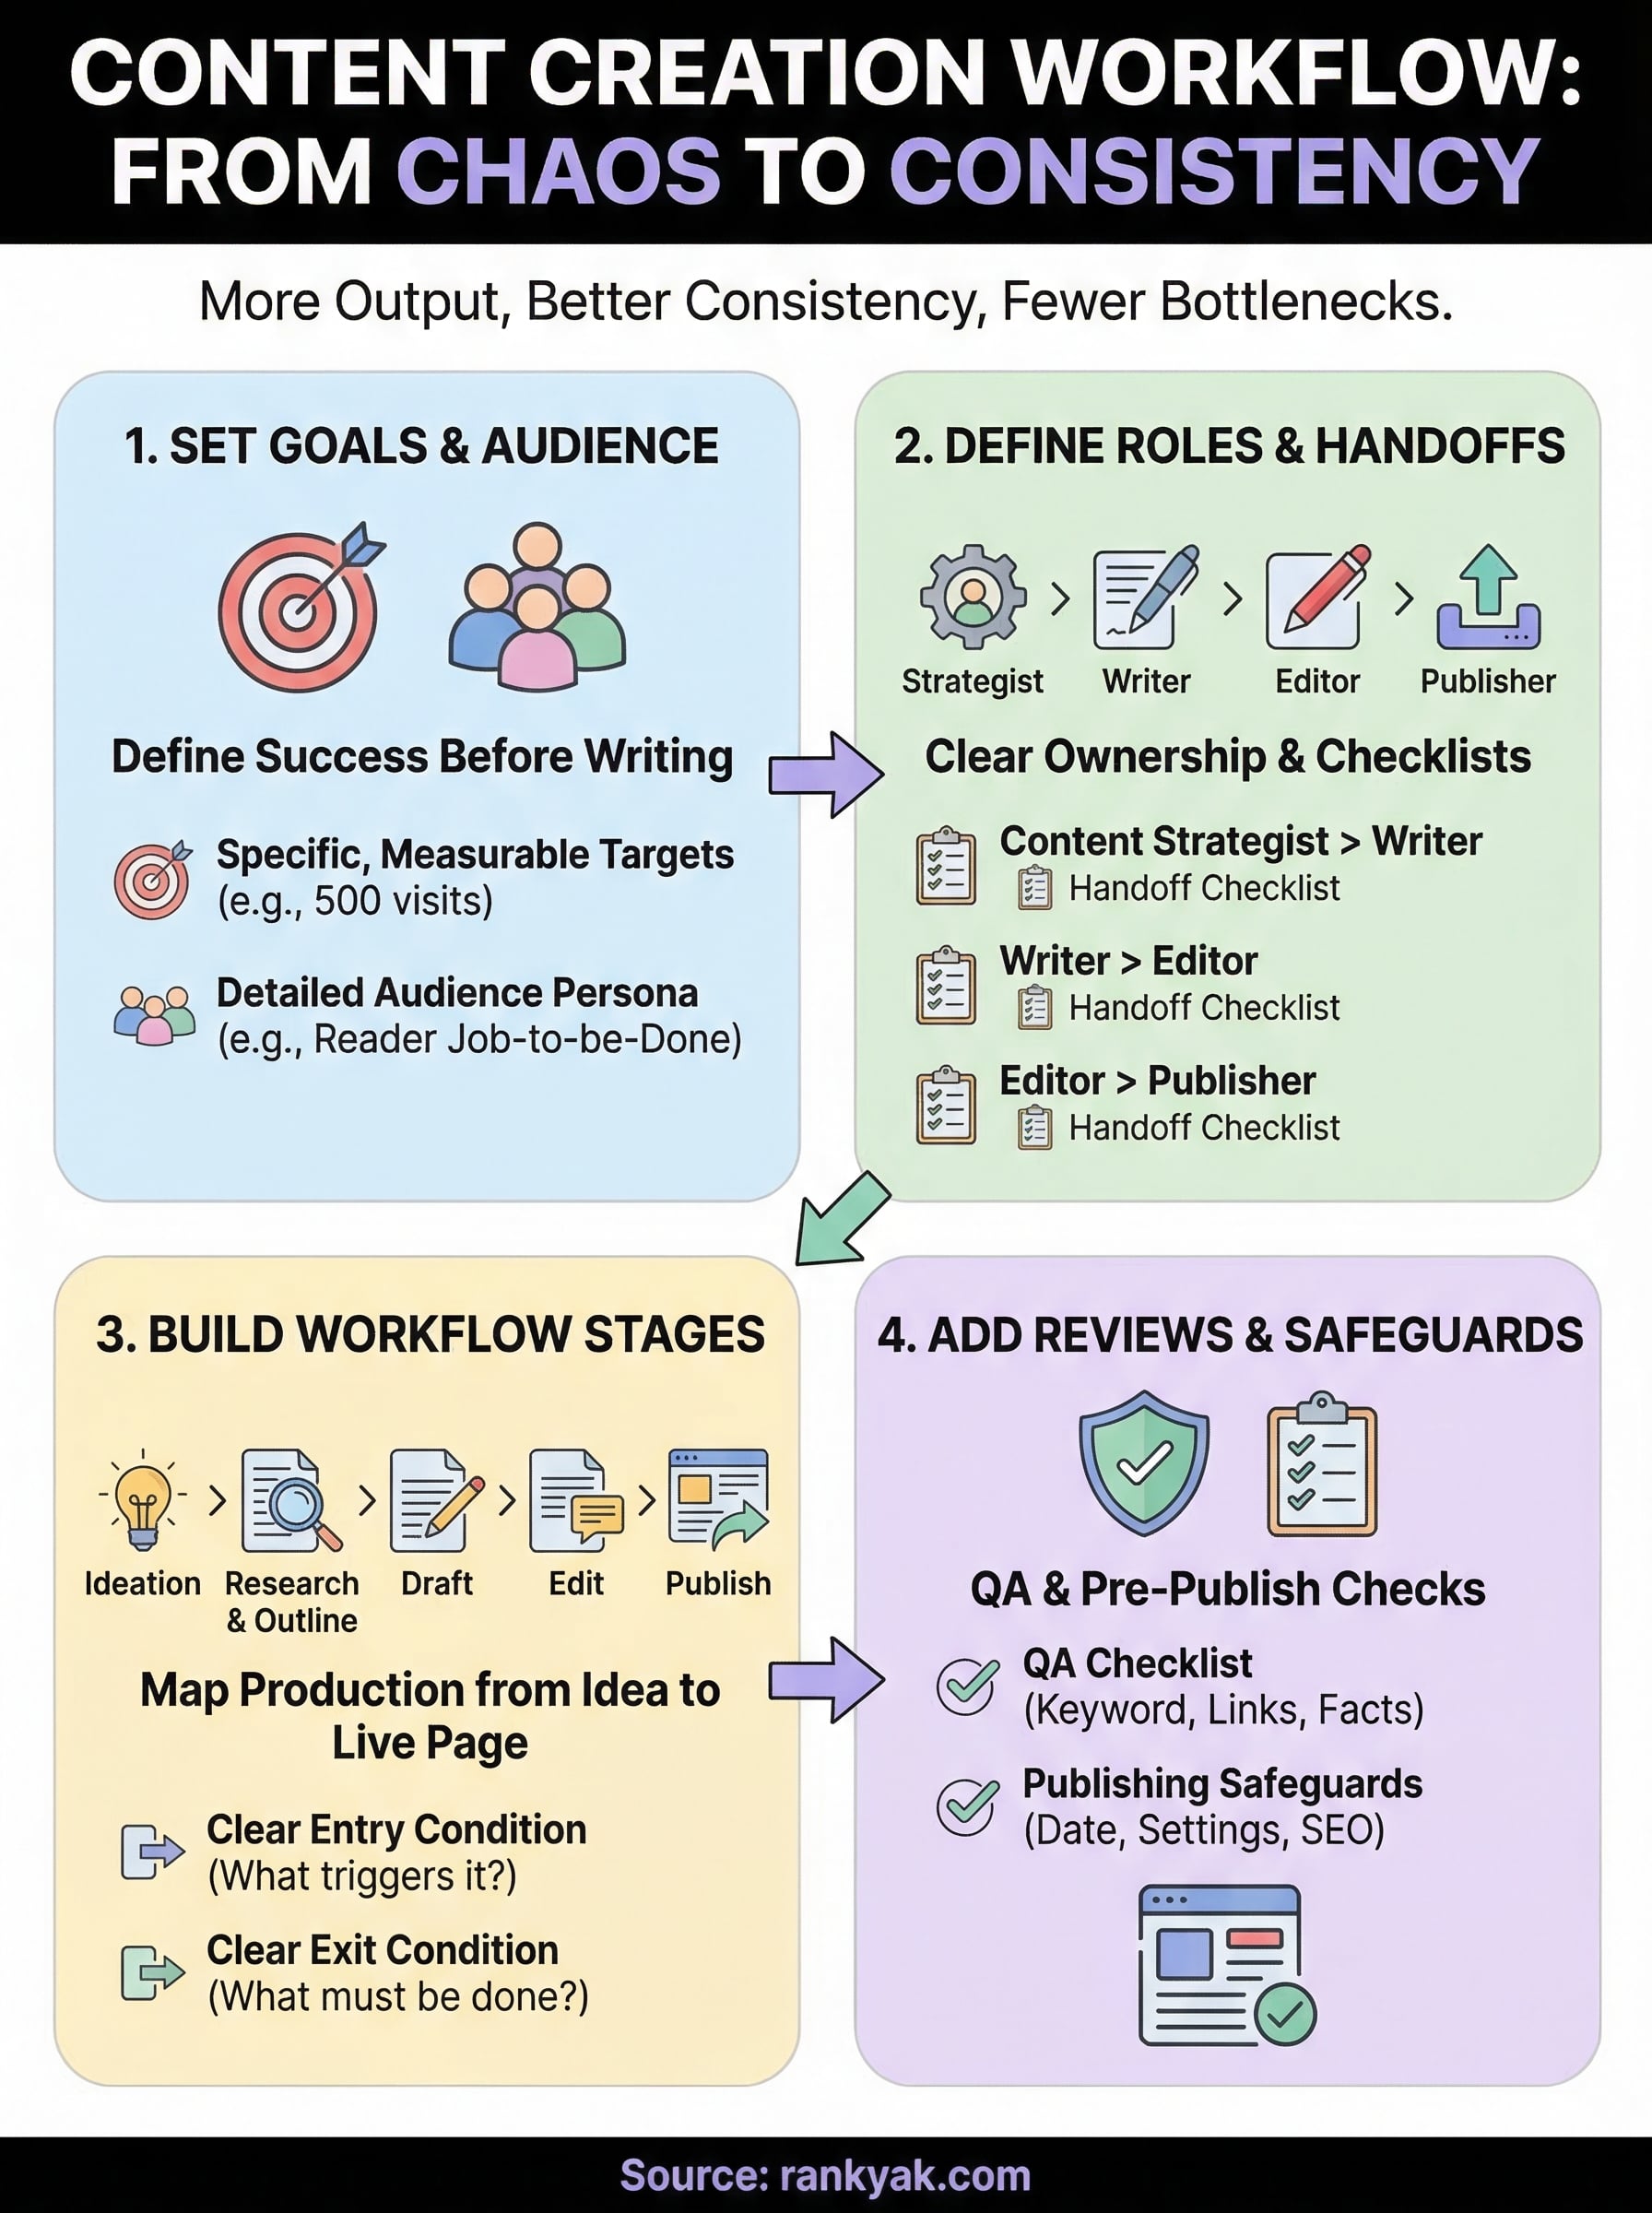
A structured workflow fixes that. It gives every piece of content a clear path from idea to published page, with defined roles, deadlines, and quality checkpoints along the way. The result is more output, better consistency, and fewer bottlenecks, whether you're a solo founder or managing a full content team.
This guide breaks down exactly how to build a content creation workflow that actually works. You'll get the specific steps, role assignments, and ready-to-use templates you need to go from scattered to systematic. We'll also cover where automation fits in, tools like RankYak can handle keyword research, article creation, and publishing on autopilot, which removes several manual steps from your workflow entirely. But whether you automate or not, getting the process right is what matters first.
What a content creation workflow is and why it matters
A content creation workflow is a repeatable, step-by-step process that moves a piece of content from raw idea to published page. It maps out every stage of production, including research, drafting, editing, approval, and publishing, along with who owns each step and what "done" looks like before anything moves forward. Think of it less like a rigid flowchart and more like a shared playbook your team follows every time content needs to get made, so nothing falls through the cracks and no one has to guess what happens next.
The core components of a workflow
At minimum, a functional workflow covers five things: where ideas come from, how content gets researched and outlined, who writes and edits it, who approves it, and how it gets published and tracked. Without all five components in place, you'll find gaps that slow production down or let quality slip. Each component connects to the next, so a breakdown in one stage (say, no clear approval owner) stalls everything downstream and creates the kind of bottlenecks that kill publishing momentum.

Here's what those five components typically look like in practice:
| Component | What it covers |
|---|---|
| Ideation | Keyword research, content briefs, topic selection |
| Research & Outline | Source gathering, structure, search intent alignment |
| Writing & Editing | Draft creation, copy edits, fact-checking |
| Review & Approval | Stakeholder sign-off, QA checks |
| Publishing & Distribution | CMS upload, SEO settings, internal linking |
What breaks down without a defined process
When you skip the workflow, the first thing that suffers is consistency. Content goes out when someone has bandwidth, not on a schedule. Topics get chosen based on gut feel rather than keyword data or audience need, which means you end up with a library of posts that covers random ground instead of building topical authority in a focused area. Sporadic publishing also signals to search engines that your site is not actively maintained, which works against your rankings over time.
A disorganized production process doesn't just slow you down. It actively undermines the quality and coherence that both readers and search engines reward.
The second problem is accountability. Without clear role assignments, two people might both assume someone else is handling edits, and a draft full of errors goes live. Or a piece sits in a shared folder for weeks because nobody knew it was ready for review. Defined handoffs and named owners are what turn a creative process into a reliable production system.
Why this matters for SEO specifically
Content quality and publishing frequency both have a direct impact on how Google evaluates your site. According to Google's helpful content guidelines, content should demonstrate expertise, answer real questions, and provide genuine value to readers. A workflow helps you build in the checks that make that possible, things like fact verification, search intent alignment, and structural review, before anything goes live. Without a process, those checks rarely happen consistently, and your content reflects it. A workflow is not just an operational tool; it is also your quality assurance system for SEO.
Step 1. Set your goals, audience, and success metrics
Before you build any stage of your content creation workflow, you need to know what you're producing and for whom. Skipping this step means your team will write content that is technically polished but strategically aimless. Every workflow decision downstream, from format to word count to distribution channel, depends on having clear goals and a defined audience locked in at the start.
Define what success looks like before you write anything
Most teams measure content performance after the fact, when it's too late to course-correct. Instead, set specific, measurable targets for each piece before it enters the workflow. That might be a traffic goal (500 organic visits in 90 days), a conversion metric (15 email signups), or a ranking target (top 5 for a target keyword). When your writer and editor both know the goal upfront, they make better decisions about structure, calls-to-action, and depth.
Setting success metrics before writing is what separates content with purpose from content that just fills a calendar.
Use a simple goal-setting template at the brief stage:
| Field | Example |
|---|---|
| Primary goal | Rank in top 5 for target keyword |
| Secondary goal | Drive free trial signups |
| Target keyword | Content creation workflow |
| Traffic goal (90 days) | 800 organic visits |
| Conversion metric | 10 trial signups per month |
Know your audience at the brief level
Your audience definition needs to be specific enough to guide writing decisions, not just a vague persona label. For each piece of content, document the reader's situation: what they already know, what problem they're trying to solve, and what they need to believe before they take action. A post written for a solo founder managing one site reads very differently than one written for an agency managing 30 client accounts, even if the topic is the same.
Include these four audience fields in every content brief:
- Reader job-to-be-done: What task or problem brought them to this piece?
- Prior knowledge level: Are they a beginner, intermediate, or advanced reader?
- Primary objection: What might stop them from acting on your recommendation?
- Desired outcome: What should they be able to do after reading?
Capturing these details at the start saves hours of revisions later and keeps every writer on your team aligned to the same reader standard from the first draft.
Step 2. Define roles, responsibilities, and handoffs
A content creation workflow only works when every person on your team knows exactly what they own and when to pass work to the next person. Without documented roles, you'll get duplicated effort, missed steps, and the kind of vague accountability where everyone assumed someone else handled it. Before you write a single brief, lock in who does what.
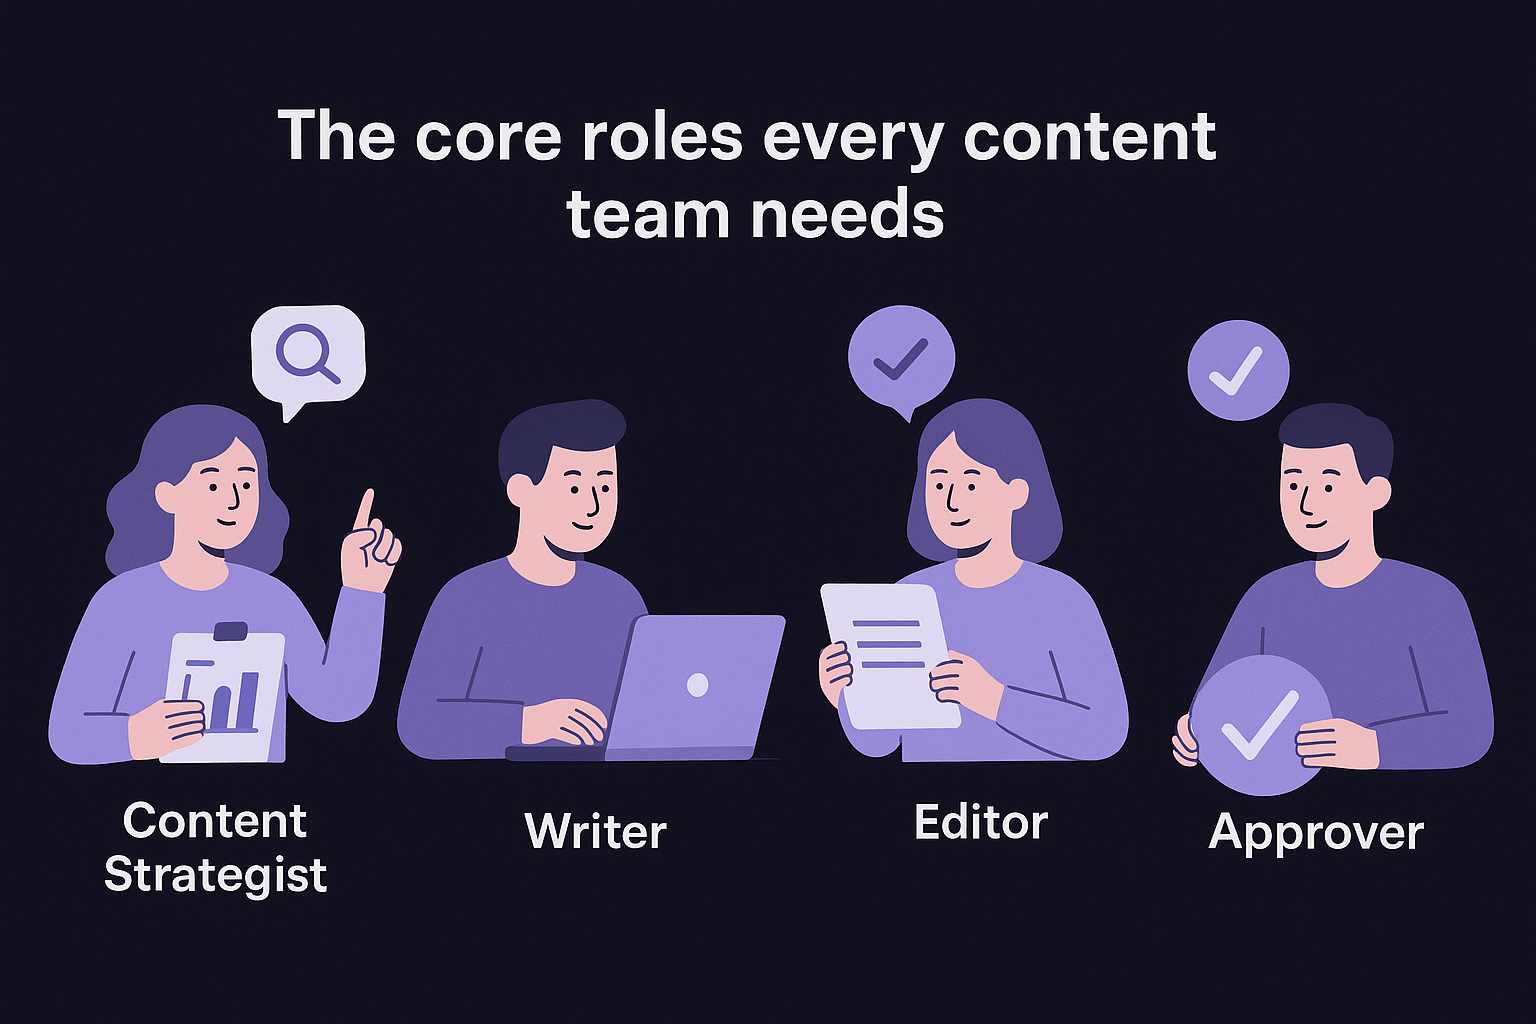
The core roles every content team needs
Your team doesn't need to be large, but it does need clear role separation. A single person can wear multiple hats, but each hat needs a distinct definition. When roles blur together, quality checks get skipped because the writer editing their own work rarely catches what a fresh set of eyes would. Assign each role to a named person, not a job title, so there's no ambiguity when a deadline approaches.
The person who writes the content should almost never be the only person who reviews it.
Here are the core roles to define for any content production team:
| Role | Primary Responsibility | Hands Off To |
|---|---|---|
| Content Strategist | Keyword research, brief creation, topic prioritization | Writer |
| Writer | Draft creation based on brief | Editor |
| Editor | Structural and copy edits, fact-checking | Approver |
| Approver | Final sign-off on accuracy and brand fit | Publisher |
| Publisher | CMS upload, SEO settings, internal links, scheduling | Strategist (for tracking) |
How to document handoffs so nothing gets dropped
A handoff is not just passing a file. It's confirming that specific criteria are met before work moves to the next stage. Without a handoff checklist, you end up with drafts that move forward before they're ready, which pushes problems downstream where they cost more time to fix. Build a short checklist for each transition point in your workflow.
Use this handoff template between the writer and editor:
Writer to Editor Handoff Checklist:
- Keyword appears in the title, first paragraph, and at least two subheadings
- All factual claims include a source link or notation
- Word count meets the target set in the brief
- No placeholder text or unresolved comments remain in the draft
- Meta description draft is included at the bottom of the document
Each item on that list requires a yes or no answer, which removes subjective judgment from the handoff and keeps your content moving on schedule.
Step 3. Build the workflow stages from idea to publish
With goals set and roles assigned, you can now map the actual production stages that move content from raw idea to live page. Most teams skip this step and assume everyone understands the process intuitively, but vague stage definitions are exactly where delays and quality problems originate. Each stage in your content creation workflow needs a clear starting condition and an exit condition, so your team knows when work in one phase is finished and the next can begin.
Map each stage with a clear entry and exit condition
Every stage should answer two questions: what triggers it, and what must be true before it ends. Entry conditions prevent a writer from starting a draft without a complete brief, and exit conditions prevent an editor from receiving a draft that isn't ready for review. Without both in place, stages blur into each other and your production timeline becomes unpredictable. Build each stage definition into your project management tool or a shared doc so the whole team references the same version.
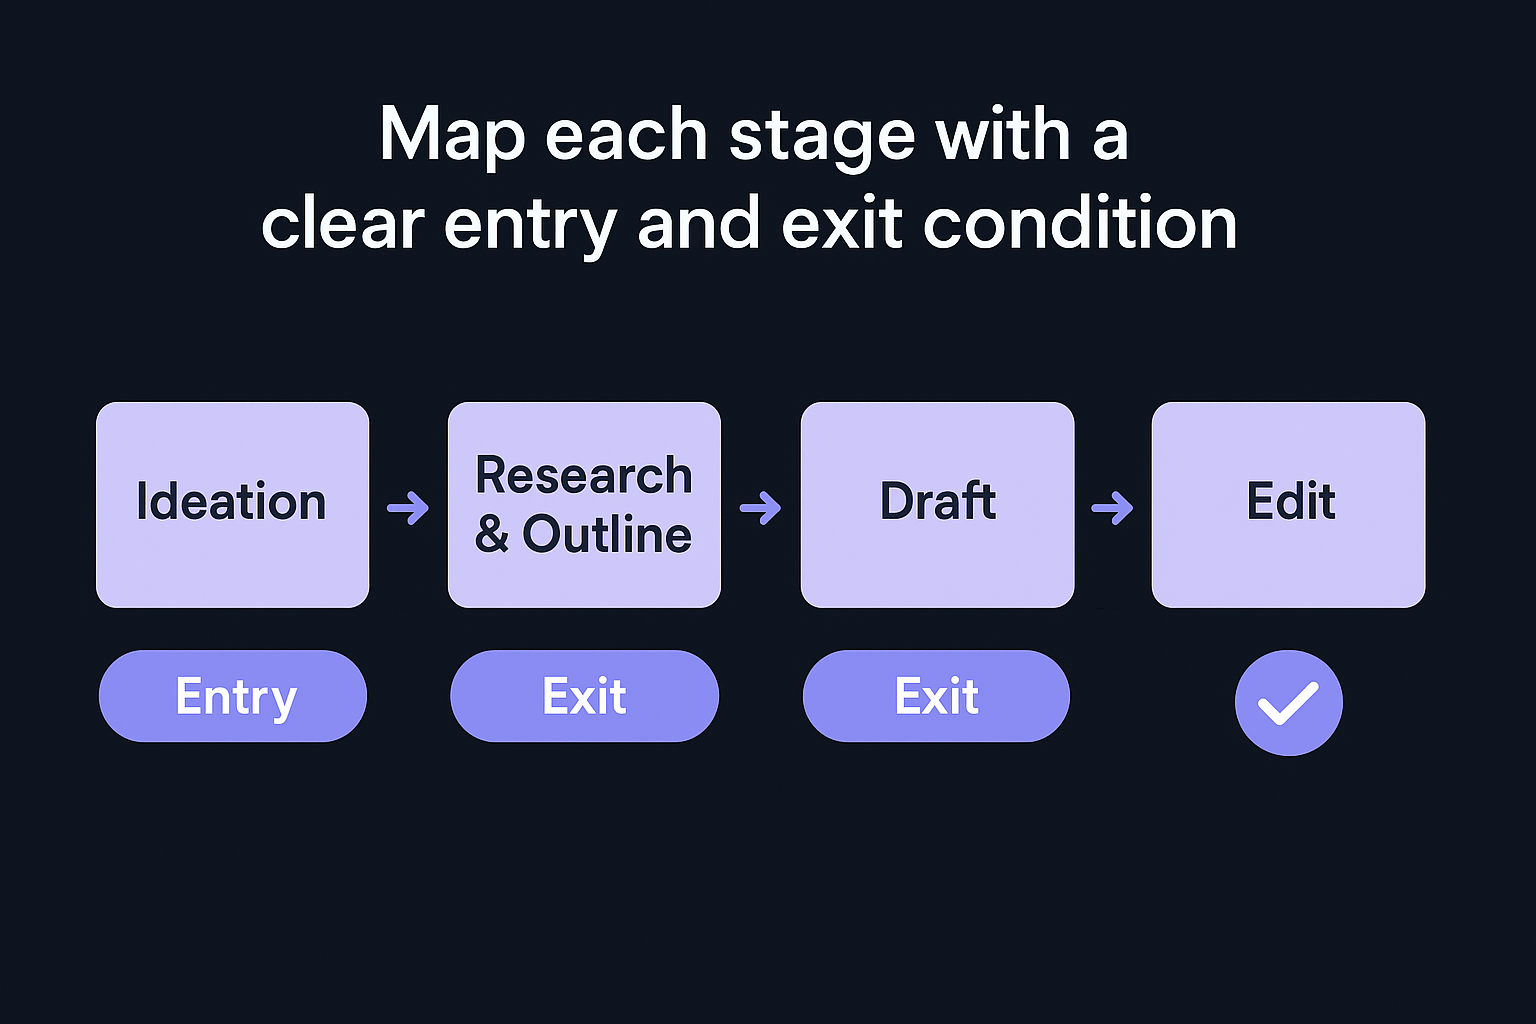
Stages without exit conditions are the most common reason content gets stuck in review for weeks without anyone knowing why.
Use this table to define each stage:
| Stage | Owner | Entry Condition | Exit Condition | Tool |
|---|---|---|---|---|
| Ideation | Strategist | Keyword data or content gap identified | Brief approved | Brief doc |
| Research & Outline | Writer | Approved brief received | Outline reviewed by editor | Google Docs |
| Draft | Writer | Approved outline confirmed | Draft meets word count and brief specs | Google Docs |
| Edit | Editor | Complete draft, no placeholders | All edits resolved, facts verified | Google Docs |
| Publish | Publisher | Editor sign-off confirmed | Post live with SEO settings applied | CMS |
What to do when a stage gets blocked
Blockages happen when one person waits on another without a clear escalation path. Build a simple rule into your workflow: if a handoff isn't completed within 24 hours of the agreed deadline, the waiting person flags it in your project management tool rather than in email or chat. This keeps delays visible to the whole team and prevents a single bottleneck from quietly collapsing your publishing schedule.
Treat every blockage as a signal that your exit condition for that stage needs refinement. Each time a piece of content gets stuck, document where it stopped and why, then update the relevant stage definition so the same gap doesn't slow the next piece down.
Step 4. Add reviews, QA, and publishing safeguards
Most content errors that damage your brand or search performance don't come from bad writing. They come from skipped review steps and no publishing checklist. Adding a formal QA layer to your content creation workflow is what separates teams that catch problems before they go live from teams that find them after readers do. This step is about building those safeguards into your process so they run automatically, not just when someone remembers to check.
Build a QA checklist before anything goes live
Your editor sign-off is not the same as a QA check. The editor improves the content; QA verifies that the final version matches the brief, meets technical requirements, and contains no errors that slipped through the editing pass. Assign QA to a separate review step, even if the same person handles both. Running a dedicated checklist forces a fresh pass over the finished draft rather than assuming the editing stage caught everything.
A QA checklist turns your final review from a gut-feel scan into a verifiable process your whole team can follow consistently.
Use this checklist for every piece before it moves to publishing:
Content QA Checklist:
- Target keyword appears in the title, meta description, first 100 words, and at least two H2 or H3 subheadings
- All statistics and factual claims link to a primary source
- No broken links in the draft
- Images have descriptive alt text
- Word count matches the target set in the original brief
- Internal links to at least two relevant pages on the same site are included
- The content answers the search intent described in the brief
- CTA placement matches the conversion goal defined in step one
Set publishing safeguards that prevent common mistakes
Even after QA clears a piece, publishing errors can undo hours of careful work. A wrong publish date, a missing canonical tag, or an accidentally set "no-index" status can suppress a post from search results with no visible warning. Build a short pre-publish checklist into your CMS step that your publisher runs before hitting live.
Your pre-publish checklist should confirm: the correct publish date and time are set, the post is assigned to the right category and tagged accurately, the featured image is uploaded with alt text, the slug matches the target keyword, and the canonical URL points to the correct page. Running this check takes under three minutes and protects every piece of content your team worked to produce.
Templates and examples you can copy and customize
The fastest way to build a working content creation workflow is to start with a proven structure and adapt it to your team, not build everything from scratch. The two templates below give you a ready-to-use content brief and a weekly publishing tracker you can drop into Google Docs or any project management tool today. Adjust the fields to fit your team's size, publishing cadence, and CMS.
Content brief template
Every piece of content should start here. This template captures all the information your writer needs before drafting a single word, which eliminates the most common source of revision loops: incomplete direction at the start.
A complete brief is the single highest-leverage document in your entire content production process.
Copy and fill in the following fields for each new piece:
| Field | Your Input |
|---|---|
| Working title | |
| Target keyword | |
| Search intent | Informational / Navigational / Transactional |
| Target audience | Who is reading this and what do they already know? |
| Word count target | |
| Primary goal | Rank / Convert / Build awareness |
| Success metric | e.g., 500 organic visits in 90 days |
| Key points to cover | List 3-5 required topics or questions |
| Internal links to include | List 2+ existing pages to link to |
| Sources to reference | List approved sources only |
| CTA | What action should the reader take at the end? |
| Deadline | |
| Assigned writer |
Weekly publishing tracker
Once your brief template is in place, you need a simple system to track every piece as it moves through your workflow stages. This tracker gives your whole team visibility into what is in progress, what is blocked, and what is ready to go live. Paste it into a shared spreadsheet and update it during your weekly content review.
| Title | Stage | Owner | Due Date | Status | Notes |
|---|---|---|---|---|---|
| Article 1 | Draft | Writer name | 2026-03-17 | In progress | |
| Article 2 | Edit | Editor name | 2026-03-18 | Waiting on draft | Brief approved |
| Article 3 | QA | QA reviewer | 2026-03-19 | Ready for review | |
| Article 4 | Publish | Publisher name | 2026-03-20 | Scheduled | Live at 9 AM |
Keep the tracker updated in real time, not once a week. A stale tracker gives everyone a false picture of where work stands and defeats the purpose of having a defined process.
Bring it all together
A strong content creation workflow is not a one-time project you finish and file away. It is a living system you refine each time a piece of content gets stuck, misses its goal, or moves through production faster than expected. Start with the brief template and weekly tracker from the previous section, then add the QA checklist and handoff criteria as your team gets comfortable with the structure.
Every component in this guide connects to the next. Clear goals drive better briefs, better briefs produce stronger drafts, and defined handoffs keep quality from slipping between stages. Once your manual process runs smoothly, you can layer in automation to handle the repetitive steps.
If you want to cut keyword research, article creation, and publishing from your to-do list entirely, try RankYak free for 3 days and see how much of your workflow it can run on autopilot.

Get Google and ChatGPT traffic on autopilot.
Start today and generate your first article within 15 minutes.

SEO revenue calculator
How much revenue is your website leaving on the table?
Take a quick quiz and see exactly how much organic revenue you're missing out on, along with personalized tips to fix it.
-
4 questions, under 1 minute
-
See traffic and revenue potential
-
No email required
Free · takes 1 minute · no signup needed
Question 1 of 4
Question 2 of 4
Question 3 of 4
Question 4 of 4
Your SEO growth potential
Extra visitors / month
after 6-12 months of consistent publishing
Revenue potential / year
at your niche's avg. conversion rate
Articles needed (12 mo)
to reach this traffic level
ROI with RankYak
at $99/mo ($1,188/year)
To hit that number, you'd need to:
- Build a topical authority strategy for your niche
- Research keywords & map out a full topical cluster
- Write, edit & publish an article every single day
- Build backlinks to the articles you publish
RankYak handles all of this automatically, every day.
* Estimates based on industry averages. Results vary by niche, competition, and domain authority. Most SEO results become visible after 3-6 months of consistent publishing.