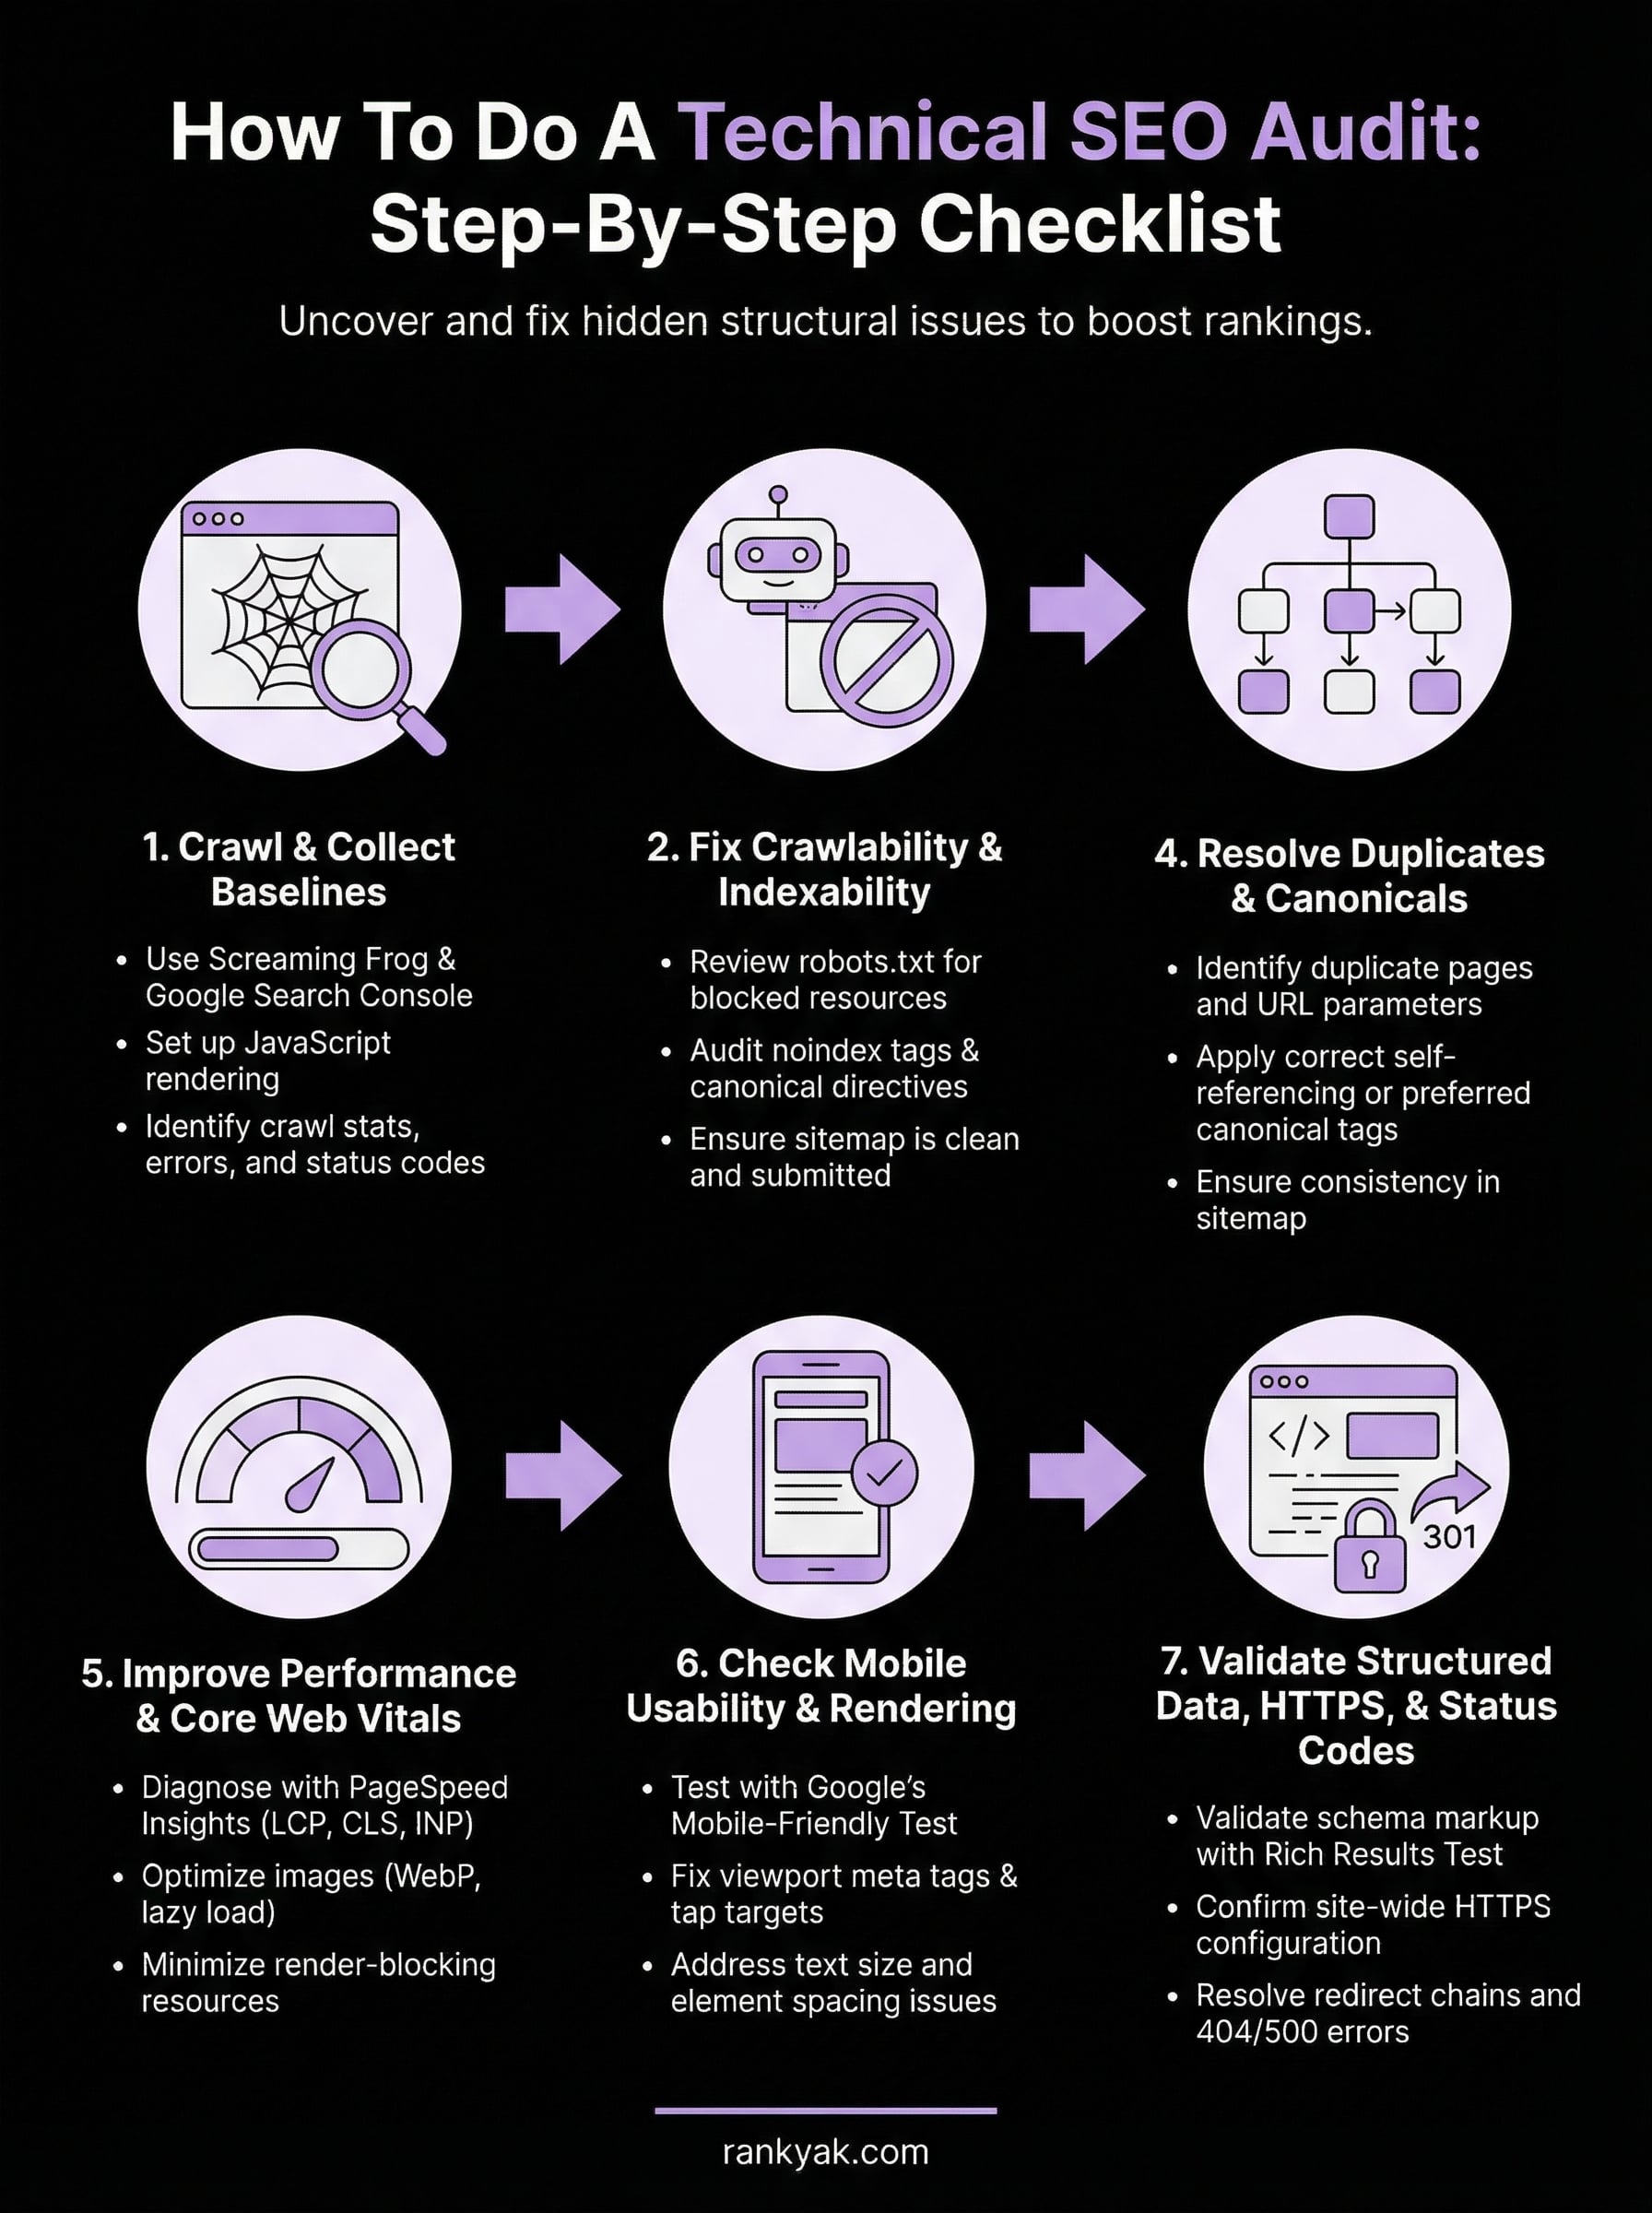
How To Do A Technical SEO Audit: Step-By-Step Checklist

Your content might be excellent, your keywords well-chosen, and your backlink profile solid, but if search engines can't properly crawl and index your site, none of it matters. That's exactly what knowing how to do a technical SEO audit helps you uncover: the hidden issues beneath the surface that silently tank your rankings.
A technical SEO audit examines the structural foundation of your website, things like crawlability, indexability, site speed, and internal linking, to make sure Google can actually find, understand, and serve your pages to searchers. Without regular audits, problems pile up. Broken pages, duplicate content, slow load times, and misconfigured directives can all erode your organic visibility without triggering any obvious alarms.
This guide walks you through a complete, step-by-step technical SEO audit checklist, from the tools you'll need to the specific issues you should look for and how to fix them. Whether you're running the audit yourself or handing it off to a team member, you'll have a clear process to follow. And once your technical foundation is clean, tools like RankYak can handle the ongoing content side, automatically researching keywords, creating optimized articles, and publishing them daily, so your site keeps growing on solid ground.
Why technical SEO audits matter
A technical SEO audit is more than a routine cleanup. It's a systematic inspection of how search engines crawl, index, and render your website, and it surfaces problems that no amount of quality content or backlinks can fix. When Google's crawlers encounter broken redirects, blocked resources, or pages sending contradictory signals, they move on. Your page never gets indexed, never earns a ranking, and never reaches the people actively searching for what you offer.
What technical SEO actually covers
Technical SEO focuses on the infrastructure layer of your website, the parts that users rarely see but search engines constantly evaluate. This includes how your pages are discovered and indexed, how your site is structured, how fast your pages load, and whether your content renders correctly across devices and connection speeds. Each of these factors influences how Google allocates its crawl budget and how confidently it can surface your content in search results.
The scope is broader than most site owners expect. Technical SEO encompasses your XML sitemap, robots.txt directives, canonical tags, redirect chains, structured data markup, HTTPS configuration, Core Web Vitals scores, and mobile rendering, among other elements. A single misconfiguration in any of these areas can cascade into ranking problems across dozens or even hundreds of pages at once.
The compounding cost of skipping audits
Technical issues don't stay isolated. A robots.txt rule accidentally blocking CSS or JavaScript files can prevent Google from rendering your pages properly, which directly affects how it evaluates your content quality and relevance. A redirect chain adding three extra hops slows load times and dilutes link equity with each hop. Duplicate content without proper canonicalization splits ranking signals across multiple URLs, weakening every version of that page.
The longer technical problems go undetected, the more they compound, and the harder they become to separate from normal ranking fluctuations.
Most site owners only investigate technical health after a significant traffic drop appears in Google Search Console. By that point, the issue may have persisted for weeks or months, quietly draining organic visibility the entire time. Knowing how to do a technical SEO audit on a regular schedule puts you in a position to catch and fix problems before they cost you real traffic.
How audits connect to your ranking signals
Google's ranking systems evaluate hundreds of signals, and many of them tie directly to technical factors you can control. Page experience metrics like Largest Contentful Paint, Cumulative Layout Shift, and Interaction to Next Paint all factor into how Google scores your pages relative to competitors. Internal link structure determines how PageRank distributes across your site and which pages Google treats as most authoritative.
Here's a quick breakdown of the technical factors that directly affect core ranking signals:
| Technical Factor | Ranking Signal Affected |
|---|---|
| Crawl accessibility | Indexing and page discovery |
| Page speed / Core Web Vitals | Page experience score |
| Canonical tags | Duplicate content handling |
| Internal linking | PageRank distribution |
| Structured data | Rich result eligibility |
| HTTPS | Trust and security signals |
| Mobile usability | Mobile-first indexing |
Technical audits also protect the investments you've already made. If you've put time and money into content creation, keyword targeting, and link building, a misconfigured noindex tag or a broken sitemap can quietly undo that work. Regular audits keep the foundation solid so that every other SEO effort you make actually gets seen.
What you need before you start
Before you run a single crawl or check a single redirect, gathering the right tools and access levels upfront saves you from hitting walls mid-audit. Knowing how to do a technical SEO audit efficiently means having everything staged before you touch the first URL. Going in without proper setup leads to incomplete data, missed issues, and a report that only gives you half the picture.
The tools you need
Three free tools cover the bulk of what a technical audit requires. Google Search Console gives you direct access to crawl errors, index coverage, Core Web Vitals data, and manual actions applied to your site. Screaming Frog SEO Spider crawls your site and surfaces broken links, duplicate titles, missing tags, and redirect chains in one exportable report. Google PageSpeed Insights scores your page performance and flags specific rendering bottlenecks. The free version of Screaming Frog handles up to 500 URLs, which is enough for most small to mid-sized sites.
If your site exceeds 500 pages, the paid version of Screaming Frog ($259/year) is worth the cost to make sure your crawl captures the full picture.
For structured data validation, use Google's Rich Results Test to check individual pages for schema markup errors. For rendering checks, Google's Mobile-Friendly Test shows exactly how Googlebot processes your pages on small screens. Both are free and take under a minute per URL.
Here's a quick reference for what each tool covers:
| Tool | Primary use |
|---|---|
| Google Search Console | Index coverage, crawl errors, Core Web Vitals, sitemaps |
| Screaming Frog SEO Spider | Broken links, redirects, duplicate content, missing tags |
| Google PageSpeed Insights | Load performance, LCP, CLS, INP scores |
| Rich Results Test | Schema markup validation |
| Mobile-Friendly Test | Mobile rendering and usability |
Access and permissions you need
Before you start crawling, confirm you have verified owner access in Google Search Console for the property you're auditing. Without it, you miss crawl stats, full coverage reports, and any manual actions applied to the site. If you're auditing a client's site, ask for owner-level access rather than restricted access to avoid running the audit with gaps in your data.
Write access to the site's backend is just as important for fixing what you find. Read-only access works fine during the discovery phase, but you'll need edit permissions for the robots.txt file, sitemap, redirect rules, and page-level meta tags before you can resolve anything you uncover.
Step 1. Crawl the site and collect baselines
The crawl is where a technical SEO audit starts in practice. Screaming Frog gives you a local snapshot of every URL on your site, while Google Search Console shows you what Google has actually discovered and indexed. Running both tools together gives you two data layers: what exists on your site and what Google actually knows about. Gaps between those two sets reveal some of the most actionable problems you'll fix throughout the rest of this process.
Configure Screaming Frog before you crawl
Before you click Start, adjust a few settings to make your crawl data significantly more useful. Switch the rendering mode to JavaScript rendering under Configuration > Spider > Rendering, so Screaming Frog processes pages the same way Googlebot does, not just the raw HTML shell. Also enable "Store HTML" under Configuration > Spider > Advanced so you can re-examine rendered page source after the crawl finishes without re-running it.
Once the crawl completes, export the full URL list to a spreadsheet and apply filters to flag these baseline issues:
- Status codes: isolate all 4xx and 5xx responses
- Redirect chains: flag any URL that redirects more than once before reaching a final destination
- Missing or duplicate title tags and meta descriptions
- Orphan pages: pages with zero incoming internal links
- Indexability status: note every URL carrying a noindex directive
Orphan pages receive no internal link equity and often drop out of Google's index entirely after first discovery, so flagging them now saves you from chasing a ranking problem later.
Pull your baselines from Google Search Console
Open the Coverage report and review all four status categories: Valid, Valid with warnings, Excluded, and Error. Export each one and record the totals before you touch anything on the site. Those numbers are your before-state benchmark, the reference point that shows whether your fixes later in the audit actually moved the needle.
Also pull the Crawl Stats report from Settings. This report shows how many pages Googlebot crawled per day and the average server response time over the previous 90 days. A sudden drop in crawl rate or a spike in response time points to server-side issues blocking Googlebot before it even evaluates your content. Record both figures so you can compare them after you resolve the issues uncovered in later steps.
Step 2. Fix crawlability and indexability
With your crawl data in hand, the next priority is making sure Google can reach every page you want indexed and none of the pages you don't. This step is where crawlability errors and indexability misconfigurations get resolved, and it's often where the most impactful fixes in a full technical SEO audit sit. Small errors in robots.txt or stray noindex tags can quietly block entire page categories from Google's index without triggering any obvious warning.
Review your robots.txt file
Your robots.txt file controls which URLs Googlebot is allowed to crawl. Open it directly at yourdomain.com/robots.txt and read every Disallow rule carefully. A common and costly mistake is accidentally blocking CSS files, JavaScript resources, or entire subdirectories containing important content. Below is an example of a clean, correctly structured robots.txt:
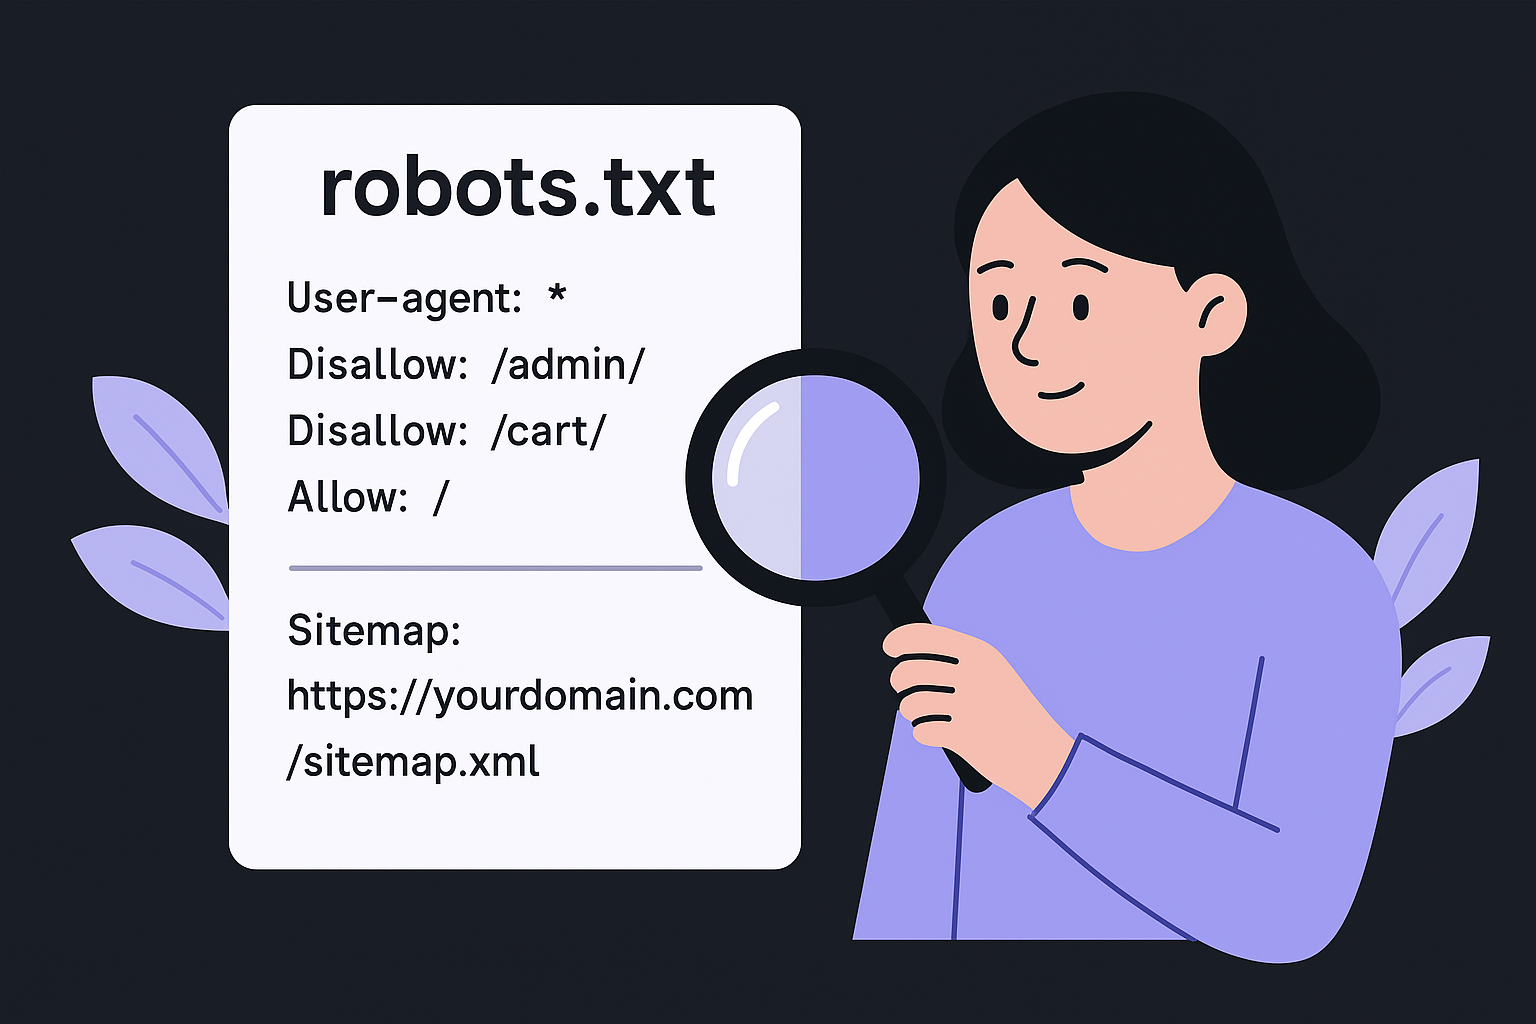
# Clean robots.txt example
User-agent: *
Disallow: /admin/
Disallow: /cart/
Allow: /

Sitemap: https://yourdomain.com/sitemap.xml
Check that your sitemap URL is listed at the bottom of the file. If Screaming Frog flagged pages as "Blocked by robots.txt" that you actually want indexed, update the relevant Disallow rule to remove the restriction, then re-submit your sitemap in Google Search Console so Googlebot re-crawls those pages.
Blocking a URL in robots.txt does not remove it from Google's index if backlinks already point to it. To delist an indexed page, you need a noindex tag or the URL removal tool inside Google Search Console.
Audit noindex tags and canonical directives
After robots.txt, scan every URL in your Screaming Frog export for noindex meta tags you didn't intentionally place. Filter the Directives column for "noindex" and cross-reference each flagged URL against your intent. Staging-site directives that carried over to production are one of the most common causes of mass indexation loss, and they're easy to miss without a crawl.
For canonical tags, check that each page either carries a self-referencing canonical or points to the correct preferred URL. A canonical pointing to a redirect destination, a non-HTTPS version, or a completely different domain sends a conflicting signal that Google often ignores. Here's what a correct self-referencing canonical looks like inside the <head> of your page:
<link rel="canonical" href="https://yourdomain.com/your-page-slug/" />
Fix any canonical that points to a URL returning a non-200 status code. When Google encounters a broken canonical, it typically ignores the tag entirely and selects its own preferred version, which may not be the one you want ranking.
Step 3. Audit site architecture and internal links
A well-structured site helps Google understand which pages are most important and how they relate to each other. During a technical SEO audit, the architecture and internal link pass tells you whether your crawl budget is being spent efficiently and whether link equity is flowing to the pages you actually want to rank.
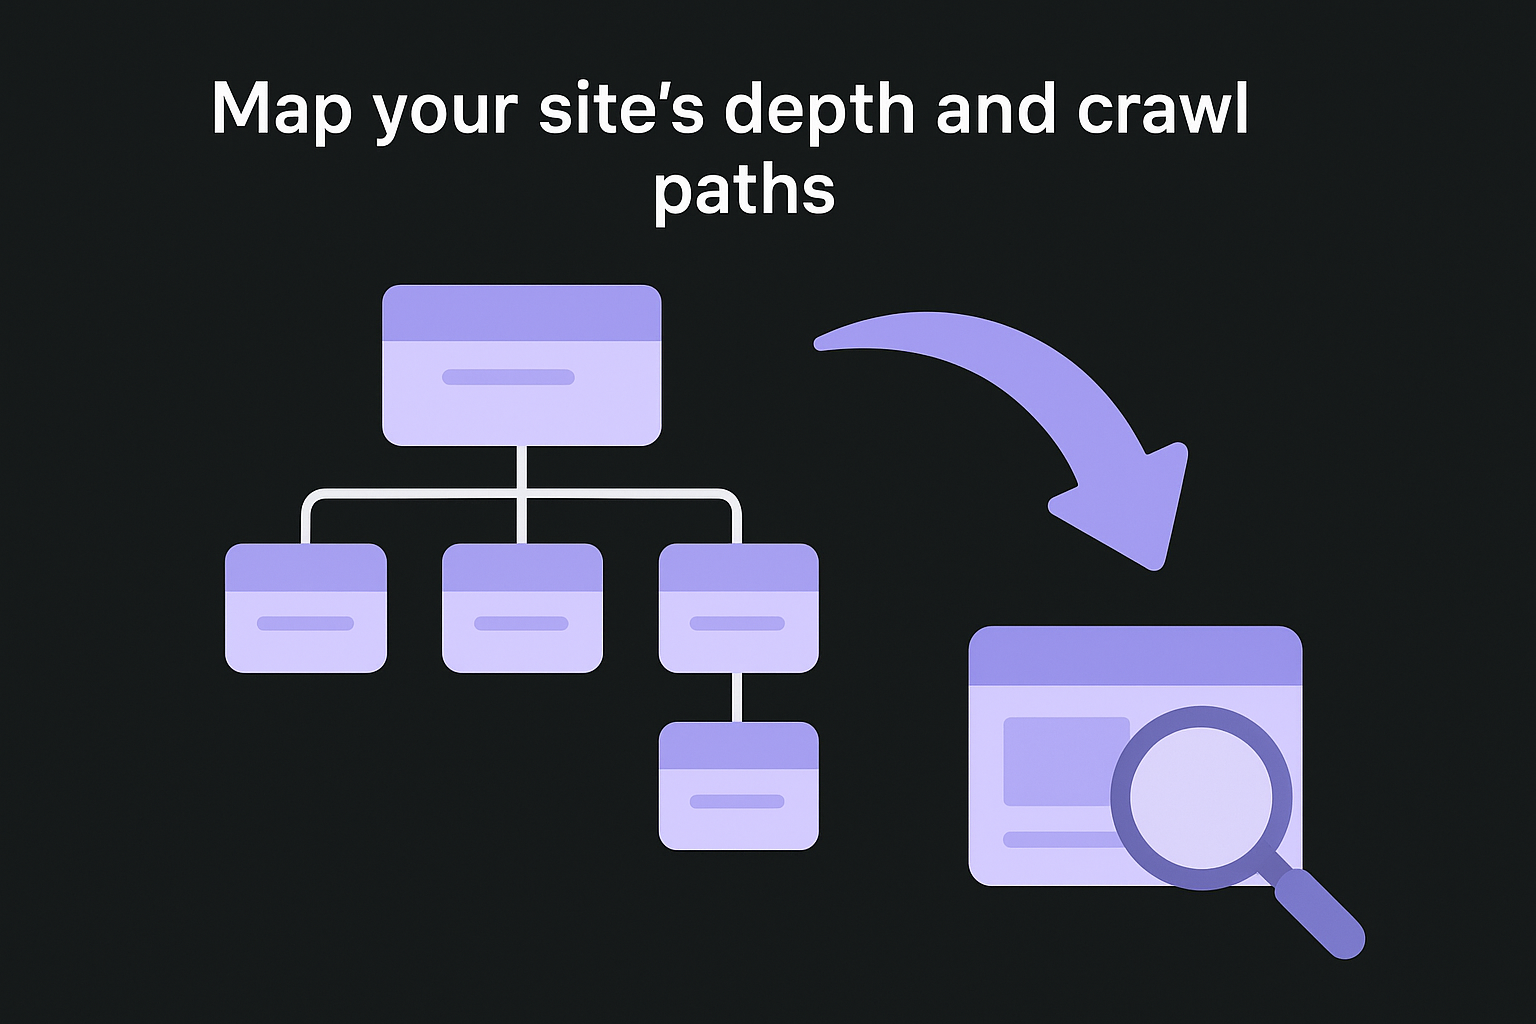
Map your site's depth and crawl paths
Every important page on your site should be reachable within three clicks from the homepage. Pages buried deeper than that receive fewer crawls, less internal link equity, and often rank below shallower competitors with equivalent content. In Screaming Frog, check the "Crawl Depth" column in your URL export and note every page sitting at depth 4 or higher.
Use the exported data to build a quick depth reference:
| Crawl Depth | Status |
|---|---|
| 1 | Homepage only |
| 2 | Top-level category or section pages |
| 3 | Individual posts, products, or service pages |
| 4+ | Review and restructure where possible |
Pages at depth 4 or beyond typically need a new internal link from a shallower page to pull them up the hierarchy. A practical fix is adding them to a relevant category or topic cluster page that already sits at depth 2 or 3, which immediately shortens their crawl path without requiring a full site restructure.
Find and fix orphan pages and weak internal links
Orphan pages carry no incoming internal links, which means Googlebot has no navigational path to reach them. Even if these pages appear in your sitemap, Google deprioritizes them because your own site structure signals they aren't worth crawling frequently. Cross-reference your Screaming Frog crawl export with your sitemap URLs to surface any page present in the sitemap but absent from the crawl data.
A page in your sitemap but missing from your crawl export is a strong signal that it's orphaned and receiving no internal link equity.
For each orphan page you find, identify the most relevant parent page or cluster hub that logically connects to it, then add a descriptive anchor text link pointing to it. Skip generic phrases like "read more" or "click here." Use keyword-relevant anchor text that describes the destination page's content, since anchor text gives Google direct context about what it will find at the linked URL.
After handling orphan pages, scan for high-priority pages with only one or two incoming internal links. Cornerstone content and revenue-driving service pages should pull links from multiple relevant pages across your site, not just a footer or sidebar link, which Googlebot typically weights below in-body contextual links.
Step 4. Resolve duplicates and canonicals
Duplicate content is one of the most common issues you'll surface when learning how to do a technical SEO audit. When Google finds multiple URLs serving identical or near-identical content, it has to choose one version to rank and often picks the wrong one. Canonical tags are the primary tool for resolving this, but they only work when implemented correctly and consistently across every affected URL on your site.
Identify duplicate pages in your crawl data
Screaming Frog's "Duplicate Content" filter in the Content tab flags pages sharing the same or very similar body text. Pay particular attention to pagination variants, session ID parameters, and print-friendly page versions, since these are the most frequent sources of unintentional duplication on larger sites. Export the full list and group duplicates by their root URL so you can see the full scale of the problem before deciding on a fix.
URL parameters cause most duplicate content problems at scale. A single product page can generate dozens of near-duplicate URLs when sorting, filtering, or tracking parameters get appended to the base URL. Review the "Parameters" section in Google Search Console and configure any parameter that creates duplicate content but adds no unique navigational or content value to be ignored during crawling. This reduces wasted crawl budget and concentrates Google's attention on the pages that actually matter.
Apply canonical tags correctly
For each group of duplicate URLs you've identified, pick the single preferred version you want Google to index and rank, then add a canonical tag pointing every other version to that URL. The canonical goes inside the <head> section of each duplicate page, not just the preferred one. Here's the correct implementation:
<!-- On each duplicate or variant page -->
<link rel="canonical" href="https://yourdomain.com/preferred-page-slug/" />

<!-- On the preferred page itself (self-referencing) -->
<link rel="canonical" href="https://yourdomain.com/preferred-page-slug/" />
A canonical tag is a strong hint to Google, not a directive. If your preferred URL returns a redirect or loads noticeably slower than the duplicate, Google may ignore the canonical and index whichever version it considers better.
After implementing canonical tags, confirm that your preferred URLs appear in your XML sitemap and that no duplicate variants are included. Adding duplicate URLs to your sitemap sends a contradictory signal that directly undermines the canonical directive you just applied, so consistency between your sitemap and your canonicals is required for this fix to hold.
Step 5. Improve performance and Core Web Vitals
Page performance directly affects how Google ranks your site through its Page Experience signals, and this step is where you translate raw audit data into specific, measurable improvements. When you know how to do a technical SEO audit properly, Core Web Vitals are never treated as optional. Google measures three primary metrics: Largest Contentful Paint (LCP), which tracks how quickly the main content loads; Cumulative Layout Shift (CLS), which measures visual stability; and Interaction to Next Paint (INP), which records how fast your page responds to user input. All three have defined thresholds that separate passing pages from failing ones.
Diagnose performance issues with PageSpeed Insights
Run your most important URLs through Google PageSpeed Insights individually and record the field data scores under the "Discover what your real users are experiencing" section, not just the lab scores. Field data reflects actual user sessions and carries more weight with Google than the simulated lab results. Export your scores into a spreadsheet so you have a clear before-and-after reference once you start making changes.
Here are the Core Web Vitals thresholds to use as your benchmarks:
| Metric | Good | Needs Improvement | Poor |
|---|---|---|---|
| LCP | Under 2.5s | 2.5s to 4s | Over 4s |
| CLS | Under 0.1 | 0.1 to 0.25 | Over 0.25 |
| INP | Under 200ms | 200ms to 500ms | Over 500ms |
Pages that pass all three Core Web Vitals thresholds in field data qualify for Google's Page Experience ranking boost, while pages that fail even one metric lose that advantage to competitors who pass.
Fix the most common performance bottlenecks
Large, uncompressed images are the single most common cause of poor LCP scores, and they're also the easiest to fix. Convert images to WebP format and apply lazy loading to any image that appears below the fold. Add the following attribute directly to your <img> tags for any non-hero image:
<img src="image.webp" alt="descriptive alt text" loading="lazy" width="800" height="600">
Specifying explicit width and height attributes also prevents layout shifts during page load, which directly improves your CLS score without requiring any additional CSS work. For LCP images that appear above the fold, add fetchpriority="high" instead of loading="lazy" so the browser loads them first.
Render-blocking scripts and stylesheets are the second most common bottleneck PageSpeed Insights will flag. Move non-critical JavaScript to the bottom of your <body> tag or add defer to your script tags so they don't delay the initial page render:
<script src="your-script.js" defer></script>
Step 6. Check mobile usability and rendering
Google uses mobile-first indexing for all sites, which means it primarily uses the mobile version of your content to determine how pages rank. If your mobile experience has rendering issues, layout problems, or blocked resources, those problems affect your rankings across all devices, not just phones. This step of the audit covers both how your pages display visually and how Googlebot actually processes them during a crawl.
Test pages with Google's mobile tools
Run your most critical pages through Google's Mobile-Friendly Test and screenshot the rendered output for each one. Focus first on your homepage, top category pages, and highest-traffic landing pages, since these carry the most ranking weight. The tool shows you exactly what Googlebot sees when it renders the page, which often differs from what a human visitor sees in a browser.
Inside Google Search Console, open the "Mobile Usability" report under the Experience section. This report lists every page flagged with a specific mobile issue and groups them by error type. Common issues you'll find include:
- Text too small to read: font size below 12px on mobile viewports
- Clickable elements too close together: tap targets smaller than 48x48 pixels
- Content wider than screen: elements overflowing the viewport width
- Viewport not configured: missing or incorrect meta viewport tag
Fixing mobile usability errors in bulk is faster than fixing them page by page. Group errors by type, fix the underlying template or CSS rule causing them, and all affected pages resolve simultaneously.
Fix the viewport and tap target issues
Most mobile rendering problems trace back to two root causes: a missing viewport meta tag and improperly sized tap targets. Add the following tag inside the <head> of every page if it's not already present:
<meta name="viewport" content="width=device-width, initial-scale=1">
For tap targets, any button, link, or interactive element needs at least 48 pixels of height and width with adequate spacing around it. If your CSS sets smaller values, override them with a targeted rule:
a, button {
  min-height: 48px;
  min-width: 48px;
  padding: 12px;
}
Knowing how to do a technical SEO audit means treating mobile usability as a ranking factor on the same level as page speed. Once your mobile fixes are in place, re-run the Mobile-Friendly Test on the same pages you tested initially to confirm the rendered output has improved before moving to the next step.
Step 7. Validate structured data, HTTPS, and status codes
This final step of knowing how to do a technical SEO audit ties together three checks that directly influence how Google treats your pages in search results. Structured data errors prevent rich results from appearing, HTTPS misconfigurations erode trust signals, and stray status codes waste crawl budget and break the link equity chain across your site.
Validate and fix structured data markup
Run each page that carries schema markup through Google's Rich Results Test and review both the detected items and any errors or warnings listed. Errors block the rich result entirely. Warnings reduce the chance of triggering one. Fix errors first, then address warnings once errors are clear.
A single missing required property in your schema can prevent an entire rich result type from appearing, even when the rest of your markup is correct.
The most commonly broken schema types are Article, Product, and FAQ. Below is a minimal valid FAQ schema block you can add to the <head> of any relevant page:
<script type="application/ld+json">
{
  "@context": "https://schema.org",
  "@type": "FAQPage",
  "mainEntity": [
    {
      "@type": "Question",
      "name": "What is a technical SEO audit?",
      "acceptedAnswer": {
        "@type": "Answer",
        "text": "A technical SEO audit reviews your site's crawlability, indexability, performance, and structure to identify issues that prevent Google from ranking your pages."
      }
    }
  ]
}
</script>
Replace the placeholder question and answer with your actual page content, then re-test the URL to confirm the rich result preview loads without errors before deploying.
Confirm HTTPS configuration and status codes
Every page on your site should load exclusively over HTTPS with a valid SSL certificate. In your Screaming Frog crawl export, filter for any internal URLs returning http:// rather than https:// and check whether they redirect correctly to the secure version. Also check that your canonical tags, sitemap entries, and internal links all reference the HTTPS version of each URL, not mixed HTTP variants.
For status codes, apply these filters to your crawl export and resolve each category before closing your audit:
| Status Code | Action Required |
|---|---|
| 301 | Confirm it points to the correct final destination |
| 302 | Assess if a permanent 301 is more appropriate |
| 404 | Redirect to a relevant live page or remove internal links pointing to it |
| 500 | Investigate server logs immediately |
Chains of two or more redirects between a source URL and its final destination bleed link equity with every hop. Flatten each chain so the source URL redirects directly to the final destination in a single step.
Your next audit, done
You now have a complete, repeatable process for how to do a technical SEO audit from crawl setup through structured data validation. Each step in this checklist addresses a specific layer of your site's technical health, and fixing issues in the order laid out here ensures your most impactful changes come first. Crawlability, indexability, architecture, duplicates, performance, mobile usability, and status codes each build on the one before.
Run this audit every quarter on established sites, or immediately after any major CMS migration, redesign, or plugin update. Documenting your baseline scores before making changes gives you clear evidence of progress and helps you prioritize future work.
Once your technical foundation is clean, the next step is consistent, optimized content publishing. RankYak handles that automatically, researching keywords, writing SEO-optimized articles, and publishing daily to a site that Google can now fully crawl and index.

Get Google and ChatGPT traffic on autopilot.
Start today and generate your first article within 15 minutes.

SEO revenue calculator
How much revenue is your website leaving on the table?
Take a quick quiz and see exactly how much organic revenue you're missing out on, along with personalized tips to fix it.
-
4 questions, under 1 minute
-
See traffic and revenue potential
-
No email required
Free · takes 1 minute · no signup needed
Question 1 of 4
Question 2 of 4
Question 3 of 4
Question 4 of 4
Your SEO growth potential
Extra visitors / month
after 6-12 months of consistent publishing
Revenue potential / year
at your niche's avg. conversion rate
Articles needed (12 mo)
to reach this traffic level
ROI with RankYak
at $99/mo ($1,188/year)
To hit that number, you'd need to:
- Build a topical authority strategy for your niche
- Research keywords & map out a full topical cluster
- Write, edit & publish an article every single day
- Build backlinks to the articles you publish
RankYak handles all of this automatically, every day.
* Estimates based on industry averages. Results vary by niche, competition, and domain authority. Most SEO results become visible after 3-6 months of consistent publishing.