12-Step SEO Checklist for Beginners That Actually Works

You've built a website, maybe even published some content, but Google doesn't seem to notice you exist. Sound familiar? The problem usually isn't your product or your writing, it's that you skipped the foundational steps that tell search engines your site is worth ranking. A solid SEO checklist for beginners cuts through the noise and gives you a clear sequence of actions, so you're not just guessing at what might move the needle.
Here's the thing: SEO isn't one task. It's a system of interconnected steps, from technical setup and keyword research to on-page optimization and link building. Miss one piece, and the others underperform. That's exactly why so many beginners feel stuck after months of effort. They're working hard on the wrong things, or in the wrong order, without a repeatable process to follow.
This guide breaks SEO down into 12 concrete steps you can start working through today, whether you're running a small business site, a Shopify store, or a WordPress blog. Each step builds on the last, giving you a clear path from zero to ranking. And once you've nailed the fundamentals, tools like RankYak can automate the ongoing work, keyword discovery, daily content creation, publishing, and backlink building, so your SEO keeps compounding without eating your calendar.
Let's get into it.
1. Automate the workflow with RankYak
Most beginners treat SEO as a series of one-time tasks, but the reality is that it's an ongoing process. You need fresh content published consistently, new keywords discovered regularly, and backlinks built over time. Doing all of that manually is what burns people out and stalls progress. Before you work through every item on this seo checklist for beginners, it's worth knowing that a tool like RankYak can handle the heavy, repeating work for you on autopilot, so your SEO keeps moving even when you're focused elsewhere.
What to do
Connect your website to RankYak and let it take over the three tasks that eat the most time: keyword discovery, content creation, and publishing. RankYak analyzes your site and niche, then builds a daily content plan targeting high-potential keywords. It writes fully SEO-optimized articles up to 5,000 words, complete with featured images, and publishes them directly to WordPress, Shopify, Webflow, or your custom CMS without you touching a thing.
Once you automate content production and keyword targeting, the rest of your SEO work becomes about refining and scaling, not starting from scratch every week.
How to do it
Sign up at RankYak.com and start a 3-day free trial with no commitment required. After you connect your website, RankYak pulls data about your niche and existing content, then generates a keyword roadmap and a daily article schedule. It handles internal linking, topic clusters, brand voice adaptation, and multilingual output across 40+ languages. You don't need to write a brief, manage a writer, or log in to publish. The system runs every day and feeds your site with optimized content while you focus on other parts of your business.
Common mistakes to avoid
The biggest mistake is treating automation as a replacement for strategy. RankYak handles execution well, but you should still review your keyword targets periodically and confirm the content aligns with your actual business goals. Also, don't skip connecting Google Search Console early (covered in the next step), because RankYak uses that data to make smarter keyword decisions and helps you spot ranking wins faster as your content builds up.
2. Set up Google Search Console and Bing Webmaster Tools
Before any other item on this seo checklist for beginners matters, you need search engines to actually see your site. Google Search Console and Bing Webmaster Tools are free platforms that give you direct visibility into how each search engine discovers, crawls, and ranks your pages. Without them, you're building in the dark.
What to do
Submit your website to both Google Search Console and Bing Webmaster Tools. These platforms let you submit your sitemap, monitor indexing status, and receive alerts when either search engine finds errors on your site. You'll also unlock data on which search queries drive clicks to your pages, which feeds directly into smarter content decisions.
Setting up Search Console early means you'll have weeks of performance data ready to analyze by the time your content starts gaining traction.
How to do it
Verify ownership of your domain using a DNS record or HTML tag that each platform provides. Then submit your XML sitemap, typically located at yourdomain.com/sitemap.xml, so search engines can find your pages faster. Both platforms walk you through each step, and the entire process takes under 15 minutes for most sites.
Once verified, check the Coverage report in Search Console weekly. That report flags indexing errors and excluded pages so you can catch problems before they quietly tank your rankings.
Common mistakes to avoid
Don't delay setup until your site has more content. Early data is valuable data, and waiting means you lose weeks of crawl history. Also, never submit URLs blocked in your robots.txt file, since that sends a conflicting signal that confuses crawlers and can suppress indexing.
3. Install analytics and track conversions
Knowing how your site ranks is only half the picture. You also need to know what visitors do once they arrive. Analytics tools reveal which pages attract traffic, where users drop off, and which actions lead to actual business results. Without this data, every decision on your seo checklist for beginners is a guess.
What to do
Install Google Analytics 4 (GA4) on every page of your site and configure it to track conversions, the specific actions that matter to your business. A conversion could be a form submission, a product purchase, a phone call, or a newsletter signup. Tracking these events tells you which SEO-driven pages actually generate revenue, not just traffic.
How to do it
Create a free account at Google Analytics and add your GA4 measurement ID to your site, either through a plugin like Google Site Kit on WordPress or by pasting the tracking snippet into your site's header. Then set up conversion events inside GA4 by marking key user actions as conversions in the Events section. Link your GA4 property to Google Search Console to see which search queries lead to conversions, not just clicks.
Connecting GA4 to Search Console gives you a direct line between your keyword performance and real business outcomes.
Common mistakes to avoid
Don't install analytics and then ignore it. Check your data weekly, specifically traffic trends, bounce rates on key landing pages, and conversion rates. Also, avoid counting every page view as a conversion since that inflates your numbers and masks where your SEO is actually falling short.
4. Make sure Google can crawl and index your pages
Rankings require indexing, and indexing requires crawling. If Googlebot can't reach your pages, nothing else on this seo checklist for beginners will help, because Google can only rank content it has actually read and stored in its search index. Crawlability is the foundation everything else rests on.
What to do
Audit your site to confirm every important page is crawlable and indexed. You need a clean robots.txt file that doesn't accidentally block key pages, an accurate XML sitemap submitted to Search Console, and no conflicting noindex tags on pages you want to rank. Think of this as clearing the path so Googlebot can walk freely through your site.
How to do it
Open Google Search Console and run a URL inspection on your most important pages. This tells you instantly whether Google has indexed a page and when it was last crawled. Also navigate to your robots.txt file at yourdomain.com/robots.txt and confirm it isn't blocking your main content directories unintentionally.
If a page isn't indexed, no amount of optimization will make it rank, so fix crawl issues before anything else.
Submit your XML sitemap through Search Console under the Sitemaps tab. Most CMS platforms generate one automatically, but verify the URL is live before you submit it.
Common mistakes to avoid
The most common error is adding a noindex tag during development and forgetting to remove it before launch. Also, avoid creating duplicate URLs through trailing slashes or HTTP versus HTTPS variations, since those split crawl equity and confuse Google about which version to index.
5. Build a clean site structure users can navigate
A logical site structure does two jobs at once: it helps visitors find what they need, and it helps search engines understand how your pages relate to each other. For anyone working through an seo checklist for beginners, site structure is often overlooked because it doesn't feel like tangible SEO work, but it directly controls how crawl budget flows across your site and how link equity distributes between pages.
What to do
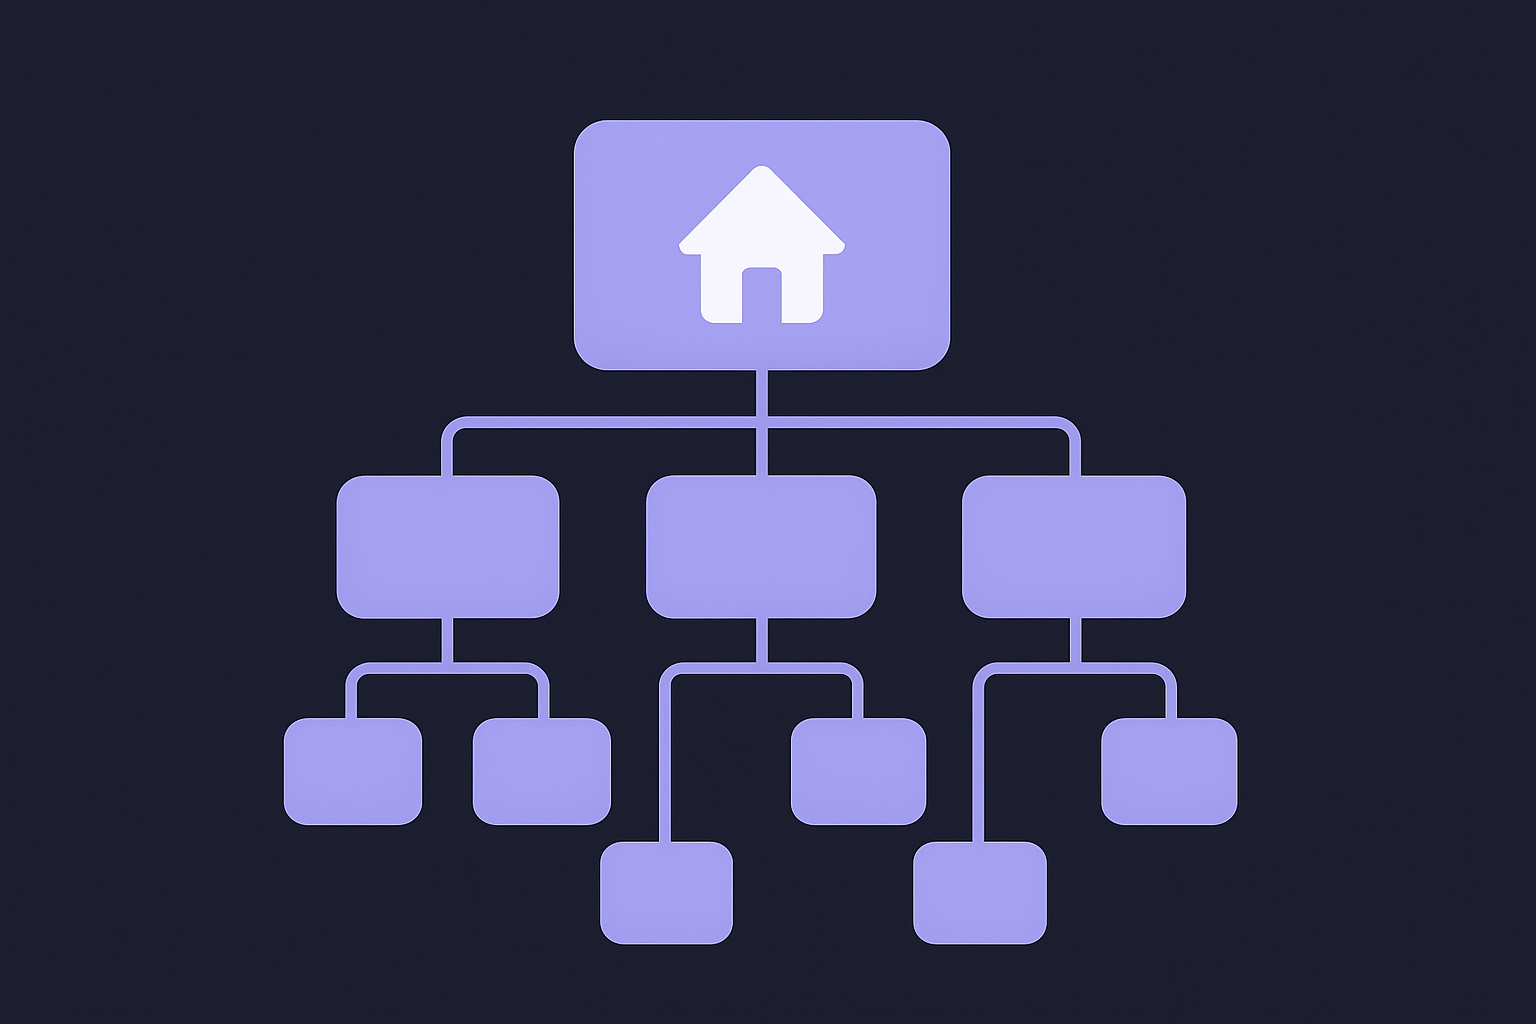
Organize your pages into a clear hierarchy with your homepage at the top, then main category pages, then individual posts or products underneath. No important page should sit more than three clicks away from your homepage, and every page should belong to a logical parent category. Here's the basic structure to aim for:
- Tier 1: Homepage
- Tier 2: Category or service pages
- Tier 3: Individual blog posts, product pages, or sub-topics
How to do it
Draw a simple map of your site before you restructure anything. Group related pages under parent categories that reflect your core topics, and use descriptive, keyword-rich URLs like yourdomain.com/category/page-name rather than random ID strings. Your main navigation menu should link directly to your most important category pages so both users and crawlers find them immediately.
A clean URL structure signals to Google exactly what each page covers and where it sits in your content hierarchy.
Common mistakes to avoid
Avoid creating orphan pages with no internal links pointing to them, since those pages rarely get crawled or ranked effectively. Also, don't let competing navigation paths like conflicting breadcrumbs and sidebar menus point to different hierarchies, as that splits crawl equity and confuses search engines about your site's structure.
6. Do keyword research and create a keyword map
Keyword research is the step that tells you what your audience actually types into Google. Without it, you're writing content based on assumptions. Every page on your site should target a specific keyword, and a keyword map is what keeps you from targeting the same term on multiple pages or missing obvious opportunities your competitors are capturing.
What to do
Build a list of keywords relevant to your business, then assign each keyword to a specific page. This is your keyword map, and it acts as a master document for your entire content strategy. As part of any solid seo checklist for beginners, your keyword map should include the primary keyword, the page it's assigned to, and a rough sense of search volume and competition level for each term.
A keyword map prevents keyword cannibalization, where two of your own pages compete against each other for the same search term.
How to do it
Start with Google Search itself. Type in your core topics and study the autocomplete suggestions and the "People also ask" boxes, both of which surface real queries people search for. Then use Google Keyword Planner to get search volume data for your shortlist. Prioritize keywords with clear intent and realistic competition for your site's current authority.
Common mistakes to avoid
Don't chase high-volume keywords right out of the gate. Newer sites rank faster on specific, lower-competition terms. Also, avoid assigning the same primary keyword to multiple pages, since that confuses Google about which page to rank.
7. Match search intent before you write anything
Ranking isn't just about having the right keyword on the page. It's about giving Google's users exactly what they were looking for when they typed that query. Search intent is the underlying reason behind a search, and matching it is one of the most overlooked steps in any seo checklist for beginners.
What to do
Classify every target keyword by its intent type before you plan the content. Most searches fall into one of four categories: informational (looking to learn), navigational (looking for a specific site), commercial (comparing options before buying), or transactional (ready to buy or act). Your content format, length, and angle should match the intent of the keyword, not the other way around.
Getting the intent wrong means Google ranks a competitor's page over yours, even if your writing is technically stronger.
How to do it
Open Google and search your target keyword in an incognito window. Study the top five results carefully. Notice whether they are blog posts, product pages, comparison guides, or video content. That pattern tells you exactly what format Google rewards for that query. Match the content type and depth of what's already ranking, then aim to cover the topic more thoroughly.
Common mistakes to avoid
Don't write a long-form informational post when the top results are all short product pages, and vice versa. Also, avoid sending a transactional keyword to a blog post, since that intent mismatch will suppress your rankings no matter how well-optimized the page is technically.
8. Write helpful content that shows experience and trust
Content quality is what separates pages that rank from pages that sit on page four indefinitely. Google's helpful content guidelines reward pages that demonstrate real experience and genuine usefulness, not thin summaries that restate what everyone else already published. This step is where every seo checklist for beginners either gains traction or falls apart.
What to do
Write content that answers the reader's question completely and signals that you actually know what you're talking about. Include first-hand observations, specific examples, and original insights that a generic AI summary or a copy-paste job simply can't replicate. Google evaluates content for E-E-A-T, which stands for Experience, Expertise, Authoritativeness, and Trustworthiness, and your content needs to demonstrate all four to compete in most niches.
Content that shows real-world experience consistently outranks content that only summarizes what other sources already said.
How to do it
Add concrete details that only someone with hands-on experience would know, such as specific numbers, outcomes from your own tests, or nuanced caveats that generic content skips. Reference credible external sources like government data or academic research to back up factual claims, and include an author bio that establishes your credentials or background.
Common mistakes to avoid
Avoid writing content that reads like a surface-level overview with no original perspective. Also, don't skip citations or supporting evidence when you make claims that readers might question, since unverified assertions erode trust and push users back to Google for a second opinion.
9. Nail on-page SEO basics on every page
On-page SEO covers the elements you control directly on each page, and getting them right tells Google exactly what your content covers. Skipping these basics is one of the most common reasons pages stay buried despite solid writing, which makes this step a non-negotiable part of any seo checklist for beginners. Each page is its own ranking opportunity, and every missed on-page signal is a chance you hand to a competitor.
What to do
Optimize your title tag, meta description, H1 heading, and URL slug for every page you publish. Your title tag should include your primary keyword near the front and stay under 60 characters. The H1 should match the topic clearly, and your URL should be short, descriptive, and keyword-relevant rather than a string of numbers or random characters.
How to do it
Place your primary keyword in your title tag, H1, the first 100 words of your content, and at least one subheading. Use H2 and H3 tags to break up your content into logical sections, which helps both readers and search engines parse your page structure. Most CMS platforms let you edit these fields directly without touching code.
Optimizing every on-page element consistently, not just on your top pages, compounds over time and lifts your entire site's visibility.
Common mistakes to avoid
Don't write duplicate title tags or meta descriptions across multiple pages, since that confuses search engines about which page to prioritize for a given query. Also, avoid keyword stuffing in your title or H1, since Google penalizes forced repetition and it reads unnaturally to real visitors.
10. Strengthen internal linking and fix orphan pages
Internal links do more than help users navigate your site. They distribute link equity across your pages and signal to Google which content you consider most important. Neglecting internal linking is one of the quietest ranking killers on any seo checklist for beginners, because pages with no links pointing to them rarely get crawled or ranked, regardless of how well you optimized them.
What to do
Audit your site for orphan pages, which are pages with zero internal links pointing to them, and connect them to relevant content. Every page you want to rank should receive at least one internal link from a related, higher-authority page on your site. Your goal is a web of contextual links that passes authority throughout your content hierarchy rather than concentrating it on only a few pages.
Internal links tell Google both where authority flows and how your content topics relate to each other.
How to do it
Open Google Search Console and identify your highest-traffic pages. Then manually add links from those pages to related content that needs a ranking boost. Use descriptive anchor text that reflects the target page's primary keyword rather than generic phrases like "click here" or "read more."
Common mistakes to avoid
Avoid using the same anchor text for every internal link pointing to a single page, since that looks unnatural and dilutes relevance signals. Also, don't pack ten or more internal links into a single short post, as that scatters link equity and confuses readers about what to click next.
11. Improve page experience and site speed
Page experience affects rankings directly, and site speed is the most visible component of it. Google uses Core Web Vitals as ranking signals, measuring how fast your pages load, how stable your layout is, and how quickly users can interact with your content. For anyone working through an seo checklist for beginners, this step often reveals easy wins that competing sites in your niche haven't bothered to fix.

What to do
Audit your site's Core Web Vitals scores and fix the issues that drag them down. Your three main targets are:
- Largest Contentful Paint (LCP): measures how fast your main content loads
- Interaction to Next Paint (INP): measures how quickly your page responds to user input
- Cumulative Layout Shift (CLS): measures how stable your layout is while the page loads
Each metric has a clear threshold Google considers "good," and hitting those thresholds signals that your pages deliver a reliable, fast experience.
Improving Core Web Vitals doesn't just help rankings; it also reduces bounce rates because users stay on pages that load and respond quickly.
How to do it
Run your pages through Google PageSpeed Insights to get a free, page-level audit with specific fix recommendations. Common improvements include compressing images, enabling browser caching, removing unused JavaScript, and switching to a faster hosting provider if your server response time is the bottleneck. Start with your highest-traffic pages since those fixes deliver the most immediate impact.
Common mistakes to avoid
Don't optimize speed only on your homepage while leaving slow blog or product pages untouched. Also, avoid adding heavy third-party scripts like chat widgets or ad trackers without checking their performance cost against your Core Web Vitals scores first.
12. Add schema and clean up technical SEO issues
Schema markup and technical SEO hygiene are the final layer of optimization that separates a site Google trusts from one it treats as uncertain. For any seo checklist for beginners, this step ties together everything you've built so far by giving search engines structured data they can read directly, while also clearing out the technical errors that quietly drag your rankings down.
What to do
Add structured data markup to your key pages so Google can generate rich results like star ratings, FAQ dropdowns, or product prices directly in search results. At the same time, run a full technical audit to identify and fix issues like broken links, duplicate content, missing canonical tags, and redirect chains that dilute your site's authority and confuse crawlers.
Rich results from schema markup increase your click-through rate even when your ranking position stays the same, which means more traffic without needing to climb higher.
How to do it
Use Google's Rich Results Test to validate your schema implementation before deploying it. Focus on schema types relevant to your content, such as Article, Product, FAQ, or LocalBusiness. For technical issues, run your site through Google Search Console's Coverage and Enhancements reports, which flag specific URLs with errors you can fix one by one.
Common mistakes to avoid
Don't add schema markup to content that doesn't actually match the schema type you're using, since Google can issue a manual penalty for misleading structured data. Also, avoid leaving redirect chains longer than two hops, because each additional redirect bleeds link equity and slows crawl speed.

Next steps
You now have a complete seo checklist for beginners that takes you from zero setup to a site Google can actually find, crawl, and rank. Each step in this list builds on the previous one, so the order matters. Start with Search Console and analytics, get your technical foundation solid, then layer in keyword research, content, and on-page optimization. The results compound over time, but only if you stay consistent.
The hardest part for most site owners isn't knowing what to do, it's doing it week after week without burning out. That's where automation changes the equation. RankYak handles daily keyword discovery, article creation, and publishing so your content engine keeps running while you focus on growing your business. You don't need a team or an agency to keep up. If you're ready to put your SEO on autopilot, start your free 3-day trial with RankYak and see the difference consistent, optimized content makes.

Get Google and ChatGPT traffic on autopilot.
Start today and generate your first article within 15 minutes.

SEO revenue calculator
How much revenue is your website leaving on the table?
Take a quick quiz and see exactly how much organic revenue you're missing out on, along with personalized tips to fix it.
-
4 questions, under 1 minute
-
See traffic and revenue potential
-
No email required
Free · takes 1 minute · no signup needed
Question 1 of 4
Question 2 of 4
Question 3 of 4
Question 4 of 4
Your SEO growth potential
Extra visitors / month
after 6-12 months of consistent publishing
Revenue potential / year
at your niche's avg. conversion rate
Articles needed (12 mo)
to reach this traffic level
ROI with RankYak
at $99/mo ($1,188/year)
To hit that number, you'd need to:
- Build a topical authority strategy for your niche
- Research keywords & map out a full topical cluster
- Write, edit & publish an article every single day
- Build backlinks to the articles you publish
RankYak handles all of this automatically, every day.
* Estimates based on industry averages. Results vary by niche, competition, and domain authority. Most SEO results become visible after 3-6 months of consistent publishing.