Trello Editorial Calendar: How To Set Up A Simple Workflow

Managing a content pipeline without a clear system turns publishing into guesswork. Posts slip through the cracks, deadlines get missed, and your team ends up reacting instead of executing. A Trello editorial calendar solves this by giving you a visual, drag-and-drop workflow that keeps every piece of content, from idea to published, organized in one place.
Trello's board-and-card structure is a natural fit for editorial planning. You can track topics, assign writers, set due dates, and move articles through stages like "Drafting," "Review," and "Published", all without learning complex project management software. Whether you're a solo content marketer or coordinating a small team, it scales to match your process.
In this guide, you'll learn exactly how to set up a Trello editorial calendar from scratch, build a repeatable workflow, and keep your publishing cadence consistent. And if you're using a tool like RankYak to automate your daily SEO content, pairing it with a Trello board gives you a simple way to track and manage everything that's being published to your site.
What to set up before you build your calendar
Before you touch Trello, you need a clear picture of how your content actually moves from idea to live post. Building a Trello editorial calendar on top of a vague process just shifts your confusion into a different tool. Spend 20 minutes answering a few foundational questions first, and everything you build in Trello will match your real workflow instead of an idealized version of it.
Map out your workflow stages
Every piece of content in your pipeline goes through a series of steps before it's ready to publish. Your job is to name those stages explicitly so you can turn them into Trello lists later. A typical editorial workflow looks something like this:
| Stage | What happens here |
|---|---|
| Ideas | Raw topic ideas, keyword targets, or briefs |
| Drafting | Writer is actively working on the piece |
| Review | Editor or team lead checks the draft |
| Revisions | Writer addresses feedback |
| Ready to Publish | Final copy, images, and metadata confirmed |
| Published | Live on the site |
You don't have to use all six stages. If you're a solo creator, you might collapse Review and Revisions into a single list. The goal is to reflect your actual process, not someone else's template. Write your stages on paper before you open Trello.
Map your real workflow first. If your stages don't match how you actually work, you'll abandon the board within two weeks.
Decide on your publishing cadence and team size
Before you build anything, write down how many pieces you plan to publish per week and who handles each stage. This directly affects how complex your board needs to be. A solo blogger publishing twice a week works fine with a simple three-list board. A team of four handling blog posts, newsletters, and videos needs more layers of structure.
Confirming access early also saves time. Free Trello accounts allow unlimited members on a board, so for most small teams this is not a blocker. Still, make sure every writer, editor, or stakeholder has an active Trello account before you start creating assignments. Doing this up front prevents interruptions mid-setup.
Collect your content inputs before you start
Your calendar is only useful if it has real content to track from day one. Before you build, pull together your keyword list, topic backlog, and any firm deadlines that already exist. If a client or manager hands you a brief, keep it open in a tab while you create your first cards.
Starting with 10 to 15 topics ready to add means you'll finish your board setup with a live, working calendar rather than an empty shell you keep meaning to fill in later.
Step 1. Create a board and turn on Calendar view
Log into Trello and click the "Create" button in the top navigation bar. Select "Create Board," give it a clear name like "Editorial Calendar 2026" or "Content Pipeline," and pick a background color that makes it easy to spot when you have multiple boards open. Set visibility to "Workspace" if your team needs access, or "Private" if you're managing it solo for now.
Create your board with the right settings
Once your board loads, click the three-dot menu in the top-right corner and select "Settings." From here, confirm member permissions before you add any teammates. If you're building a shared Trello editorial calendar with a writing team, set member permissions to "Normal" so writers can move their own cards without touching board-level settings. Keeping this clean from the start prevents confusion later when multiple people are updating cards simultaneously.
Turn on the Calendar Power-Up
Trello's Calendar view works through its built-in Power-Ups system. Click "Power-Ups" in the right-hand board menu, search for "Calendar" in the directory, and click "Add." Once it activates, a "Calendar" tab appears at the top of your board next to the standard board view. Click it anytime to switch to a monthly layout that automatically pulls in due dates from every card on the board.
Any card with a due date set will appear on the Calendar view, so make it a rule that every card gets a due date the moment it's created.
Before moving to the next step, confirm the following are in place:
- Board name is specific and recognizable
- Visibility matches your team's access needs
- Calendar Power-Up is active and showing the Calendar tab
- Member permissions are set correctly for each role
- At least one test card has a due date to verify the calendar renders correctly
Step 2. Build a simple list-based workflow
With your board ready, it's time to add the lists that form the backbone of your workflow. Each list represents one stage in your content process. Go to your board and click "Add a list" on the right side of the board. Name it after the first stage you mapped before you opened Trello, then repeat until all your stages are visible as columns across the board.
Name your lists to match your stages
The list names in your Trello editorial calendar should mirror the stages you wrote down before you started building. Avoid generic names like "In Progress" because they create ambiguity when multiple content types move at different speeds. Instead, use specific, action-oriented names that leave no room for guessing which stage a card belongs to.
A standard six-stage setup looks like this:
- Ideas - topic ideas and keyword targets waiting for assignment
- Drafting - active writing in progress
- Review - editor is reading and marking up the draft
- Revisions - writer is addressing feedback
- Ready to Publish - approved copy with images and metadata confirmed
- Published - live on the site with the URL logged on the card
If you're a solo creator, you can safely merge "Review" and "Revisions" into a single "Editing" list to keep the board lean.
Add your first real cards
Once your lists exist, add one card per content piece you're currently working on. Click "Add a card" at the bottom of the relevant list, type in the article title or working topic, and drag it to the list that matches its current stage. Do this for every piece already in your pipeline before you create anything new. Starting with real content instead of placeholder cards immediately shows you where your bottlenecks are.
Give each card a due date the moment you create it. This feeds directly into the Calendar Power-Up you activated in Step 1, making your deadline view accurate from the start.
Step 3. Standardize cards with labels and fields
Once cards are moving through your lists, the next problem is that every card looks the same. A bare card with just a title tells you nothing about content type, assigned writer, or priority. Adding Trello labels and custom fields fixes this by putting the most important information directly on the card face, so your team can scan the board without opening every card individually.
Use labels to categorize content at a glance
Trello lets you assign color-coded labels to each card, and those labels appear as visible bars on the card thumbnail in board view. Use them to signal content type or priority the moment someone looks at your Trello editorial calendar. Here's a clean label system to start with:
| Label color | Meaning |
|---|---|
| Green | Blog post |
| Blue | Newsletter |
| Orange | Social content |
| Red | High priority / urgent |
| Purple | Video script |
Set a rule that no card leaves the Ideas list without at least one label applied. This keeps your board scannable as it grows.
Consistent label use takes one extra second per card and saves ten minutes of confusion per team member every week.
Add custom fields for structured data
Labels handle categories, but custom fields store the structured details your team needs to execute. Enable the Custom Fields Power-Up from the Power-Ups menu in your board, then add the following fields to every card:
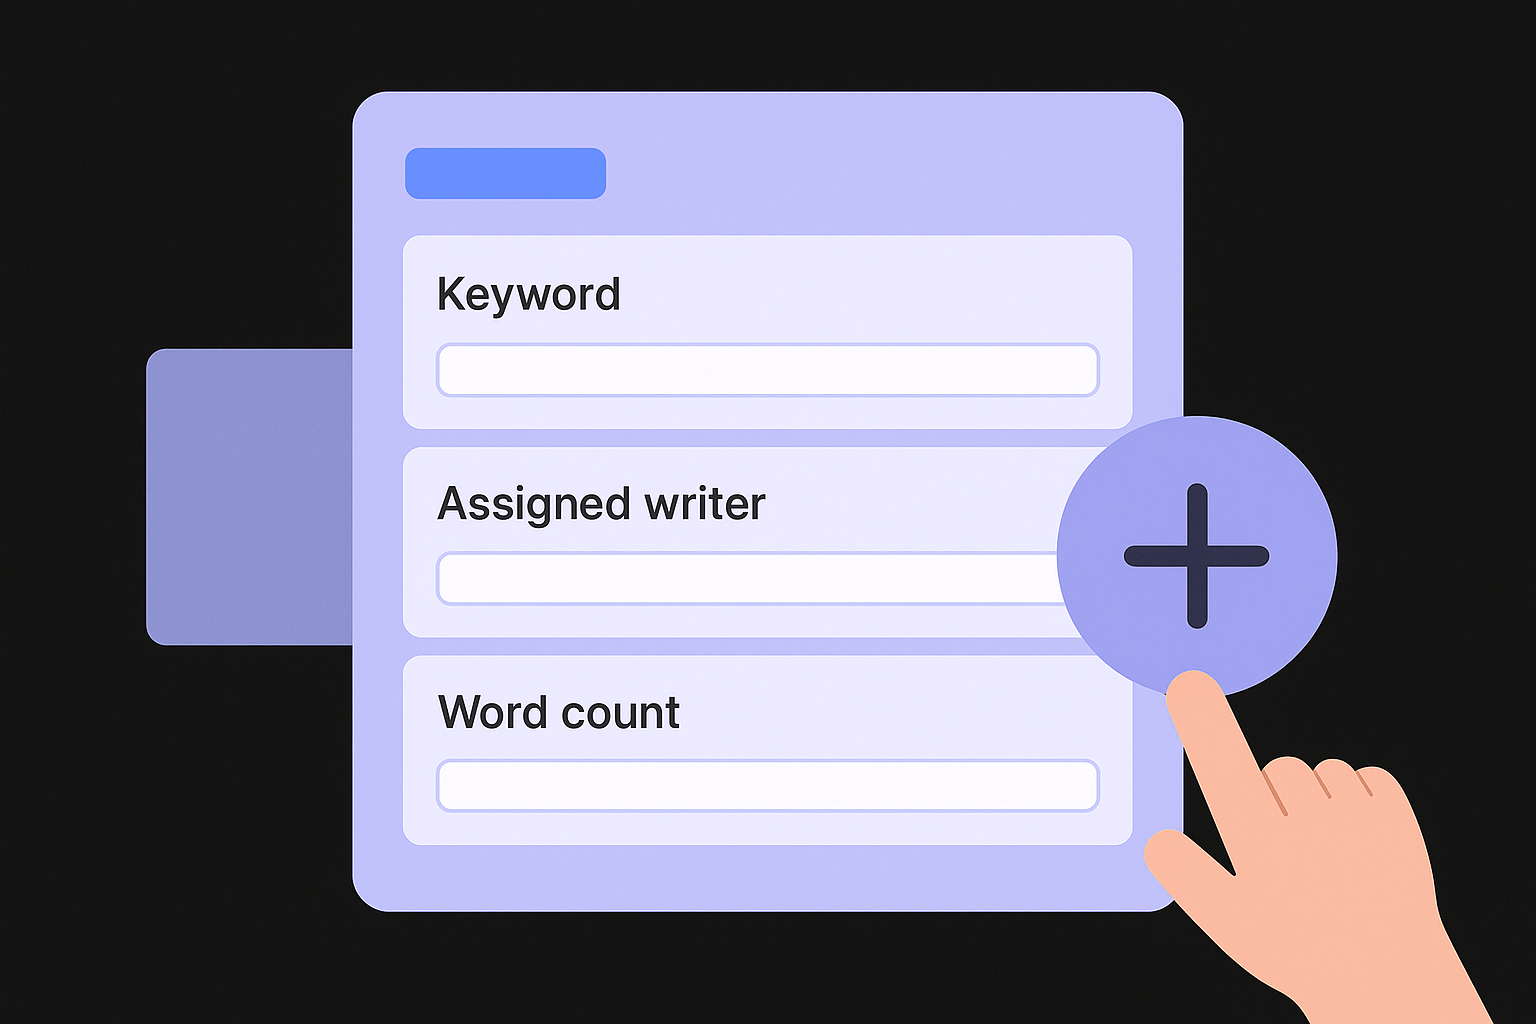
- Target keyword: the primary keyword the article targets
- Assigned writer: who owns the draft
- Word count target: expected length in words
- Publish date: confirmed go-live date
- Live URL: the link once the post is published
Fill in these fields when you create the card, not after the draft is done. Your team can then filter and sort cards by writer or keyword directly from the board without digging through individual cards to find what they need.
Step 4. Add checklists, templates, and automation
A card that just has a title and a due date still leaves your team guessing about what "done" actually means. Checklists, card templates, and Trello's built-in automation tool, Butler, close that gap by turning every card into a self-contained task list that moves itself forward with minimal manual input.
Build a standard checklist for every article
Add a checklist to your card template that covers every task required to take a piece from draft to published. Open any card, click "Checklist" in the right-hand panel, and name it "Pre-Publish Checklist." Use this exact list as your starting point:
- Brief confirmed and keyword target logged
- First draft completed and submitted
- Editor review complete
- Revisions applied
- Featured image added
- Meta title and description written
- Internal links added
- Scheduled or published, URL logged on card
This checklist works as a quality gate so no article gets marked "Ready to Publish" without every box checked.
Save this checklist as part of a card template so you never have to rebuild it from scratch for each new article.
Set up Butler to move cards automatically
Trello's Butler automation tool lets you write simple rules that trigger card actions based on conditions. Click "Automation" in the top board menu to open the Butler panel, then add this rule:
When a checklist is completed, move the card to the next list.
This single rule eliminates the manual step of dragging cards between stages in your Trello editorial calendar. Butler also supports due-date reminders, so you can configure an automatic notification to fire 48 hours before a card's due date, giving writers and editors a built-in heads-up without any extra effort on your part.

Keep your calendar running smoothly
Your Trello editorial calendar only stays useful if you maintain it consistently. Set a weekly 15-minute review where you archive published cards, check for any overdue items, and confirm that every card in the Ideas list has a label and a target keyword. This habit prevents the board from becoming a graveyard of stale drafts that nobody wants to touch.
Treat the board as your single source of truth for all content activity. If a topic changes, update the card immediately rather than tracking the change in a separate spreadsheet. The more your team trusts the board to reflect reality, the more reliably they'll use it. Small discipline around card hygiene, like logging the live URL the moment a post goes live, compounds into a much cleaner operation over time.
If you want your content pipeline to run on autopilot beyond Trello, start automating your SEO content with RankYak and let the platform handle daily article generation while your board tracks everything.

Get Google and ChatGPT traffic on autopilot.
Start today and generate your first article within 15 minutes.

SEO revenue calculator
How much revenue is your website leaving on the table?
Take a quick quiz and see exactly how much organic revenue you're missing out on, along with personalized tips to fix it.
-
4 questions, under 1 minute
-
See traffic and revenue potential
-
No email required
Free · takes 1 minute · no signup needed
Question 1 of 4
Question 2 of 4
Question 3 of 4
Question 4 of 4
Your SEO growth potential
Extra visitors / month
after 6-12 months of consistent publishing
Revenue potential / year
at your niche's avg. conversion rate
Articles needed (12 mo)
to reach this traffic level
ROI with RankYak
at $99/mo ($1,188/year)
To hit that number, you'd need to:
- Build a topical authority strategy for your niche
- Research keywords & map out a full topical cluster
- Write, edit & publish an article every single day
- Build backlinks to the articles you publish
RankYak handles all of this automatically, every day.
* Estimates based on industry averages. Results vary by niche, competition, and domain authority. Most SEO results become visible after 3-6 months of consistent publishing.