How To Use AI Writing Tools: A Practical Workflow Guide

Most people download an AI writing tool, open it once, type a vague prompt, get mediocre output, and never touch it again. That's not a tool problem, it's a workflow problem. Knowing how to use AI writing tools effectively means understanding where they fit into your process, not just what buttons to click.
AI writing tools can help you draft blog posts, clean up emails, summarize research, generate outlines, and optimize content for search engines, but only if you use them with intention. The difference between someone who gets real value and someone who gives up after a week usually comes down to having a repeatable system rather than treating the tool like a magic box.
At RankYak, we built an entire platform around this idea: structured AI workflows that handle SEO content from keyword research to publishing, automatically. But whether you're using our platform or assembling your own toolkit, the principles behind effective AI writing stay the same.
This guide walks you through a practical, step-by-step workflow for using AI writing tools across drafting, editing, summarizing, and optimizing your content. No theory dumps, just actionable steps you can apply to whatever you're writing today.
What AI writing tools can and cannot do
Before you learn how to use AI writing tools effectively, you need an honest picture of what they're built to do and where they break down. Most frustration with these tools comes from expecting them to replace human judgment, but they don't work that way. They're built to accelerate production and reduce friction in the writing process, not to think for you, verify your claims, or develop your strategy from scratch.
What AI writing tools do well
AI writing tools handle pattern-based tasks at a speed no human writer can match. Feed a tool a clear prompt and it can produce a first draft in seconds, suggest multiple headline variations, rewrite a dense paragraph in plain language, or compress a 10-page report into three bullet points. These are tasks where volume and speed matter more than deep original thinking, and that's where the tools genuinely earn their place in your workflow.
Here's a practical breakdown of what AI tools handle well:
| Task | Example |
|---|---|
| Drafting from a brief | Give the tool a topic, audience, and tone, and get a usable first draft |
| Rewriting and simplifying | Paste in a complex sentence and ask for a cleaner version |
| Generating variations | Headlines, subject lines, CTAs, and product descriptions |
| Summarizing source material | Compress long documents into key takeaways |
| Brainstorming structure | Ask for outline ideas or section headers before you start writing |
| Filling in repetitive content | FAQ answers, boilerplate sections, and meta descriptions |
The best AI writing results come when you treat the tool as a fast first-draft machine, not a finished-product generator.
Where AI writing tools fall short
AI writing tools struggle anywhere original judgment and lived experience are required. They cannot verify facts independently, so any statistics or claims they generate need manual checking before you publish. They also don't know your specific customers, your internal product details, or the tone quirks that make your brand sound distinct. When you skip that layer of human review, you end up with content that reads as generic and forgettable, which directly hurts your SEO performance and audience trust.
There are also structural limitations worth understanding before you build your workflow. Most AI tools generate text based on patterns in training data, which means they sometimes repeat phrases, hedge excessively, or produce confident-sounding statements that are factually wrong. This is called hallucination, and it happens often enough that you should treat every factual claim in AI-generated output as unverified until you check it yourself.
Finally, AI tools won't develop a content strategy for you. They can write a blog post on any topic you name, but they won't tell you which topics to target, how to build topical authority, or how a specific piece of content fits into a broader plan for ranking in search. Those decisions require human input or a more complete platform that layers strategy on top of generation. Understanding this boundary is what separates people who get real results from those who produce a lot of content that never gains traction. Once you internalize what the tool actually does well, you stop fighting its limitations and start designing your workflow around them.
Set up your workflow and guardrails
Before you start learning how to use AI writing tools inside any specific step, you need to define the rules your workflow runs on. Without guardrails, AI-assisted content quickly becomes inconsistent: one article sounds formal, the next sounds casual, some pieces include citations and some don't. Setting clear standards upfront saves you hours of back-and-forth editing and keeps your output quality predictable across every piece you produce.

Define what "done" looks like
Your first guardrail is a clear definition of a finished piece before drafting starts. This sounds simple, but most people skip it and end up in revision loops with no end in sight. Write down the specific conditions a piece needs to meet before it goes live. A short checklist works better than a vague standard you carry around in your head.
Here is a minimal checklist you can adapt right now:
- Topic and target keyword confirmed before drafting starts
- Facts and statistics manually verified against a primary source
- Tone matches your brand voice guidelines
- No hallucinated claims or unsupported statistics remain in the draft
- Internal links added where relevant
- Meta description written and under 160 characters
Treating this checklist as a hard gate rather than a suggestion is what separates a consistent content operation from ad-hoc publishing.
Set rules for what AI writes versus what you write
Not every section of your content should come from an AI tool. Your core argument, first-hand experiences, and any proprietary data should always come from you. AI tools handle the scaffolding around those elements: transitions, introductions, and repetitive sections like FAQs.
Map your content into two clear columns before you open any tool. The "AI drafts" column holds sections where speed matters more than uniqueness: outlines, boilerplate copy, meta descriptions, and supporting paragraphs. The "human writes" column holds your unique perspective, verified data, specific examples from your own work, and your final editorial voice. Keeping these roles separate prevents you from publishing generic output that lacks the specificity both search engines and readers expect from content worth their time.
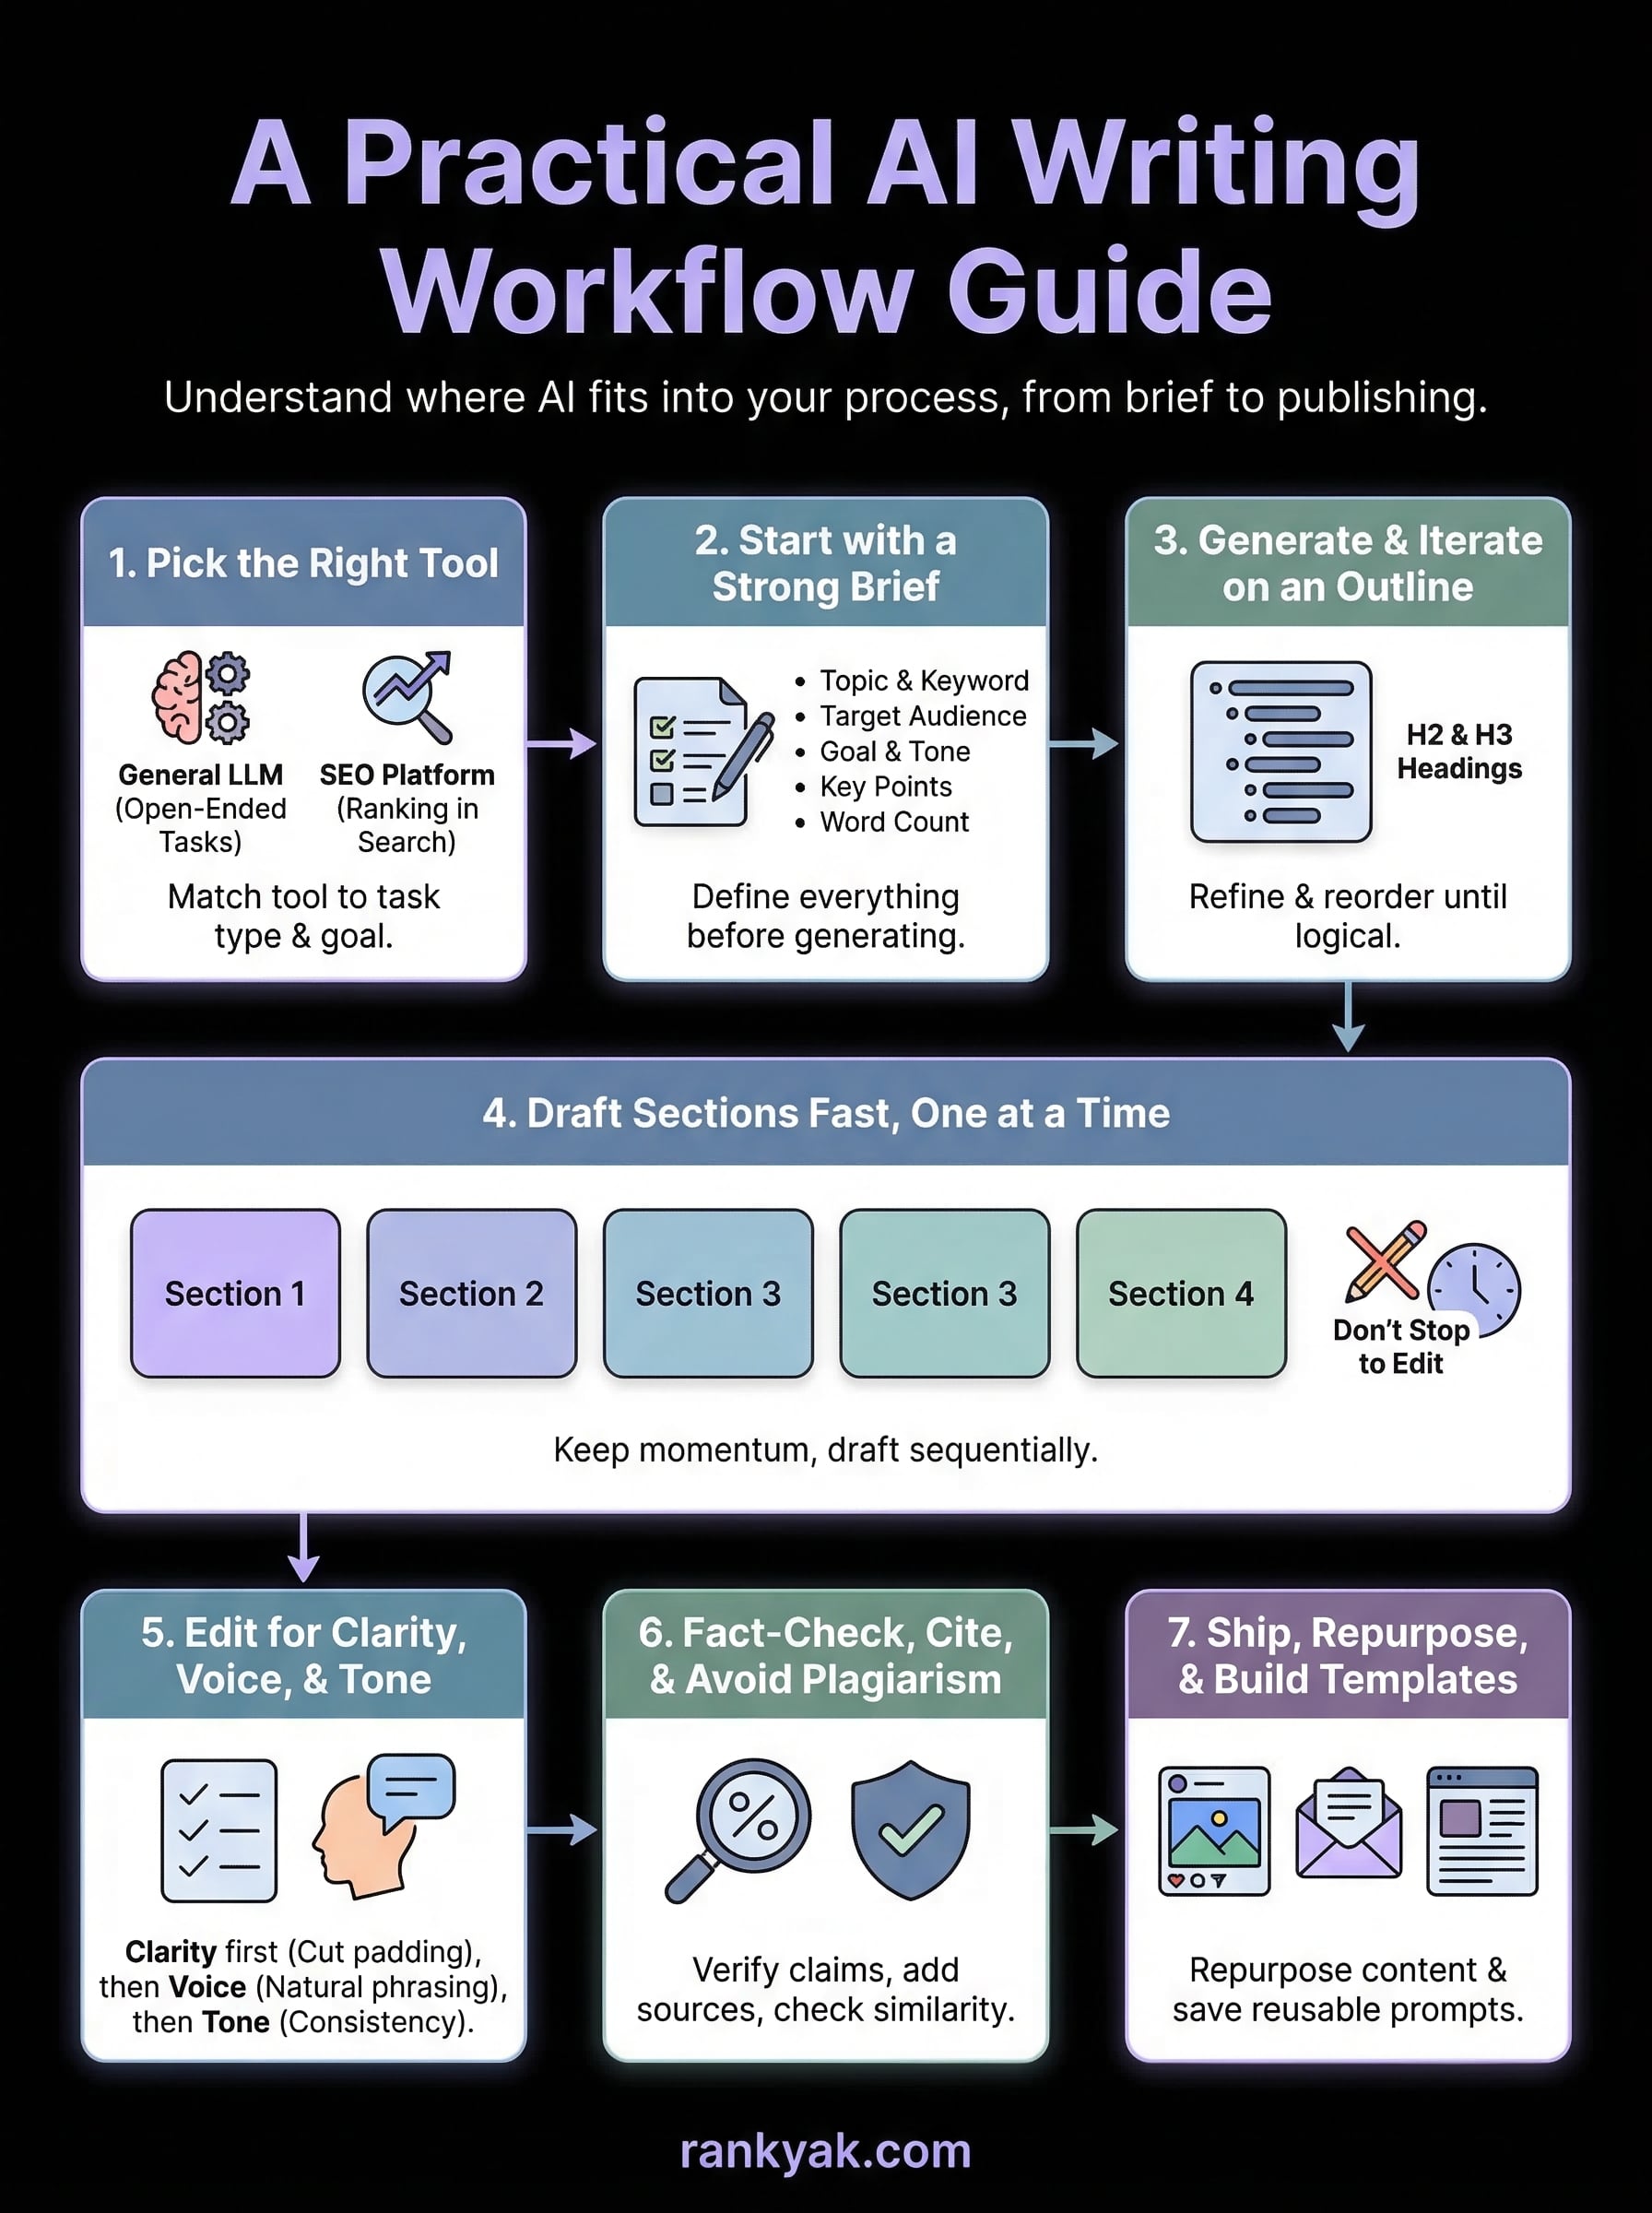
Step 1. Pick the right tool for the job
The biggest mistake people make when learning how to use AI writing tools is grabbing the first tool they find and forcing it to handle every task. Different tools are built for different jobs, and using the wrong one wastes time and produces weak output. Before you open anything, match your task type to the tool category that actually fits your goal.
Picking the right tool upfront cuts your editing time significantly because you're not fighting against a tool that was never designed for your specific use case.
Match the tool to the task type
General-purpose large language model tools like ChatGPT or Gemini work well for open-ended drafting, rewriting, and brainstorming where you want creative flexibility. SEO-focused platforms layer keyword strategy and search intent on top of that generation, which matters when your goal is ranking in search, not just producing text. Knowing the difference before you start means you pick a tool that actively supports your goal rather than one you have to constantly work around.
Use this table to match your task to the right tool category:
| Task | Tool Category |
|---|---|
| Blog post drafting with SEO goals | SEO-focused AI platform |
| Rewriting a dense paragraph | General-purpose LLM |
| Summarizing a research document | General-purpose LLM |
| Keyword research and content planning | SEO-focused AI platform |
| Email subject line variations | General-purpose LLM |
| Meta descriptions at scale | SEO-focused AI platform |
Know when a general tool is enough
Not every writing task requires a specialized platform. Short-form tasks like email rewrites, social post drafts, and internal memos are well-handled by a general-purpose tool where you control the prompt manually. These tasks don't require keyword data, competitor analysis, or publishing integrations, so adding that layer just creates unnecessary steps in your process.
Reserve specialized SEO platforms for content that needs to rank, where the tool's ability to integrate search intent, topic clusters, and structured optimization gives you a real edge over manual workflows. Treating a general tool like a specialized one produces bloated, unfocused output; treating a specialized platform like a simple chatbot wastes the features you're paying for.
Step 2. Start with a strong brief
The quality of your AI output is directly proportional to the quality of your brief. This is the step most people skip entirely, and it's why their generated content reads like filler. When you understand how to use AI writing tools effectively, you quickly learn that a vague prompt produces a vague draft. A specific, structured brief produces output you can actually work with on the first pass.
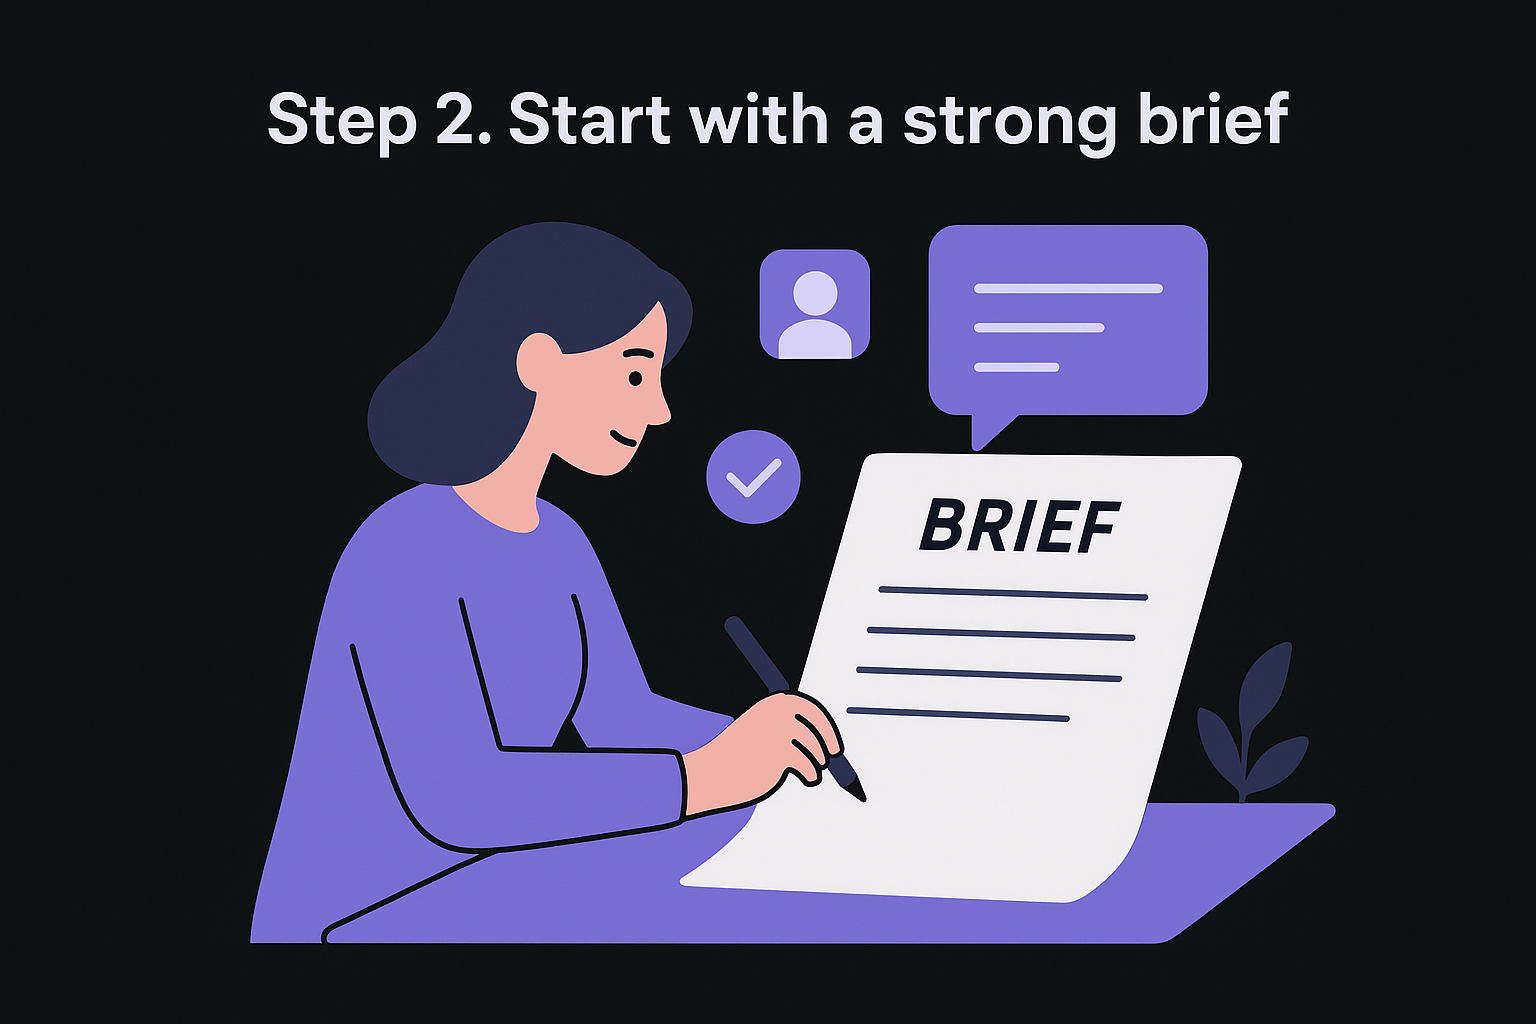
What a strong brief includes
A strong brief gives the tool everything it needs before it generates a single word: the target audience, the goal of the piece, the primary keyword, the tone, the length, and any specific points you want covered. Each missing element forces the tool to make an assumption, and those assumptions are almost always wrong. The more you fill in upfront, the less you fix on the back end.
Here are the core components every brief should include before you send a single prompt:
- Topic and primary keyword: What the piece covers and the exact term you're targeting
- Target audience: Who will read this and what they already know about the topic
- Goal: What action or outcome you want the reader to take after reading
- Tone: Formal, conversational, direct, technical, or a specific style reference
- Key points to cover: Specific arguments, subtopics, or facts you want included
- Word count and format: Approximate length and whether it needs headers, a list, or a table
Spending three minutes on a brief before prompting saves you twenty minutes of editing after the draft lands.
A brief template you can use right now
Copy this template into your workflow and fill it in before you open any tool. Treat every field as required, not optional.
Topic: [exact topic]
Primary keyword: [target keyword phrase]
Target audience: [who they are + what they already know]
Goal: [what you want the reader to do or understand]
Tone: [conversational / formal / direct / technical]
Key points to include:
- [point 1]
- [point 2]
- [point 3]
Word count: [approximate length]
Format notes: [headers needed / list format / table required / none]
Paste this directly into your prompt before your actual request. The tool treats your brief as its creative constraint, which means you get focused output instead of a generic overview that covers everything loosely and nothing well.
Step 3. Generate and iterate on an outline
An outline is the single most important thing you generate before a draft. When you understand how to use AI writing tools correctly, you treat the outline as a standalone deliverable, not a quick step you rush through to get to the writing. Getting the structure right before a single sentence of body copy exists saves you from scrapping and rewriting entire sections later.
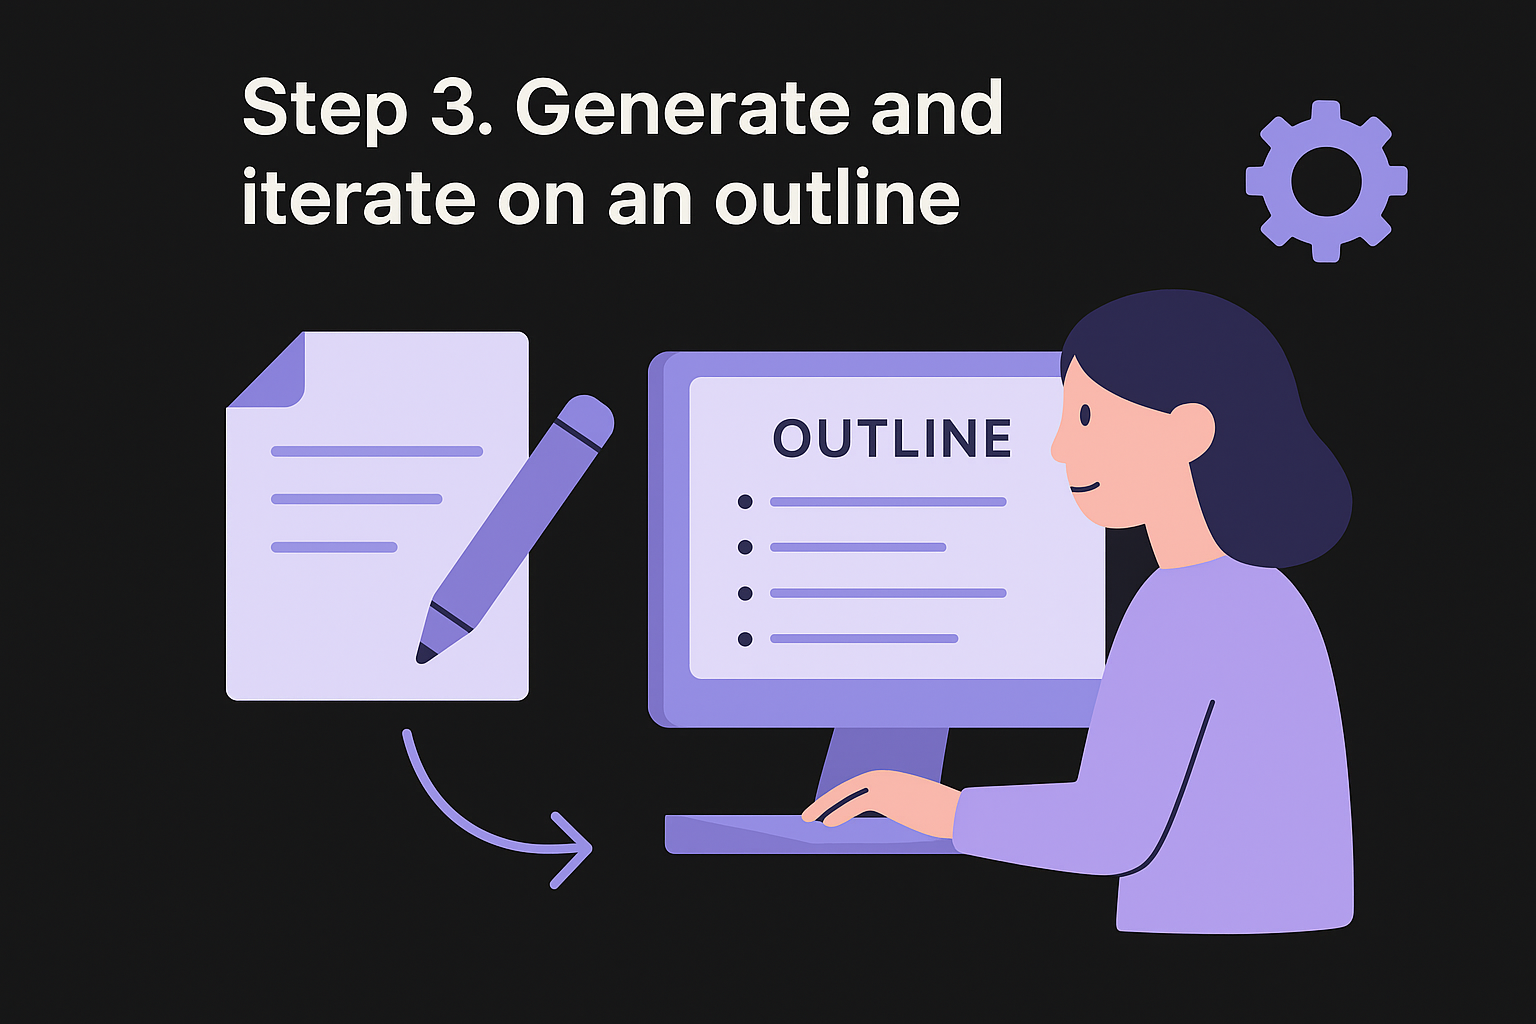
Why the outline step matters before drafting
Most AI-generated drafts feel disorganized because the tool started writing without a clear structure to follow. When you generate and approve the outline first, you give the tool a framework that shapes every paragraph it produces afterward. A well-built outline also forces you to spot logic gaps and missing angles before they get buried inside a 1,500-word draft that you then have to reorganize from scratch.
Fixing structure at the outline stage takes two minutes; fixing it inside a full draft takes twenty.
How to prompt for a useful outline
Your outline prompt should build directly on the brief you created in Step 2. Give the tool your primary keyword, target audience, and the goal of the piece, then ask it to produce a heading structure with a one-sentence description for each section. That description keeps each section focused and gives you a clear signal when the tool has misunderstood your intent.
Use this template as your starting outline prompt:
Generate a detailed outline for an article on [topic].
Primary keyword: [keyword]
Audience: [who they are]
Goal: [what the reader should do or understand after reading]
Format: H2 and H3 headings only, with one sentence describing
the purpose of each section.
Review what comes back and check that the section order follows a logical progression and that no major subtopic your audience would expect is missing.
How to iterate until the structure is right
Your first outline will rarely be final, and that is expected. Treat the first output as a rough draft of a structure, not a finished plan. Move sections, remove redundant headings, and add any angles the tool missed before you approve it. You can paste the draft outline back into the tool and ask it to swap section order, split a broad heading into two focused ones, or remove anything that overlaps.
Run two or three rounds of this iteration inside the outline stage alone. Each pass makes the structure tighter, which directly improves the quality of every draft section you produce next.
Step 4. Draft sections fast, one at a time
This is where the actual writing happens, but the key word is "sections," not "article." One of the most common mistakes people make when learning how to use AI writing tools is prompting the tool for a full article in a single request. That approach produces bloated, repetitive output that needs a complete overhaul. Drafting one section at a time gives you control over each piece of the structure and produces tighter, more focused writing from the start.
Send one section prompt at a time
Each section prompt should reference your approved outline and give the tool the specific heading it needs to fill, the target audience, the tone, and the approximate word count for that section. Keeping your prompts narrow and specific prevents the tool from wandering into adjacent topics or repeating points already covered in a previous section.
Use this section-level prompt template for every heading in your outline:
Write the "[section heading]" section of an article about [topic].
Audience: [who they are]
Tone: [tone]
Target word count: [approximate length]
Key points to cover:
- [point 1]
- [point 2]
Avoid: [anything the tool should not repeat from earlier sections]
Pull the relevant key points directly from the outline brief you built in Step 2 so the tool stays focused on what actually belongs in this section and nothing else.
Keep momentum by staying in the draft, not the edit
The fastest way to slow down your drafting phase is to stop and edit each section the moment it arrives. Your only job at this stage is to get usable raw material, not polished copy. Read the output quickly, flag anything obviously wrong or missing with a comment or a bracket note like [CHECK THIS STAT], and move directly to the next section prompt without stopping to fix anything.
Editing while drafting splits your attention and slows your output without improving the final quality of the finished piece.
Once you have all sections drafted, you have a complete rough document to work from, which is a fundamentally different editing task than fixing each section in isolation. You can see the full piece at once, spot redundancy across sections, and address flow issues that only become visible when the whole structure is in front of you.
Step 5. Edit for clarity, voice, and tone
You have a complete rough draft at this point, and the editing pass is where AI-generated text becomes your content. Knowing how to use AI writing tools well means you treat the edit as a distinct phase with a specific sequence: clarity comes first, then voice and tone. Trying to fix all three at once produces inconsistent results and slows you down.
Fix clarity first, then voice
Clarity edits focus on one question: does each sentence say exactly what you mean, without extra words? Work through your draft sentence by sentence and cut anything that repeats a point already made, hedges unnecessarily, or builds up to a statement without landing it. AI tools often pad transitions and overuse phrases like "it is important to note" or "in today's fast-paced world." Delete these on sight.
A clear sentence is almost always shorter than the AI's first version of it.
After clarity, your voice and tone adjustments transform generic output into something that sounds like you. Read each paragraph aloud. If you would not say a sentence that way in a conversation with your target reader, rewrite it. The fastest method is to flag awkward or overly formal sentences and replace the stiff phrasing with the words you actually use when you talk about this topic.
Use a structured editing checklist
Running the same checklist on every draft keeps your editing process consistent regardless of which tool generated the content. Use this hard pass checklist before you move any piece forward:
Clarity pass:
[ ] Cut sentences longer than 25 words that can be split
[ ] Remove hedge phrases: "it is worth noting", "essentially", "in conclusion"
[ ] Delete any sentence that repeats a point from the previous paragraph

Voice pass:
[ ] Replace formal phrasing with your natural vocabulary
[ ] Check that the opening paragraph sounds like a human wrote it
[ ] Confirm the tone matches your brand voice guidelines from Step 1

Tone pass:
[ ] Verify the piece stays consistent in formality from start to finish
[ ] Flag any section that shifts from direct to passive without reason
[ ] Read the final paragraph aloud to confirm it lands at the right register
Applying all three passes in sequence takes less time than trying to catch everything at once, and it produces a more consistent final draft each time you apply it.
Step 6. Fact-check, cite, and avoid plagiarism
Part of knowing how to use AI writing tools responsibly means treating every AI-generated factual claim as unverified until you confirm it yourself. AI tools generate text by predicting likely word sequences, not by querying a live, verified database. That means a tool can produce a confident-sounding statistic that is completely fabricated. Publishing that claim without checking damages your credibility with readers and signals to search engines that your content does not meet the accuracy standards they reward with higher rankings.

Verify every factual claim before publishing
Every number, percentage, named study, quote, and date in your draft needs a primary source you can link to directly. Work through your draft and highlight anything that could be independently verified. Then confirm each claim against the original source, not a secondary article that cites the original. If you cannot find the source, cut the claim or rewrite it as a general statement without the specific figure attached to it.
If you cannot verify a claim in under two minutes of searching, remove it rather than leave a potential hallucination in your published content.
Use this fact-check pass to catch the most common AI accuracy problems before you move forward:
- Statistics and percentages: Confirm the exact number and the organization that published it
- Named studies or reports: Find the original publication, not just a summary article
- Quotes attributed to real people: Locate the original source where the quote was recorded
- Product names, versions, or pricing: Check the official source directly for current accuracy
- Dates and timelines: Verify against a primary record, not another AI-generated article
Add citations and check for plagiarism
Once your factual claims are verified, link each one to its primary source inline so readers can follow the evidence themselves. This strengthens your content's E-E-A-T signals, which matter directly for search ranking. A statement backed by a link to an authoritative source always carries more weight than the same statement left without any support, and readers notice the difference when they want to dig deeper.
Running your finished draft through a plagiarism checker before publishing catches a separate problem. AI tools sometimes reproduce phrases from training data closely enough to trigger similarity flags. Checking your draft protects your original work and ensures your published content stays clear of unintentional duplication that could conflict with copyright standards or search engine quality guidelines.
Step 7. Ship, repurpose, and build templates
Publishing a finished piece is not the end of your workflow, it is the start of a leverage cycle. Every article you ship contains raw material for multiple shorter formats, and every prompt sequence you used to produce it can become a reusable template for the next piece you create. This final step is where knowing how to use ai writing tools compounds: you stop producing content one piece at a time and start building a system that gets faster with every article you complete.
The writers who get the most value from AI tools are not the ones who write more, they are the ones who reuse more.
Repurpose each finished piece into multiple formats
Once your article is live, run a single repurposing pass before you move on to your next piece. Your finished draft already contains everything you need: a clear argument, verified facts, and structured sections. All you need to do is extract the core points and feed them back into the tool with a format-specific prompt.
Use this repurposing prompt template directly after publishing:
Take the following article and produce:
1. A 3-tweet thread summarizing the main points
2. A LinkedIn post (150 words max) based on the key takeaway
3. A 5-bullet email newsletter summary

Article text: [paste your finished article here]
Tone: [your brand tone]
Audience: [your target reader]
Each output from this prompt takes under two minutes to review and adjust, which means one article now covers four distribution channels instead of one.
Build reusable prompt templates for your next draft
Every brief, outline, and section prompt you write in this workflow is a template waiting to be saved. Store each prompt structure in a simple document or note-taking app so you never rebuild it from scratch. Label each template by content type, such as "SEO blog post," "product FAQ," or "email newsletter," so you can pull the right one the moment a new project starts.
Here is a minimal template library structure to copy right now:
| Template name | When to use |
|---|---|
| Article brief | Before every new blog post or guide |
| Outline prompt | After the brief is approved |
| Section draft prompt | For each H2 in the outline |
| Repurposing prompt | Immediately after publishing |
| Editing checklist | Before every piece goes live |
Saving and reusing these templates cuts your setup time on every future piece and keeps your output consistent across your entire content operation.
Next steps
You now have a complete picture of how to use AI writing tools across every stage of your content workflow, from picking the right tool to building reusable templates that speed up every piece you produce. The system only works if you put it into practice, so start with one article this week using the brief template from Step 2 and run it through each step in sequence.
Once you have one successful pass under your belt, the entire workflow becomes faster and more repeatable. The biggest gains come from consistency, not from finding a better tool or a smarter prompt. Stick to the same checklist, save your templates, and your output quality compounds over time.
If you want to skip the manual setup entirely and run this kind of structured, SEO-focused content operation on autopilot, try RankYak free for 3 days. It handles keyword research, article generation, and publishing in one place so you can focus on the work that requires your judgment.

Get Google and ChatGPT traffic on autopilot.
Start today and generate your first article within 15 minutes.

SEO revenue calculator
How much revenue is your website leaving on the table?
Take a quick quiz and see exactly how much organic revenue you're missing out on, along with personalized tips to fix it.
-
4 questions, under 1 minute
-
See traffic and revenue potential
-
No email required
Free · takes 1 minute · no signup needed
Question 1 of 4
Question 2 of 4
Question 3 of 4
Question 4 of 4
Your SEO growth potential
Extra visitors / month
after 6-12 months of consistent publishing
Revenue potential / year
at your niche's avg. conversion rate
Articles needed (12 mo)
to reach this traffic level
ROI with RankYak
at $99/mo ($1,188/year)
To hit that number, you'd need to:
- Build a topical authority strategy for your niche
- Research keywords & map out a full topical cluster
- Write, edit & publish an article every single day
- Build backlinks to the articles you publish
RankYak handles all of this automatically, every day.
* Estimates based on industry averages. Results vary by niche, competition, and domain authority. Most SEO results become visible after 3-6 months of consistent publishing.