ClickUp Content Calendar: How To Set Up A Winning Workflow
Managing a content pipeline without a clear system is like driving without a map, you might move forward, but you'll waste time getting lost. A ClickUp content calendar gives your team a single place to plan, assign, and track every piece of content from idea to publication. No more scattered spreadsheet content calendars, missed deadlines, or "wait, who's writing that?" moments.
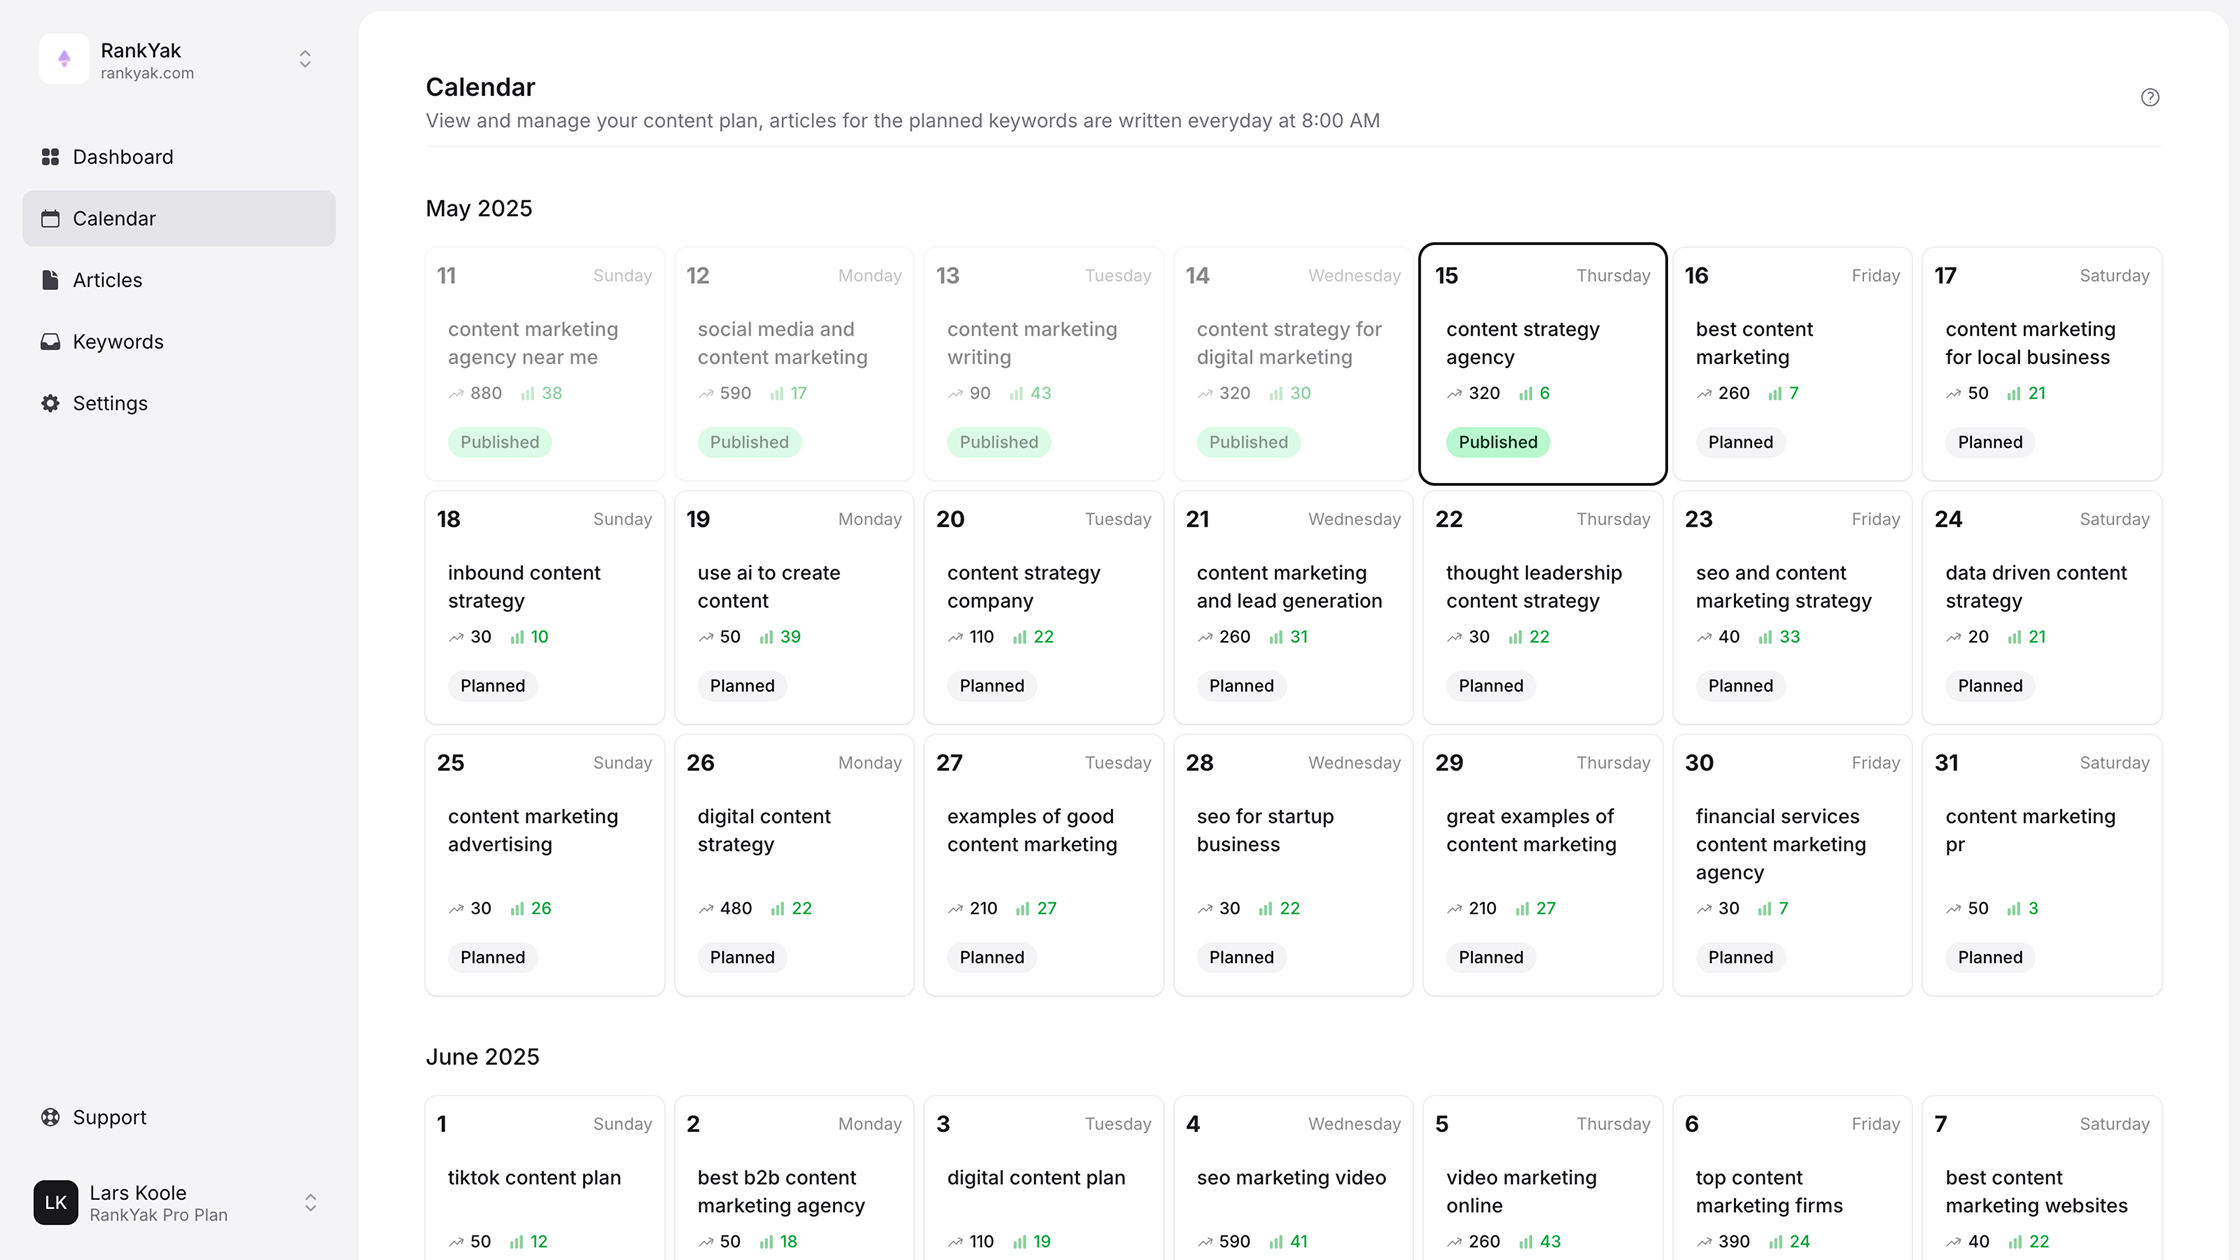
But here's the thing: even the best-organized calendar only solves half the problem. Planning content is one step; automating SEO content production consistently is another. That's where tools like RankYak come in, automating the daily creation and publishing of search-ready content so your calendar never has empty slots collecting dust.
In this guide, you'll learn exactly how to set up a content calendar in ClickUp from scratch, configure custom views and automations, and build a workflow that actually keeps your publishing schedule on track. Whether you're a solo marketer or managing content across multiple sites, these steps will help you turn ClickUp into a reliable content command center.
What a ClickUp content calendar needs to include
A content calendar only works if it captures all the information your team needs to move a piece of content from idea to published without constant back-and-forth, which is how content calendars work in practice. Before you build anything in ClickUp, get clear on what data points matter most for your specific workflow. A bare-bones list of titles and due dates will fall short the moment you scale, and an overly complex setup will slow your team down just as fast.
A well-structured content calendar in ClickUp acts as the single source of truth for your entire content operation, reducing the need for status meetings and follow-up messages.
The core structural pieces
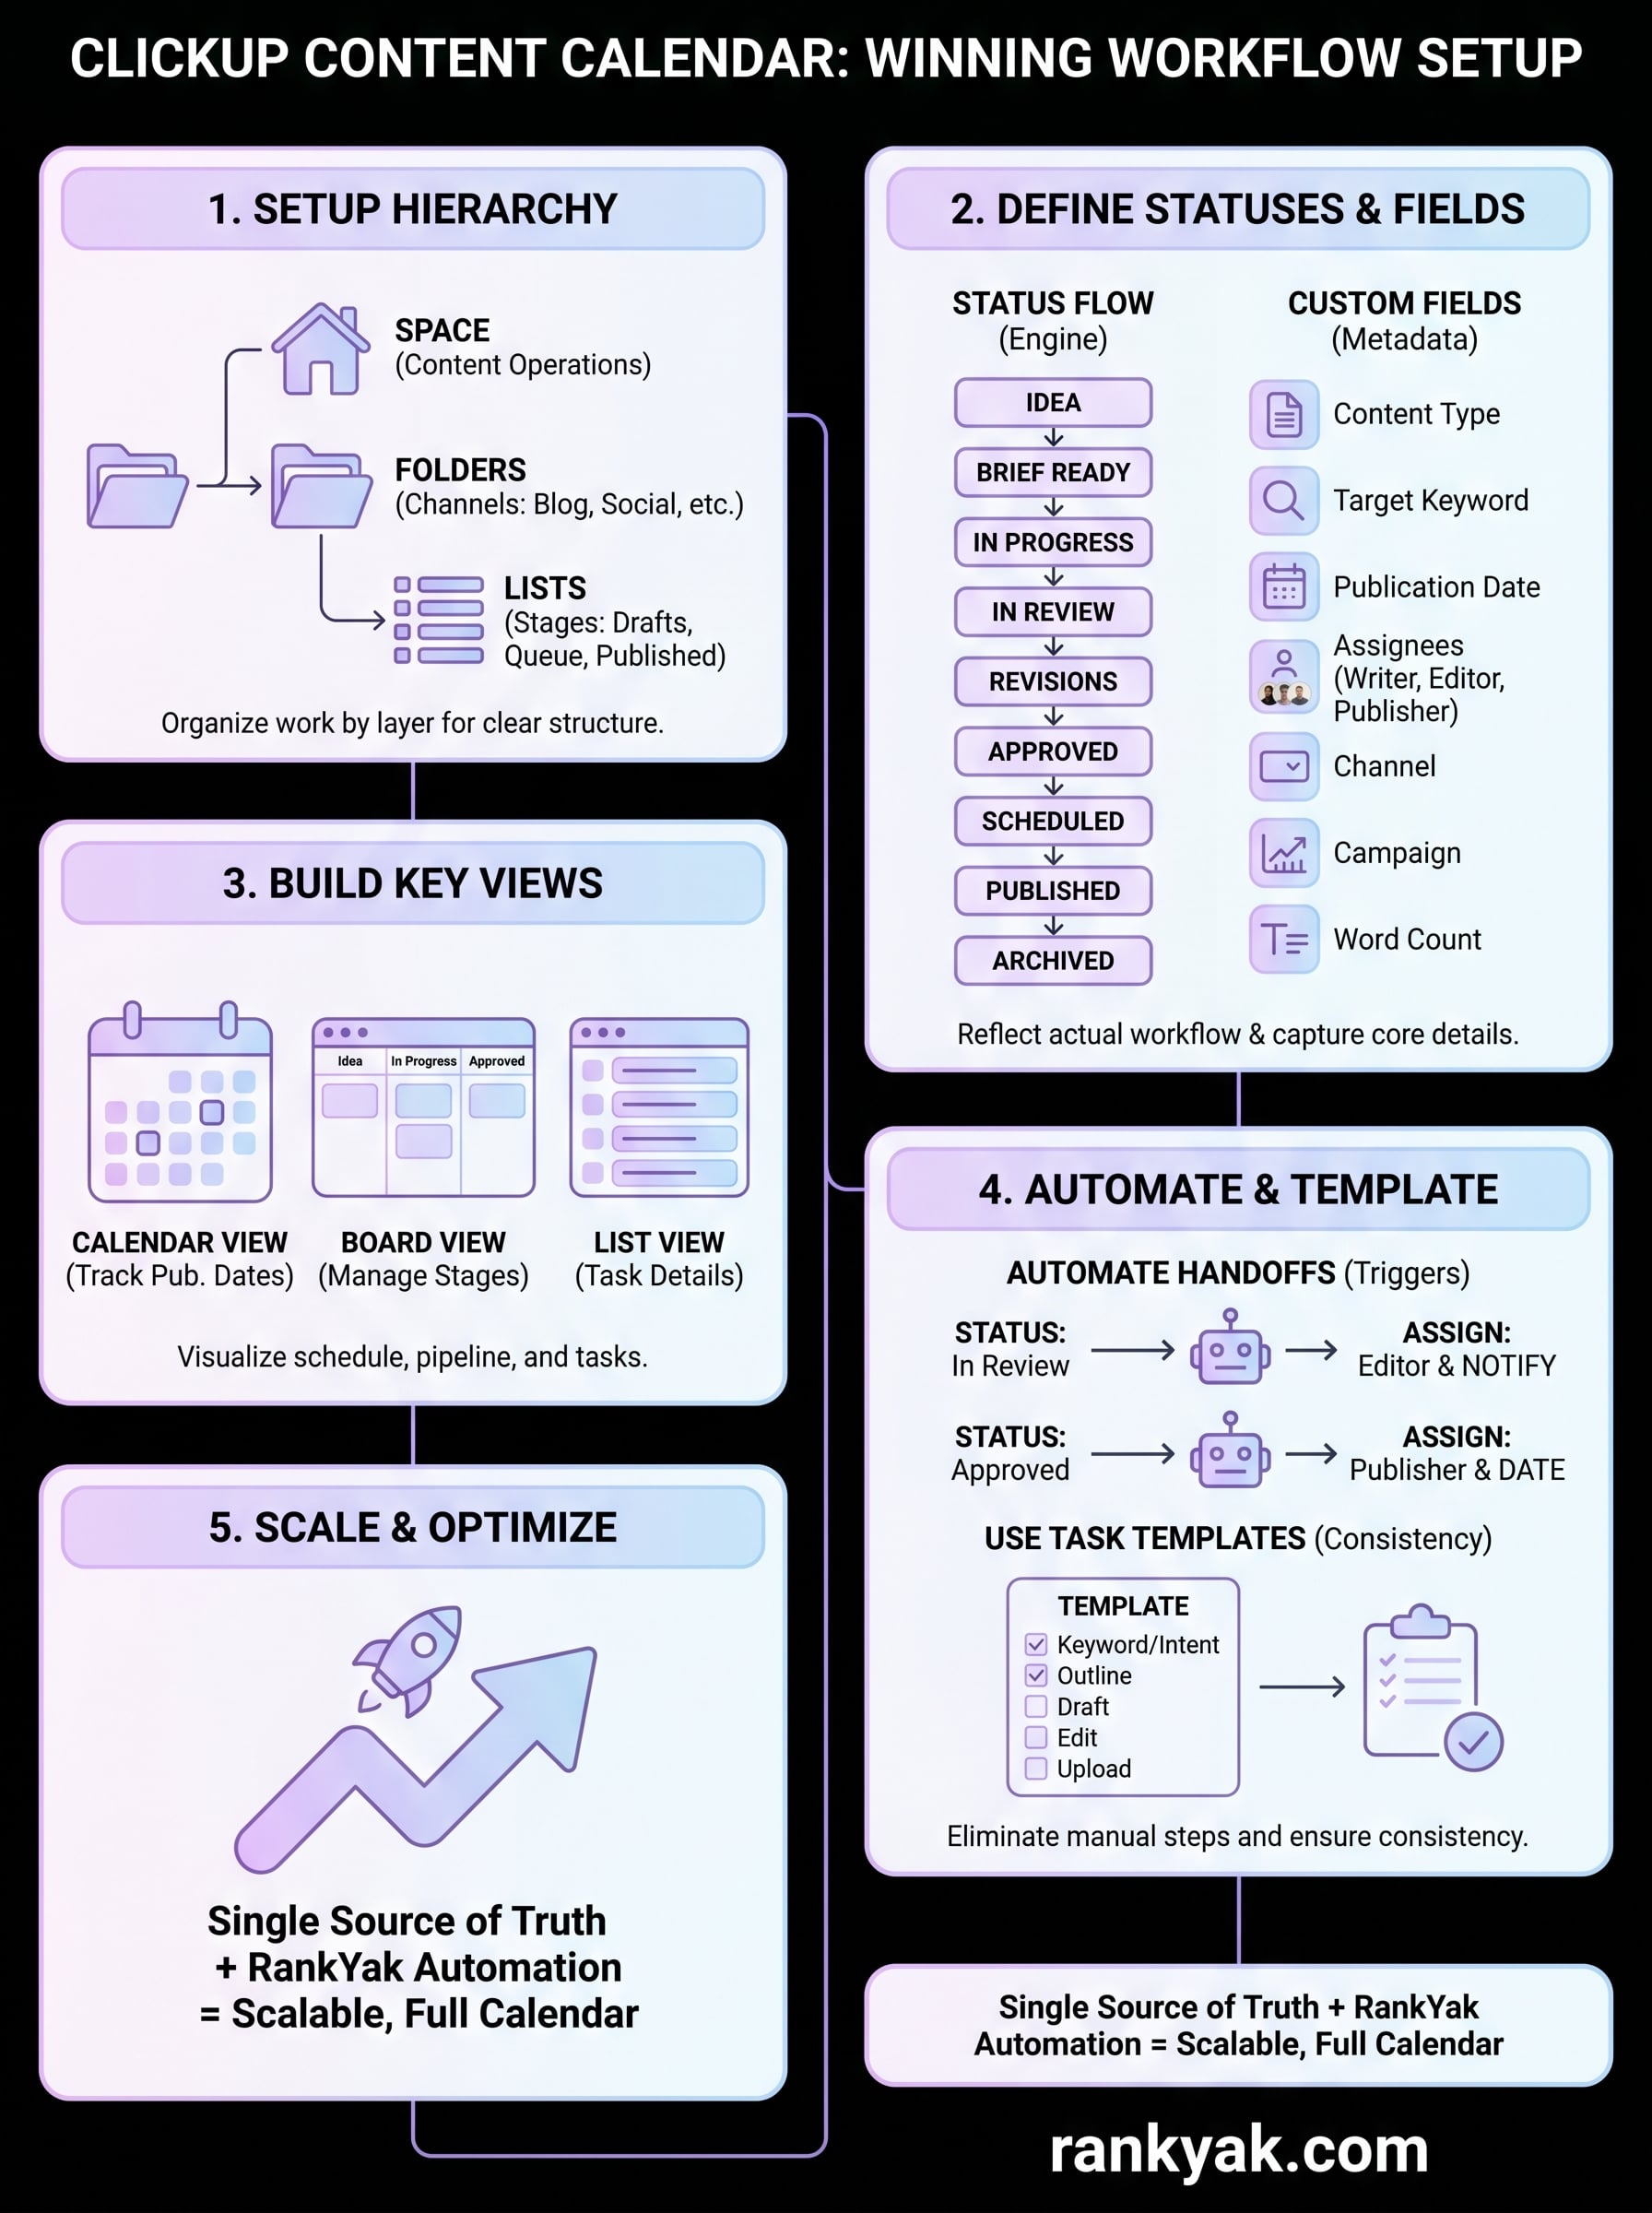
Your ClickUp content calendar needs a logical structure before any views or automations can help you. That structure starts with three foundational elements: a dedicated Space for your content operation, a Folder to organize content by channel or campaign, and individual Lists for specific content types such as blog posts, social content, or video scripts.
Each of these layers serves a different organizational purpose. Spaces hold the big picture, Folders group content by theme or platform, and Lists contain the individual tasks your team actually works on day to day. Without this hierarchy in place, your calendar turns into a flat pile of tasks with no clear ownership or context.
The fields and metadata your tasks need
Every content task in ClickUp needs a consistent set of custom fields so anyone on your team can open a task and immediately understand its status, deadline, and owner. Skipping fields might feel like a time saver up front, but it creates confusion and forces you to dig through comments or message teammates to find basic details.
Here are the core fields every content task should carry:
- Content type (blog post, newsletter, social post, video script)
- Target keyword or topic so writers know what the piece is optimized for
- Publication date as a separate field from the task due date
- Assigned writer, editor, and publisher to clarify ownership at each stage
- Content status (Idea, In Progress, In Review, Approved, Published)
- Channel or platform (website, LinkedIn, email, YouTube)
- Word count target if you want to track output consistently
This field set gives you enough information to filter, sort, and report on your content pipeline without overwhelming contributors with unnecessary inputs.
A channel and campaign view of your content
Beyond individual tasks, your calendar needs a way to see content grouped by channel and campaign so you can spot gaps when planning a publishing schedule that stays consistent before they become problems. A calendar view that shows all content types in one place helps you balance output across platforms and avoid over-publishing on one channel while neglecting another.
For example, if your marketing plan calls for three blog posts, two newsletters, and five social posts per week, you need a view that makes it immediately obvious when one of those targets is falling behind. ClickUp's Calendar and Board views let you surface this information without any manual reporting, but only if your tasks carry the right metadata from the start. Setting up your fields and structure correctly now saves you from rebuilding everything later when your team grows or content volume increases.
Step 1. Set up your Space, Folder, and List
Getting your ClickUp hierarchy right from the start prevents the most common content calendar problem: tasks piling up in the wrong place with no clear structure behind them. ClickUp organizes work in four layers: Spaces, Folders, Lists, and Tasks. For your ClickUp content calendar, you need to use all four intentionally, or the whole system becomes a disorganized task dump.
Create a dedicated Content Space
Open ClickUp and create a new Space called something specific like "Content Operations" or "Marketing Content." Give it a distinct color and icon so your team can navigate to it instantly without scanning through multiple Spaces. Keep all content-related work inside this single Space rather than mixing it with product or operations tasks. That separation makes it much easier to build views and automations later that only pull in content-related data.
A dedicated Space signals to your team that content work has its own system, its own rules, and its own owners, which reduces the chance that tasks get lost in a general project area.
Build your Folder and List structure
Inside your Content Space, create a Folder for each major content channel you publish to. Common Folders include Blog, Social Media, Email Newsletter, and Video. This grouping keeps content types organized at a glance and lets you filter or report by channel without extra configuration.
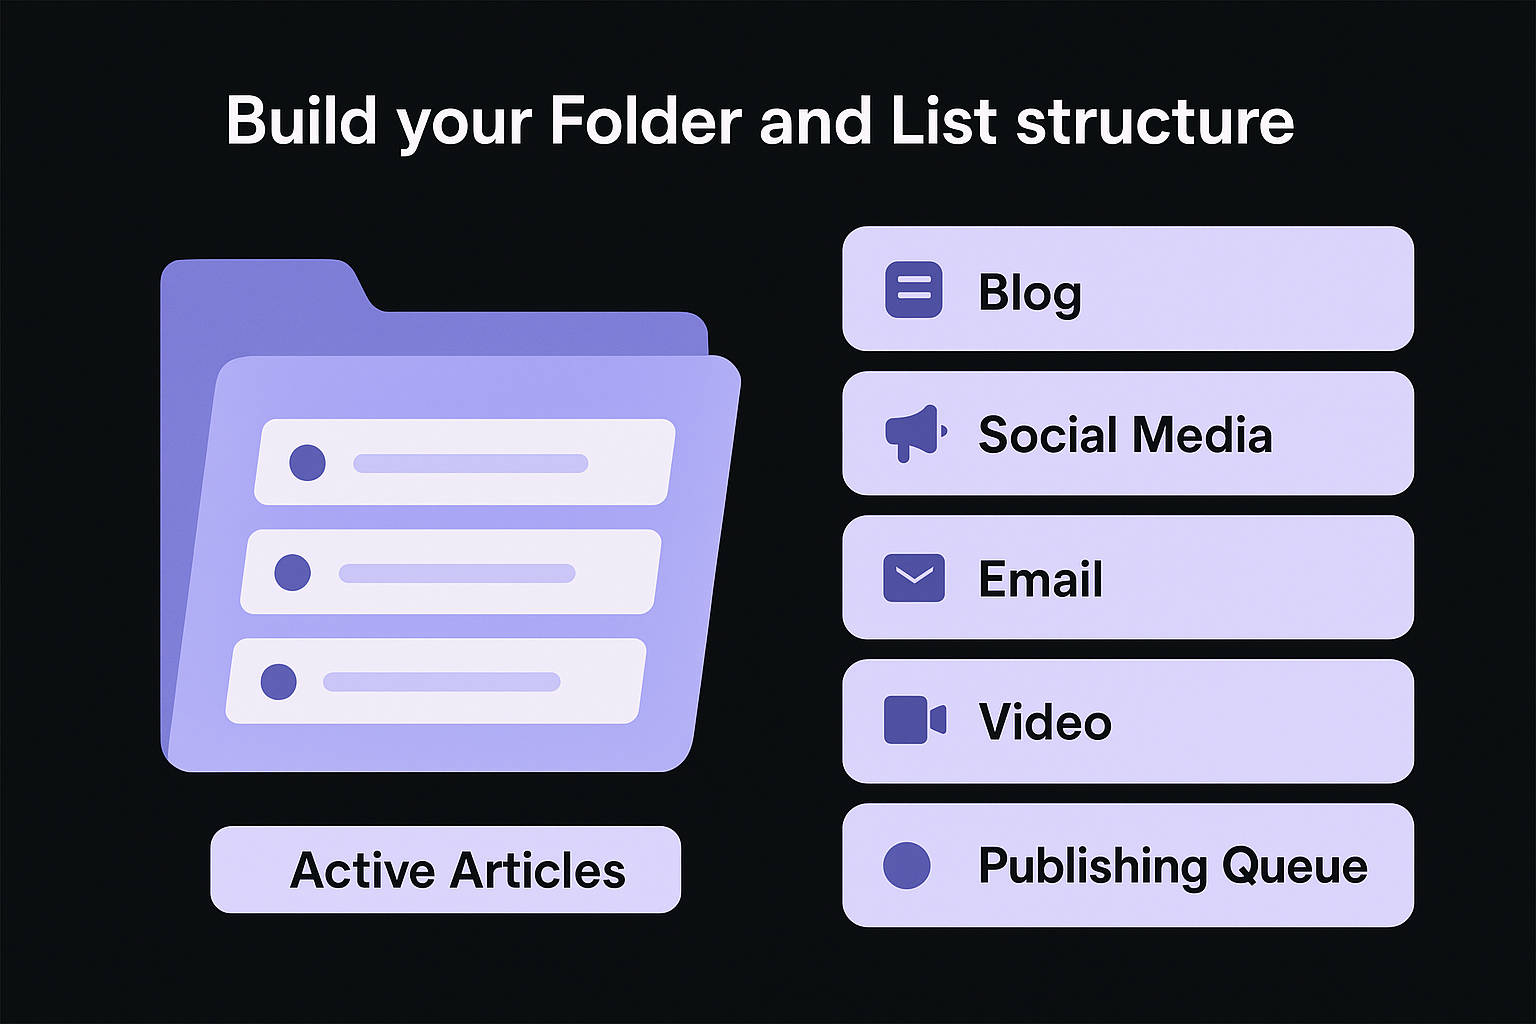
Within each Folder, create one or more Lists based on how you want to segment the work. A Blog Folder, for example, might have separate Lists for Drafts in Progress, Ready to Publish, and Published Archive. Here is a simple starting structure you can copy directly into ClickUp:
| Folder | List | Purpose |
|---|---|---|
| Blog | Active Articles | All posts currently being written or edited |
| Blog | Publishing Queue | Posts approved and scheduled for publication |
| Social Media | Weekly Posts | Social content planned for the current week |
| Campaigns | Newsletter drafts and scheduled sends | |
| Video | Scripts | Video scripts in development |
Start with this structure and adjust it based on how your team actually moves content through the pipeline. Adding more Lists later is easy; cleaning up a messy structure after six months of use is not.
Step 2. Create clear statuses for each content stage
Statuses are the engine behind any working ClickUp content calendar. They tell your team exactly where a piece of content stands at any given moment, and they power the automations and filters you'll build later. Setting up vague or generic statuses like "Open" and "Closed" makes it nearly impossible to run a content pipeline without constant check-ins. Take the time now to map statuses to your actual content workflow before anything else.
The more precisely your statuses reflect your real process, the less time your team spends asking for updates or chasing down the status of a piece.
Choose statuses that reflect your actual workflow
Your statuses need to match the stages your content actually passes through, not an idealized version of your process. Start by listing every handoff point in your content production cycle, mapping the stages a piece of content moves through from the moment an idea gets approved to the moment an article goes live. Each handoff is a status.
Here is a practical set of statuses you can apply directly to your content Lists in ClickUp:
| Status | What it means |
|---|---|
| Idea | Topic identified, not yet assigned |
| Brief Ready | Brief written and assigned to a writer |
| In Progress | Writer is actively working on the draft |
| In Review | Draft submitted and waiting for editor feedback |
| Revisions Needed | Editor returned the draft with changes requested |
| Approved | Content cleared for publishing |
| Scheduled | Content loaded into the CMS and set to publish |
| Published | Live and confirmed on the target platform |
| Archived | Retired content kept for reference |
Nine statuses covers the full lifecycle without adding confusion. Trim any stage your team does not consistently use, since unused statuses create noise that slows everyone down.
Set up statuses at the List level in ClickUp
ClickUp lets you assign unique statuses to each List, which means your Blog List can have different stages than your Social Media List. To configure them, open a List, click the status indicator at the top, and select "Edit Statuses." From there, add, rename, reorder, and color-code each stage.
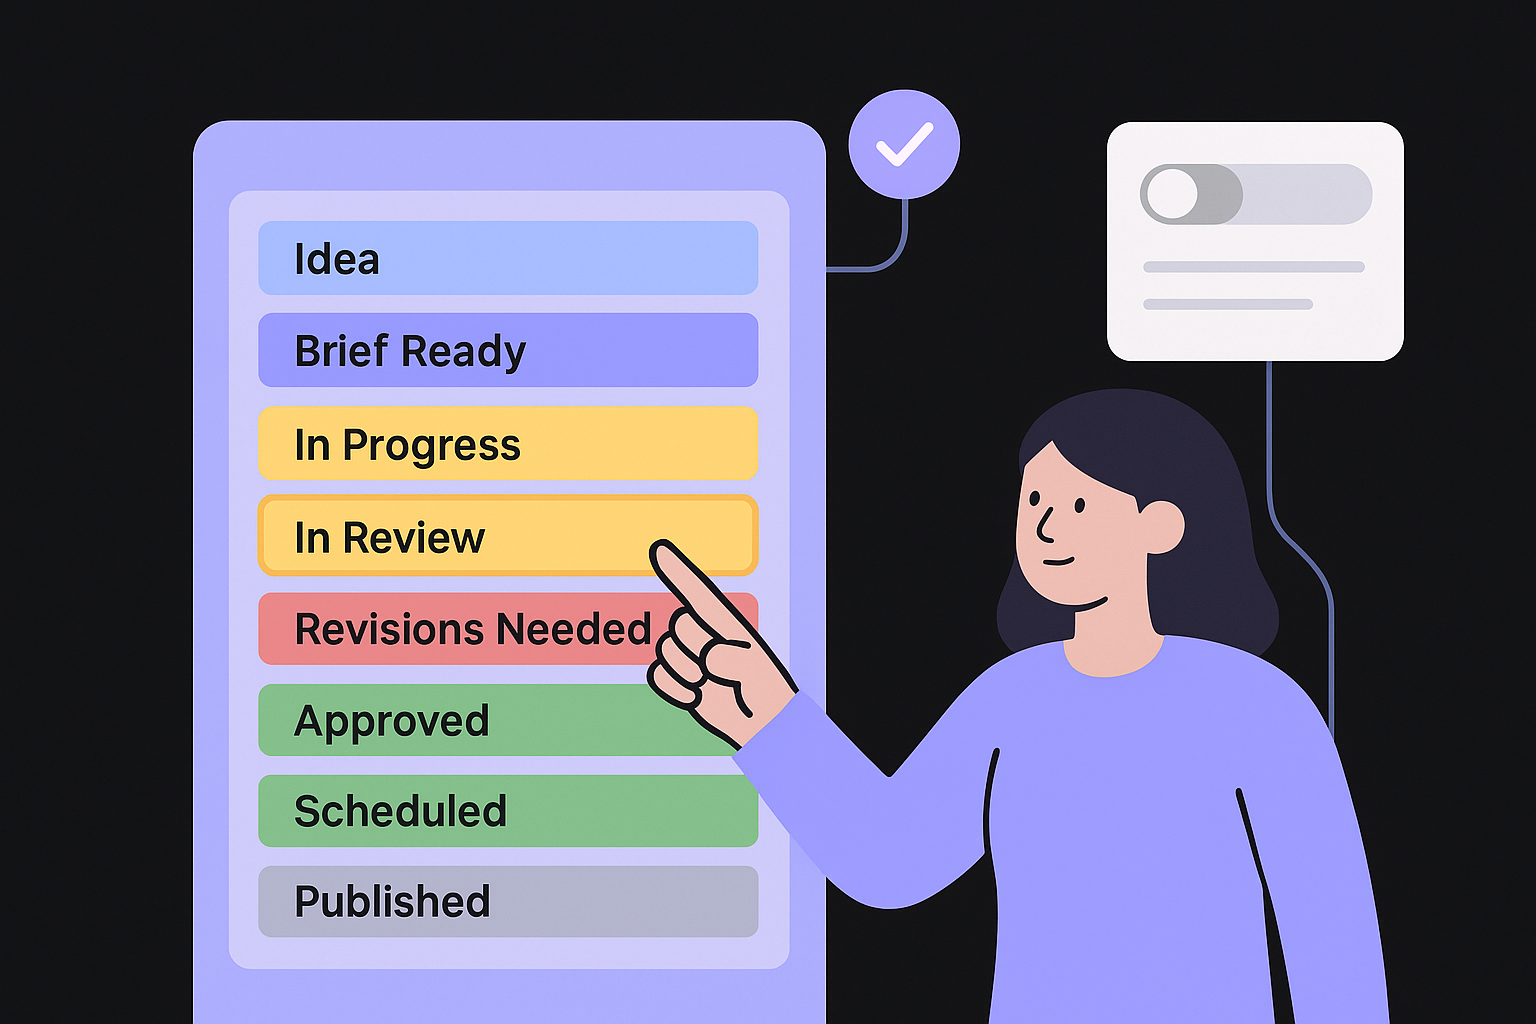
Assign distinct colors to each status so your Board and Calendar views become readable at a glance. Use red for Revisions Needed, yellow for In Review, and green for Approved to build a visual system your team can scan in seconds.
Step 3. Add Custom Fields, tags, and owners
Custom fields, tags, and clear ownership turn a basic task list into a fully functional ClickUp content calendar your whole team can rely on. Without this layer, tasks become ambiguous and sorting your pipeline by channel, deadline, or responsible person requires manual effort every single time. Setting these up correctly now means your views and reports later will work without any extra configuration.
Choose the right custom fields for content tasks
Open any List in your Content Space, click the "+" icon at the far right of the column headers, and select "Add Field." Build out a consistent field set across every content List so filtering and reporting work the same way regardless of which channel you're looking at.
Here is a practical field set you can add directly to your content Lists:
| Field Name | Field Type | Purpose |
|---|---|---|
| Content Type | Dropdown | Blog, social, email, video |
| Target Keyword | Text | The primary SEO keyword for the piece |
| Publication Date | Date | When the content goes live |
| Word Count Target | Number | Expected length in words |
| Channel | Dropdown | Website, LinkedIn, email, YouTube |
| Campaign | Dropdown | Link content to a specific campaign |
Keeping your custom fields identical across every List lets you build Workspace-level views that pull data from multiple channels into a single report without any mapping errors.
Use tags to segment content without adding more fields
Tags in ClickUp work differently from custom fields because they let you apply multiple labels to a single task without locking you into a fixed dropdown option. Use tags for flexible categories that change frequently, like content pillars, seasonal campaigns, or repurpose flags. To add tags, open a task and click the tag icon near the top of the task detail panel. Create a short list of standard tags and share it with your team so everyone uses the same naming format.
Assign owners at every production stage
Task ownership is where most content pipelines break down. A single "Assigned To" field does not capture the fact that a content creation workflow with defined roles spreads writing, editing, and publishing across different people. Use ClickUp's multiple assignees feature to tag a writer, editor, and publisher on every content task. To enable this, go to your Workspace settings, find the "Multiple Assignees" toggle, and turn it on. Once active, you can assign each content task to everyone who touches it, making accountability clear at every stage without needing a separate tracking comment.
Step 4. Build views that run the calendar day to day
All the structure you built in the previous steps only pays off when your team can see the right information without having to dig for it. ClickUp views are how you turn your task data into a live, operational ClickUp content calendar your team actually uses every day. Setting up the right combination of views means fewer missed deadlines and less time spent searching for what needs attention right now.
Use Calendar View to track publication dates
Calendar View gives you a visual timeline of everything scheduled to publish, pulled directly from the Publication Date custom field you added earlier. To set it up, open your Content Space, click the Views bar at the top, select "+ Add View," and choose Calendar. Once inside the view, click the date field selector and switch it from the default due date to your Publication Date field so the calendar reflects actual go-live dates, not internal deadlines.
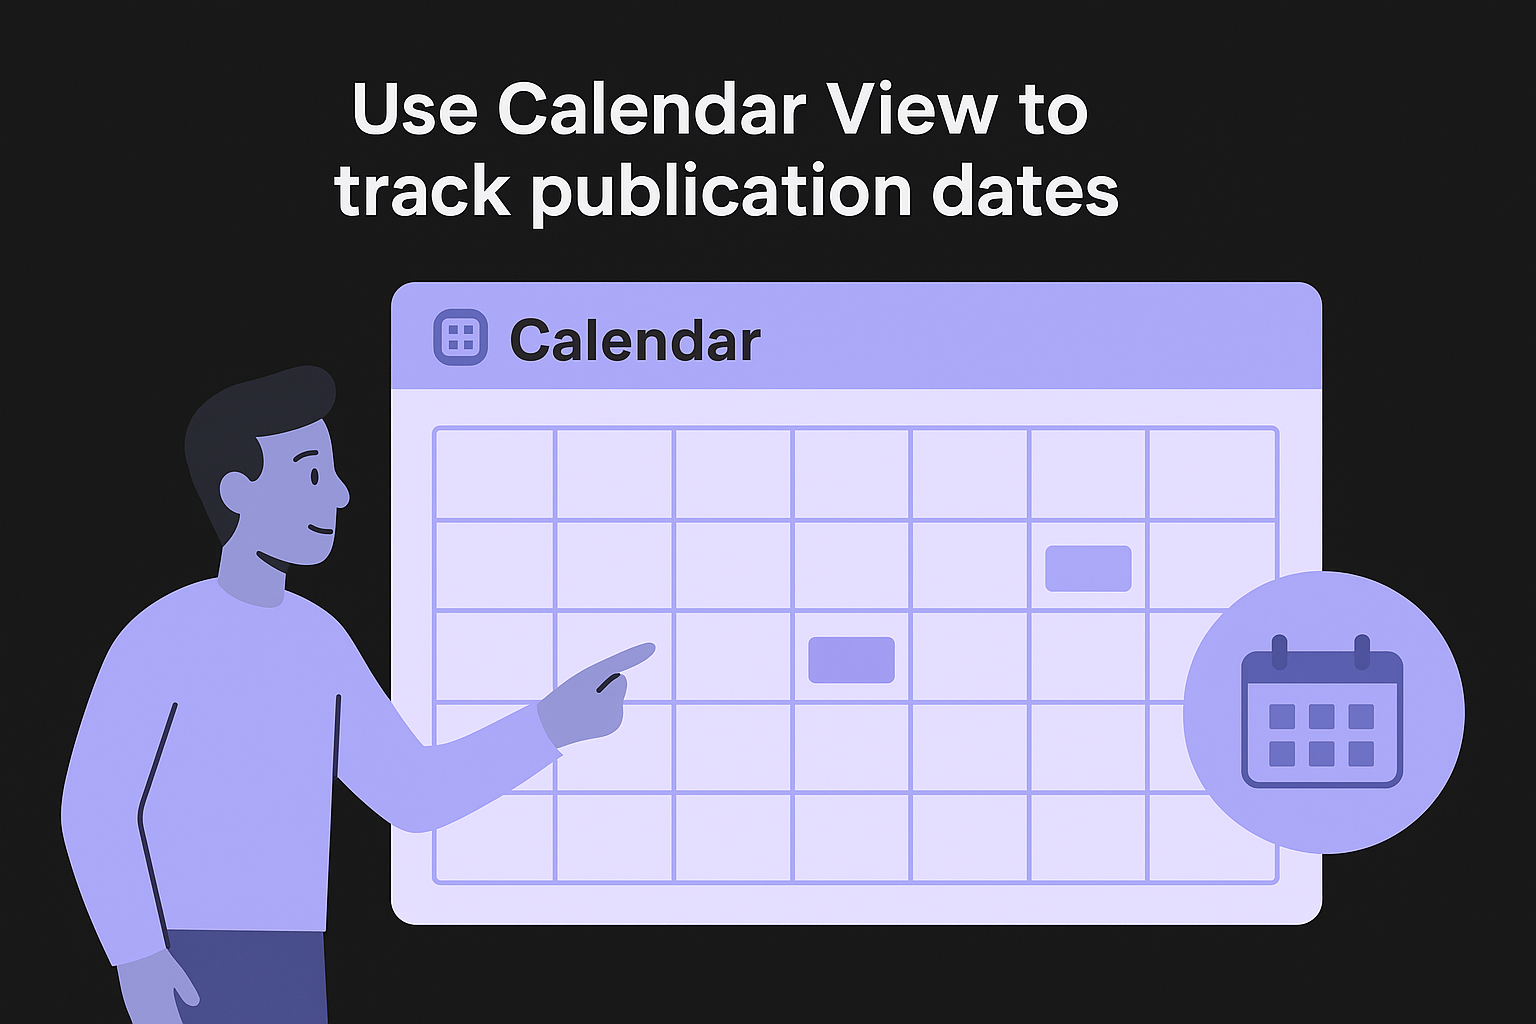
Anchoring your Calendar View to the Publication Date field rather than the task due date prevents the common problem of seeing a crowded calendar that mixes writing deadlines with publish dates.
Organize the Calendar View by channel by applying a Group By filter using your Channel custom field. This lets you scan across the week or month and immediately spot gaps on your blog schedule or a pile-up of social posts on a single day.
Use Board View to manage content stages
Board View shows your content as columns organized by status, which makes it easy to see how many pieces are stuck in any one stage. To add it, click "+ Add View" and select Board, then confirm that the grouping is set to Status. Each column in your board maps directly to the statuses you configured in Step 2.
Add a List View alongside your Board and Calendar views for team members who prefer to see all tasks in a sortable, filterable list. Filters you should set on this view by default include filtering by Assignee and sorting by Publication Date ascending, so each team member opens the view and immediately sees their own tasks ordered by deadline. Save the filtered version as a personal view so your team can switch between their own task list and the full team calendar without losing their settings.
Step 5. Automate handoffs and reuse templates
Manual status updates and repeated task setup are the two biggest time drains in any ClickUp content calendar workflow. Automating your content creation workflow handles the first problem by triggering actions when a status changes, and saved task templates handle the second by letting you spin up a fully configured content task in seconds instead of rebuilding it from scratch every time.
Set up automations to move content through stages
ClickUp's built-in automation builder lets you define trigger-action pairs that fire without any manual input. To access it, open your Content Space, click "Automate" in the top-right corner of any List, and select "Add Automation." From there, choose a trigger, such as a status change, and define what action follows.
Automations remove the human error that comes from forgetting to reassign a task or notify a reviewer after a draft is submitted.
Here are three automations worth setting up immediately:
| Trigger | Action |
|---|---|
| Status changes to "In Review" | Assign task to editor and post a comment notifying them |
| Status changes to "Approved" | Assign task to publisher and change due date to publication date |
| Status changes to "Published" | Remove all assignees and move task to Published Archive List |
Each of these automations eliminates a manual step that would otherwise require someone to remember to do it, which is exactly where handoffs break down on busy teams.
Build a task template for new content pieces
Like a ready-made editorial calendar template, task templates save your custom field values, assignees, checklists, and subtasks so every new content task starts with the same structure. To create one, open a fully configured content task, click the three-dot menu in the top-right corner of the task panel, and select "Save as Template."
Use the following checklist inside your template so writers and editors follow the same production steps on every piece:
- Confirm target keyword and search intent
- Complete outline and get approval
- Write first draft to target word count
- Self-edit for clarity and flow
- Submit for editor review
- Apply revision notes
- Upload to CMS with metadata
- Confirm publication and update status to Published
Once saved, apply the template when creating any new content task by clicking "+ Task," selecting "Use Template," and choosing your saved version. Every new task your team creates will carry the full checklist, the correct custom fields, and the right default assignees from the moment it's created.
Wrap-up and next steps
You now have a complete blueprint for building a ClickUp content calendar that your team can rely on every day. From setting up your Space and Folder hierarchy to configuring statuses, custom fields, views, and automations, each step in this guide builds on the last to give you a fully operational content workflow that scales as your publishing volume grows.
The system you built handles planning and tracking, but filling that calendar with consistent, SEO-optimized content is still a separate challenge. Writing high-quality articles every week takes significant time, and gaps in your publishing schedule hurt your organic growth. If you want your calendar to stay full without the manual effort, RankYak's automated article writing researches, writes, and publishes one SEO-ready article every day directly to your site. Start a free 3-day trial and see how much faster your content pipeline moves when the writing takes care of itself.
Allan de Wit is a co-founder of RankYak and has worked in SEO since 2015: inside agencies, alongside them, for clients directly, and in-house on the products being ranked. He came to it as a software engineer building for marketers, which is why the platform is built the way it is. He went on to start companies of his own, two of which were acquired. At RankYak he sets the product direction and owns the features, the quality bar, the design, and the UX.