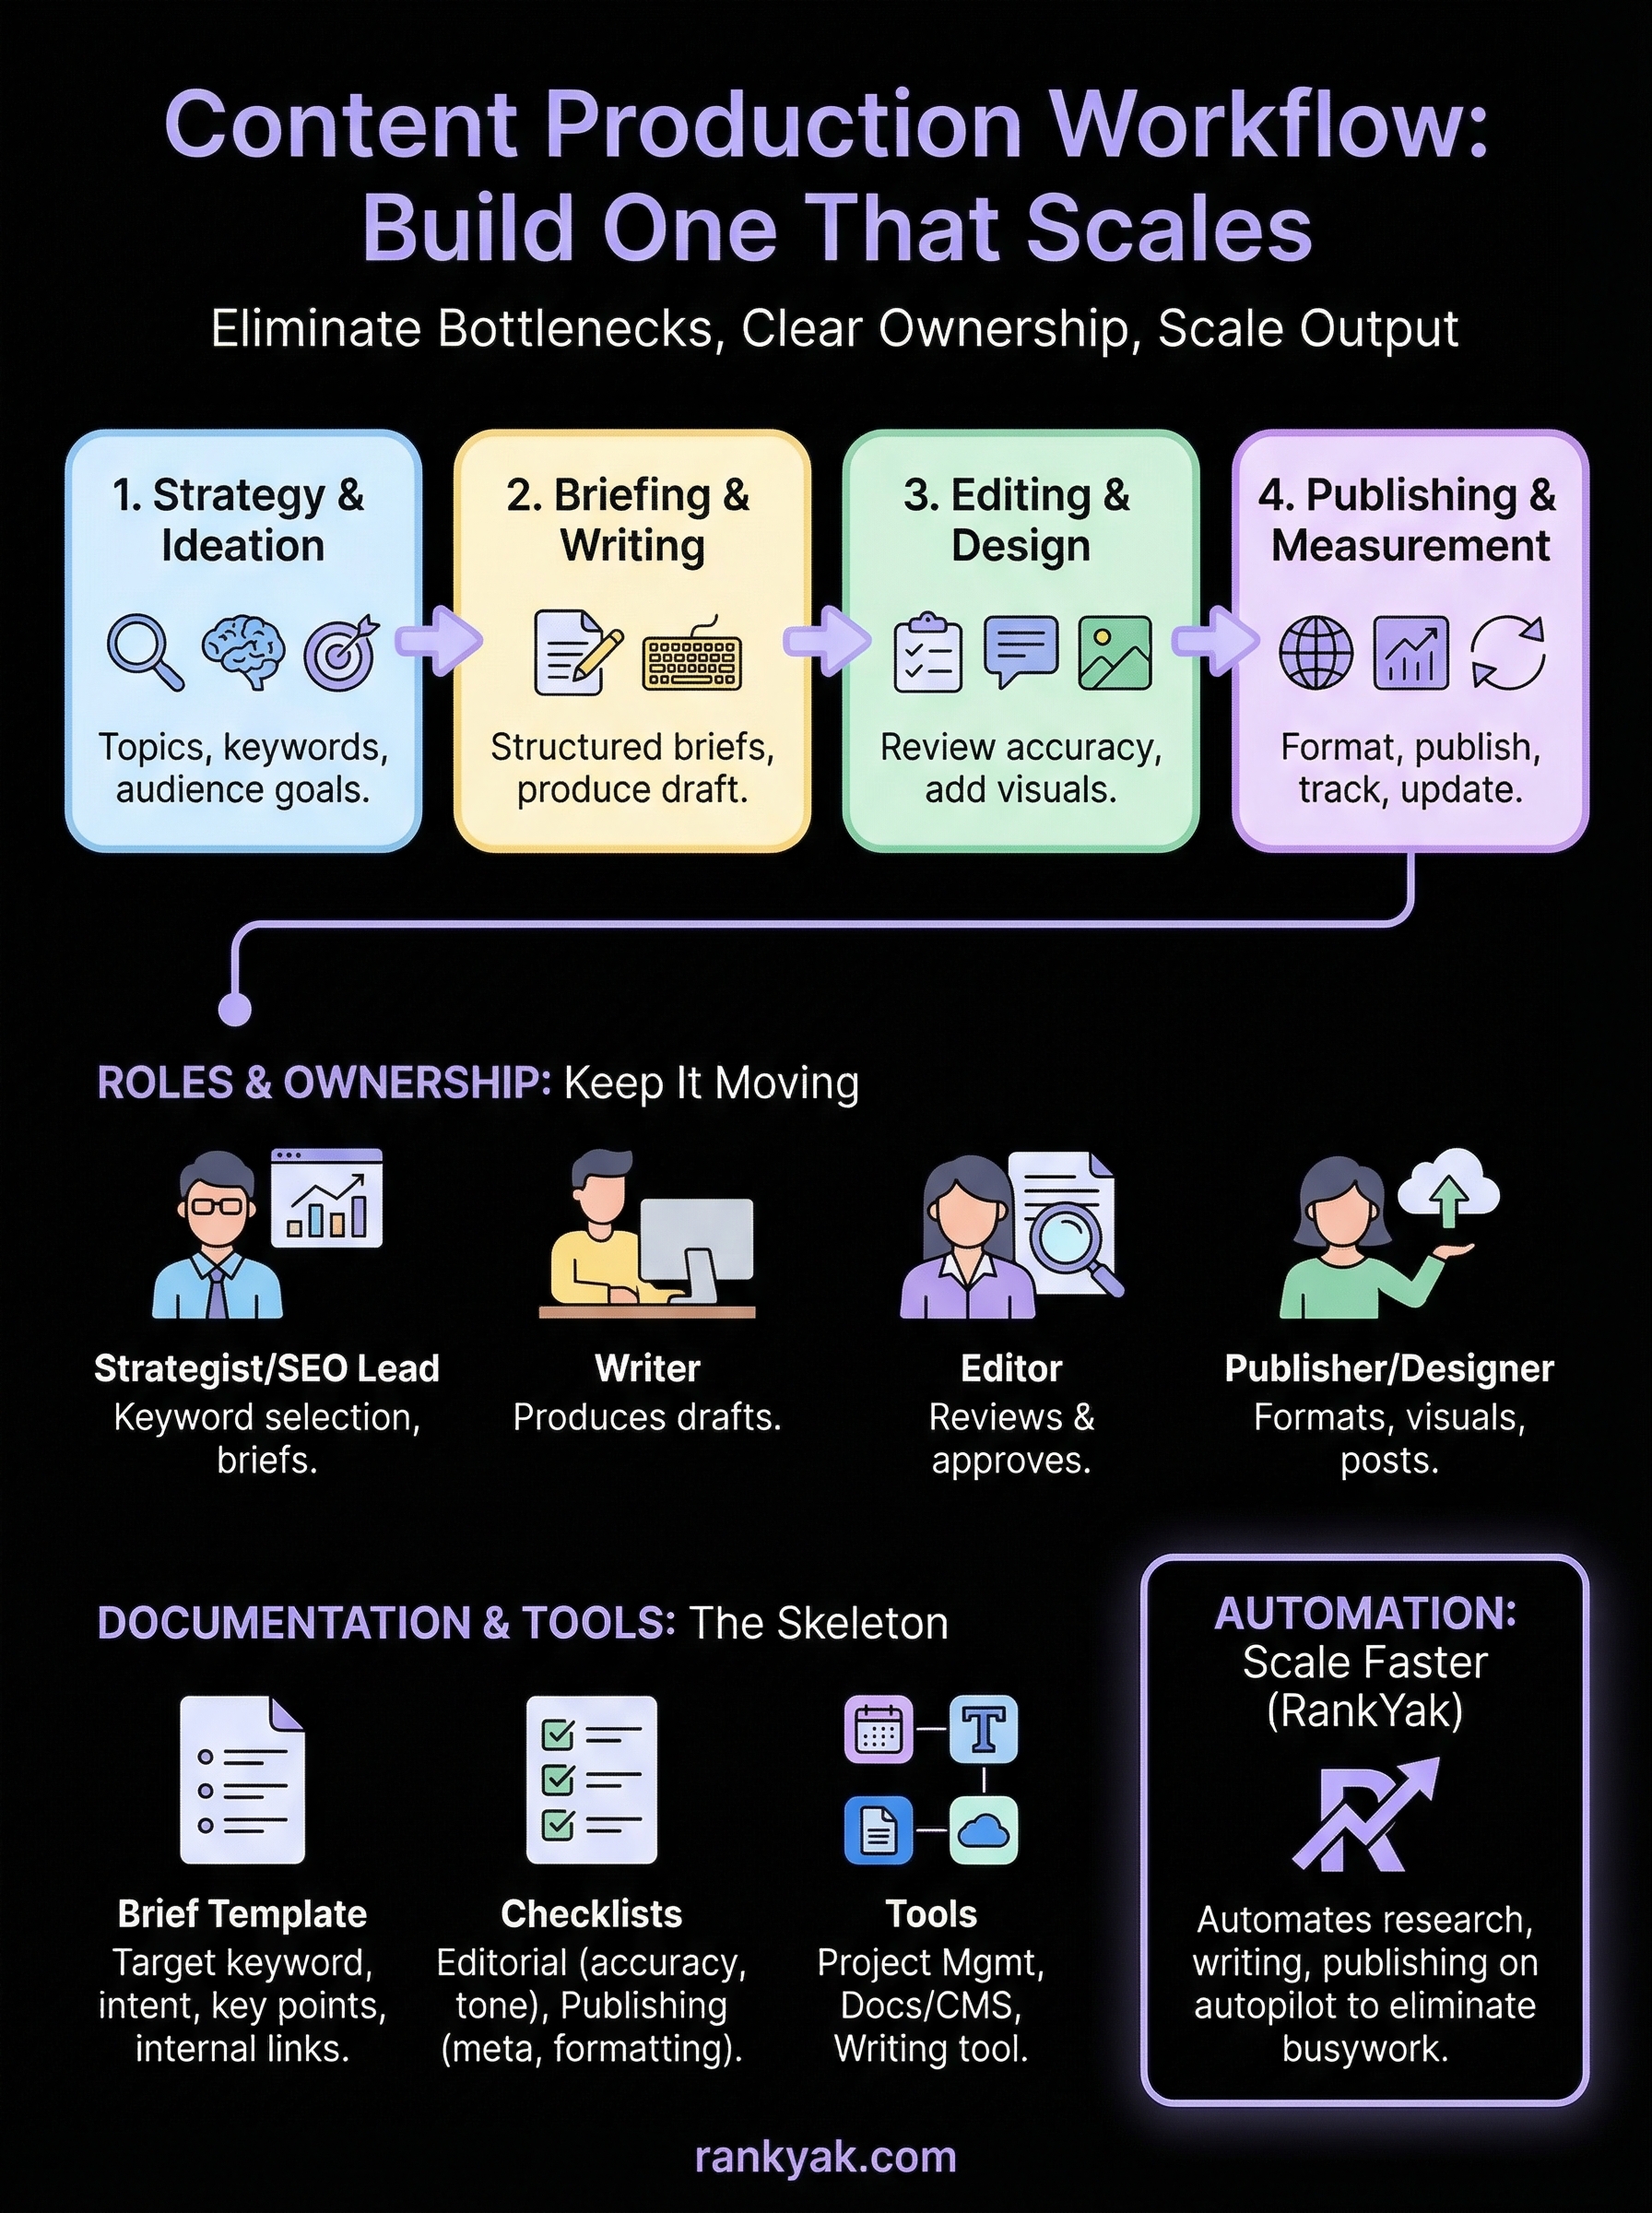
Content Production Workflow: How To Build One That Scales

Most teams don't have a content problem, they have a process problem. Articles get stuck in review limbo, publishing schedules slip, and what should be a repeatable system turns into a scramble every single week. Without a defined content production workflow, scaling output becomes nearly impossible, no matter how many writers or tools you throw at it.
The fix isn't working harder. It's building a workflow that moves content from idea to published page with clear ownership at every stage, and without bottlenecks that kill momentum. Whether you're a solo founder publishing on WordPress or a small team managing multiple sites, the structure you put around content production determines how fast you grow.
This guide breaks down exactly how to build a content production workflow that scales, step by step, from ideation through publishing and optimization. You'll learn how to eliminate the manual busywork that slows most teams down and where automation (like what we built RankYak to handle) can take entire stages off your plate. By the end, you'll have a framework you can implement this week, not just bookmark for later.
What a content production workflow includes
A content production workflow is the sequence of steps, people, and tools that moves a piece of content from raw idea to live page. Most people think about the obvious parts, writing and publishing, but a functional workflow covers everything in between: how ideas get validated, who creates the brief, who reviews the draft, and who clicks publish. Skip any of those handoffs and you create a gap where work stalls or quality drops.
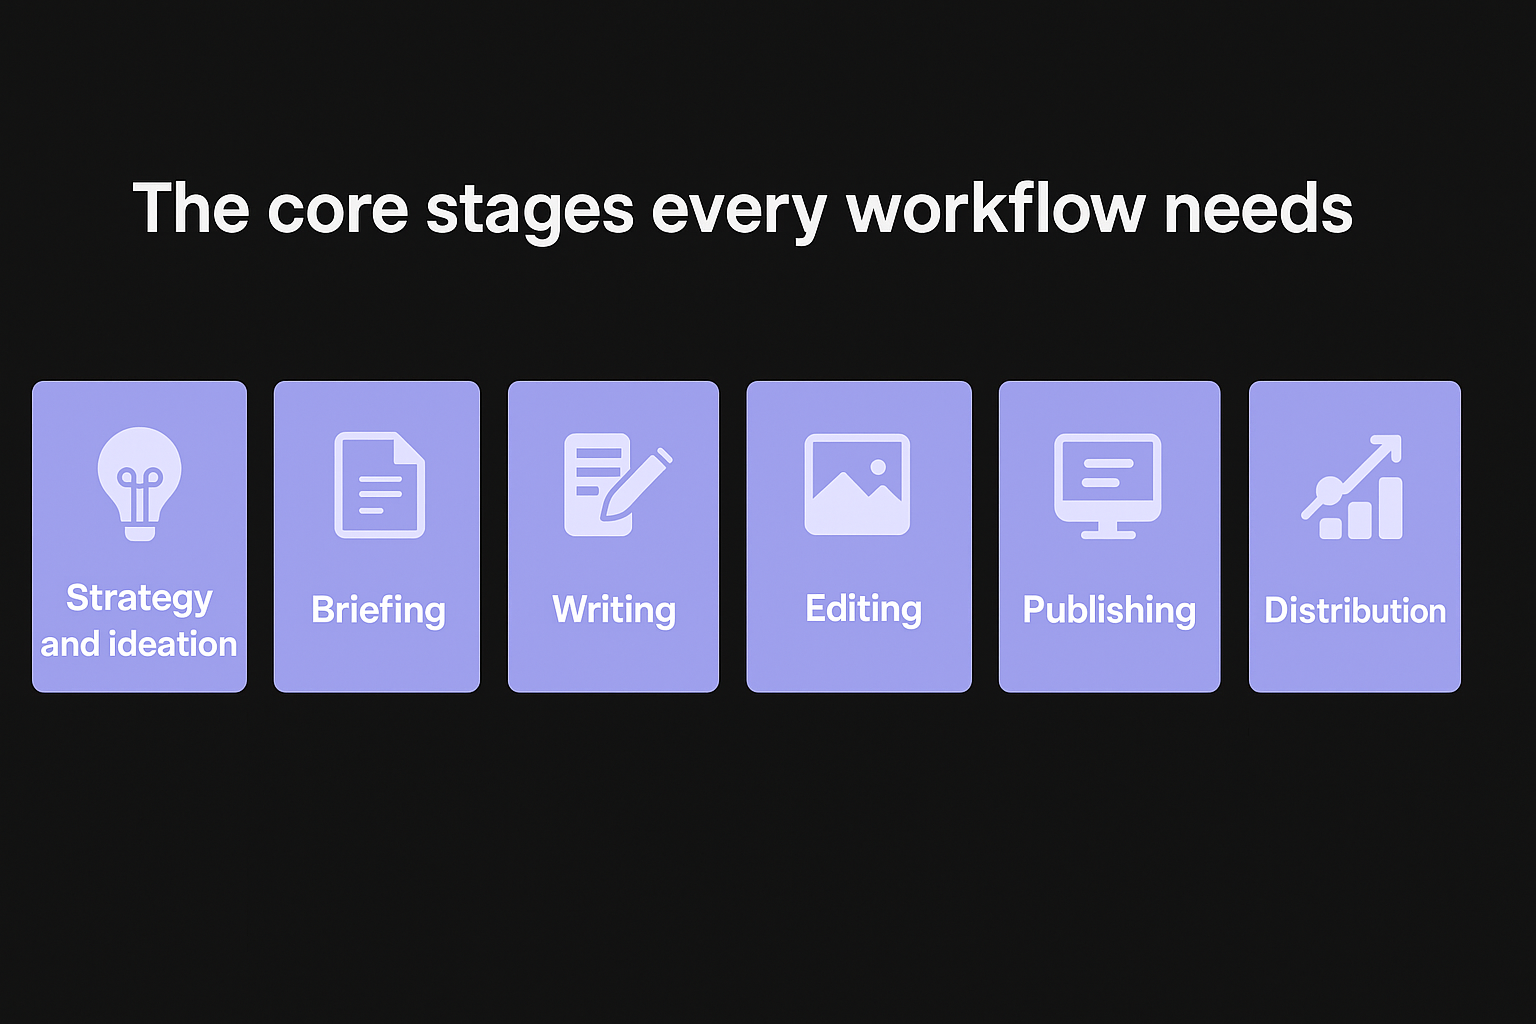
The core stages every workflow needs
Every solid content production workflow runs through the same core stages, even if the specifics look different across teams. Understanding these stages is your starting point for building something that holds up at volume. Here is what you need to account for:
| Stage | What happens |
|---|---|
| Strategy and ideation | Identify topics and keywords aligned with your audience and goals |
| Briefing | Turn the keyword into a structured document that guides the writer |
| Writing | Produce a draft based on the brief |
| Editing | Review for accuracy, clarity, tone, and SEO |
| Design | Add visuals, featured images, or custom graphics |
| Publishing | Format and publish on your CMS |
| Distribution | Share across email, social, or other channels |
| Measurement | Track performance and identify what to update |
Most production breakdowns happen because one of these stages has no clear owner or no defined output. When you name each stage and assign explicit responsibility, you have something you can audit, improve, and hand off without confusion.
Roles that keep the workflow moving
The stages above only work if someone is accountable for each one. In a small team or solo operation, one person might own several stages. In a larger setup, each stage might have a dedicated person. Either way, the roles that typically appear in a content workflow include a strategist or SEO lead (handles keyword selection and briefs), a writer (produces drafts), an editor (reviews and approves), a designer (handles visuals), and a publisher (formats and posts).
Unclear ownership is the most common reason content workflows break down. Every stage needs one person responsible for moving it forward.
What trips up most teams is the handoff between roles, specifically the moment when work moves from one person to the next without a clear signal. You fix this by building explicit triggers, whether that is a status change in your project management tool, a Slack message, or a column move on a Kanban board. The trigger format matters less than the fact that one exists and everyone follows it consistently.
What good workflow documentation looks like
Documentation is the skeleton of your workflow. Without it, every new piece of content starts from scratch, and every new team member needs weeks of ramp-up time. Good workflow documentation includes four core components: a brief template, an editorial checklist, a style guide, and a publishing checklist. These do not need to be long. They need to be specific enough that someone can follow them without asking questions.
Your brief template alone can cut production time significantly. A strong brief includes the following:
- Target keyword and primary search intent
- Word count range based on what ranks for that topic
- Key points and subtopics to cover
- Internal linking suggestions (pages already on your site that relate)
- Competitor URLs worth reviewing for gaps
- Tone notes or brand voice reminders
When the writer has that information upfront, the draft comes back closer to publishable quality, your editing stage gets shorter, and the entire workflow moves faster without adding headcount.
Step 1. Audit your process and set goals
Before you redesign anything, you need an honest picture of what you're doing right now. Most teams skip this step and end up rebuilding the same broken system with better-looking tools. Auditing your current content production workflow takes less than two hours and gives you a clear baseline for every decision that follows.
Map what you're doing now
Start by writing down every step that currently happens when you produce a piece of content, including the informal ones. Document every tool, every person involved, and every wait time you can identify. You don't need a fancy diagram. A simple list works fine.
For each step, answer these questions:
- Who owns this step?
- What does the input look like (brief, draft, file)?
- What does the output look like?
- How long does this step typically take?
- Where does it most often get delayed?
Once you have that list, look for patterns in the bottlenecks. If review always takes four days, that is your biggest drag on output speed. If briefs are inconsistent, your writing quality will be too. Flag the top two or three problem areas before you move on.
The goal of an audit is not to judge your current process but to find the exact steps where time, quality, or accountability consistently breaks down.
Set goals you can measure
An audit without goals leads to a redesigned workflow that looks cleaner but performs the same. Set specific, measurable targets before you start building anything new. Vague goals like "publish more consistently" give you no benchmark to work against when you evaluate results three months from now.
Here are examples of concrete goals to set at this stage:
| Goal type | Weak version | Strong version |
|---|---|---|
| Output | Publish more content | Publish 4 articles per month |
| Speed | Reduce turnaround | Cut draft-to-publish time from 10 days to 5 |
| Quality | Improve articles | Hit target keyword in top 20 within 90 days |
| Consistency | Be more consistent | Publish every Tuesday by 9am |
Choose two or three goals that connect directly to your business growth targets, not just content volume. If you want more organic traffic, your goals should tie back to keyword coverage and publishing frequency, not word counts alone.
Step 2. Define stages, roles, and handoffs
Once you have your audit and goals in place, you can start building the actual structure. This step is where your content production workflow gets its shape. The decisions you make here determine whether work moves predictably through your system or keeps stalling at the same pressure points week after week.
Name your stages explicitly
The first move is to convert the steps from your audit into named, discrete stages. Each stage needs a clear start point and a clear end point. Vague labels like "in progress" or "being worked on" create ambiguity that slows everything down. Use specific names like Briefing, Writing, Editing, Design, Publishing, and Measurement instead. When a stage has a name, everyone on your team knows exactly where a piece of content sits and what needs to happen before it moves forward.
Here is a simple stage structure you can adapt for your own process:
| Stage | Starts when | Ends when |
|---|---|---|
| Briefing | Keyword is approved | Brief is complete and shared with writer |
| Writing | Writer receives brief | Draft is submitted for review |
| Editing | Draft lands in editor's queue | Edits are applied and the piece is approved |
| Design | Article is approved | Images are attached to the draft |
| Publishing | Final file is ready | Article is live on the site |
| Measurement | Article has been live 30 days | Performance is logged and next action is noted |
Assign ownership to each stage
Every stage needs one named owner, not a team, not a shared inbox. When multiple people share ownership, accountability disappears and work stops moving. Go through your stage list and write a single person's name next to each one. If you are a solo operator, that person is you for every stage, but writing it down still matters because it makes the sequence visible and shows you exactly where your time is going.
Clear ownership is not about blame when things go wrong. It is about knowing exactly who to contact when a stage stalls.
Build handoff triggers
A handoff trigger is the specific action that signals a stage is complete and the next one can begin. Without triggers, finished work sits idle with no one picking it up. Keep your triggers simple and repeatable. A status change in a project management tool, a message in a dedicated thread, or a file moved to a shared folder all work well. The format matters less than making sure the trigger is visible to the person who owns the next stage and that everyone on your team uses it consistently.
Step 3. Build templates and choose tools
With your stages and roles mapped out, the next move is to give every stage a repeatable structure. Templates and tools are what turn your defined process into a consistent content production workflow that anyone can follow without constant supervision or repeated questions.
Start with templates, not tools
Most teams make the mistake of choosing tools first and then trying to force their process to fit inside them. Templates come first because they define what information each stage needs to produce. Once you know the expected output for every stage, you can pick tools that support that format rather than ones that replace your thinking.
Templates reduce decision fatigue at every stage because the person doing the work already knows exactly what the finished output should look like.
Here is a minimal brief template you can copy and adapt immediately:
CONTENT BRIEF TEMPLATE
----------------------
Target keyword:
Search intent:
Word count range:
Audience:
Key points to cover:
  1.
  2.
  3.
Internal links to include:
Competitor URLs to review:
Tone/voice notes:
Deadline:
Beyond the brief, you need an editorial checklist for the editing stage and a publishing checklist for the final step. Keep each checklist to ten items or fewer so the person using it actually runs through it before moving the work forward.
Choose tools that match your actual process
Your tool stack should serve the stages you already defined, not add new ones. Three categories of tools cover the core needs of most content teams: a project management tool to track stage status, a writing environment where drafts get created and reviewed, and a publishing platform where final content goes live.
Here is a simple framework for matching tools to stages:
| Stage | Tool category | What it needs to do |
|---|---|---|
| Briefing and writing | Docs or writing tool | Store briefs, accept drafts, allow comments |
| Task tracking | Project management | Show stage status, assign owners, trigger handoffs |
| Publishing | CMS | Accept formatted content, support SEO fields |
Automation tools can eliminate entire manual stages if your volume justifies it. A platform like RankYak handles keyword research, brief creation, writing, and publishing automatically, which removes the need for separate tools at each of those stages and cuts the time your team spends on repetitive setup tasks.
Step 4. Publish, measure, and improve
Publishing is not the finish line in your content production workflow, it is the start of a feedback loop that tells you what is working and what to fix. Most teams treat publication as the end of a piece of content's life and move straight to the next one. That habit is what keeps content stuck on page three with no one revisiting it. Measurement and iteration are the stages that actually compound your SEO results over time.
Build a publishing checklist
Before anything goes live, every article needs to pass through a final publishing checklist. This step takes five minutes and catches the errors that are easy to miss after staring at a draft, like a missing meta description or a broken internal link. Keep the checklist short and action-specific:
PUBLISHING CHECKLIST
--------------------
[ ] Title tag matches target keyword naturally
[ ] Meta description written (under 160 characters)
[ ] URL slug is clean and keyword-focused
[ ] Featured image uploaded and alt text added
[ ] At least 2 internal links pointing to relevant existing pages
[ ] At least 1 internal link from an existing page pointing to this one
[ ] Headers follow a logical H1 > H2 > H3 structure
[ ] Publish date and author information are accurate
[ ] Article is set to the correct category or topic cluster
Run through this list before every publish, not after.
Track what actually matters
Once the article is live, set a 30-day and 90-day review date on your content calendar. At each review point, pull three metrics: organic impressions, average position in search, and click-through rate. These three numbers tell you whether the article is gaining traction, stalling, or dropping off.

If an article gets impressions but a low click-through rate, your title tag or meta description is the problem, not the content itself.
Use Google Search Console to pull these numbers directly. It gives you keyword-level data for each URL so you can see exactly which queries are driving traffic and where your rankings sit.
Close the loop with a review cycle
At each review point, make a clear next-action decision for every article you evaluate. There are only three choices: leave it, update it, or redirect it. If a piece is ranking in positions 5 through 15, a targeted update to the introduction, headers, or internal linking structure will often push it into the top five. Schedule these updates on your content calendar the same way you schedule new articles, because optimizing existing content typically produces faster ranking gains than publishing new pieces.
Keep it running
A content production workflow only delivers results if you actually run it consistently, not just when you have time or energy. The teams that win at content are not the ones with the most creative briefs or the most polished tools. They are the ones that publish on schedule, review on schedule, and improve on schedule, week after week without exception. Treat your workflow like a machine: it needs regular maintenance, not constant rebuilding.
Start simple, get your stages named and owned, and run the system for 60 days before you change anything. Collect real data on where work slows down and where output quality drops, then make one targeted fix at a time. If the manual parts of your workflow are eating your time before you can even focus on growth, automate your content production with RankYak and let the system handle keyword research, writing, and publishing on autopilot.

Get Google and ChatGPT traffic on autopilot.
Start today and generate your first article within 15 minutes.

SEO revenue calculator
How much revenue is your website leaving on the table?
Take a quick quiz and see exactly how much organic revenue you're missing out on, along with personalized tips to fix it.
-
4 questions, under 1 minute
-
See traffic and revenue potential
-
No email required
Free · takes 1 minute · no signup needed
Question 1 of 4
Question 2 of 4
Question 3 of 4
Question 4 of 4
Your SEO growth potential
Extra visitors / month
after 6-12 months of consistent publishing
Revenue potential / year
at your niche's avg. conversion rate
Articles needed (12 mo)
to reach this traffic level
ROI with RankYak
at $99/mo ($1,188/year)
To hit that number, you'd need to:
- Build a topical authority strategy for your niche
- Research keywords & map out a full topical cluster
- Write, edit & publish an article every single day
- Build backlinks to the articles you publish
RankYak handles all of this automatically, every day.
* Estimates based on industry averages. Results vary by niche, competition, and domain authority. Most SEO results become visible after 3-6 months of consistent publishing.