Hootsuite Content Calendar: Set Up, Schedule, Manage Posts

Managing social media without a plan is like publishing blog posts at random, you'll burn hours and have nothing to show for it. A Hootsuite content calendar gives you a single view of every post across every platform, so you can plan weeks ahead instead of scrambling each morning to figure out what to publish.
But knowing the tool exists and actually using it well are two different things. Most teams sign up, poke around the dashboard, and never move past the basics. They miss scheduling workflows, approval chains, and bulk-upload features that save real time, the kind of time you could spend on work that actually grows your traffic. (That's exactly why we built RankYak to handle SEO content on autopilot: so you can focus energy on channels like social media instead of grinding out blog posts manually.)
This guide walks you through the full setup process for Hootsuite's content calendar, from connecting your social accounts to scheduling posts, managing your content pipeline, and using templates to stay consistent. Whether you're running one brand or juggling several, you'll leave with a clear system for getting social content out the door on time, every time.
What the Hootsuite content calendar helps you do
The Hootsuite content calendar is more than a scheduling tool. It gives you a live visual map of every post you've planned across all connected platforms, so you can spot gaps, avoid overlaps, and ship content consistently without holding daily standups or digging through spreadsheets.
See every post across every channel in one view
Most teams plan social content across a mix of notes, shared docs, and someone's memory. That approach breaks down fast when you're managing more than two platforms. Hootsuite pulls every scheduled post into a single calendar view organized by date and platform, so you can see exactly what's going out on Instagram, LinkedIn, Facebook, and X without switching between tabs or asking teammates what they queued.
The calendar gives you three view options: day, week, and month. Day view shows you the specific time slots for each post. Week view is where most teams spend their time because it balances detail with overview. Month view is useful for catching content gaps or checking whether you're over-posting on a specific channel before a campaign launches.
Plan campaigns without last-minute scrambles
When you need to run a product launch or a seasonal campaign, scattered scheduling is the fastest way to miss your window. The calendar lets you map out the full campaign arc before you publish a single post. You can see how content builds across days, whether you're hitting the right platforms at the right frequency, and whether you've left any days uncovered.
Planning your campaign visually in the calendar before you draft captions saves you from discovering gaps after you've already gone live.
A concrete example: if you're running a two-week launch sequence, you can lay out teaser posts, announcement posts, and follow-up posts across the calendar, assign each to the right platform, and see the full timeline in one screen. You catch problems like posting three times in one day on LinkedIn but nothing on Facebook before anyone wastes time writing copy for a broken plan.
Manage team workflows from the same place
Content approval is where most publishing pipelines stall. Someone writes a caption, sends it to a manager via email or Slack, feedback gets buried in a thread, and the post goes out late or with the wrong link. The calendar keeps drafts, approvals, and scheduled posts in one place, so everyone works from the same source of truth instead of chasing updates across three apps.
Team members with the right permissions can create posts and flag them for review directly inside the platform. Reviewers see pending items in the calendar view, leave notes or feedback, and approve or reject without leaving Hootsuite. The workflow is baked into the tool itself, which means fewer dropped handoffs and fewer posts that go live before they're ready.
What you need before you set it up
Before you touch the Hootsuite content calendar, spending five minutes checking a few prerequisites will save you from hitting walls mid-setup. Most people skip this step and end up reconnecting accounts or chasing down permissions after they've already started building their calendar. Get these items in order first.
A Hootsuite plan that includes scheduling
Not every Hootsuite plan unlocks the full calendar. The free plan limits you to two social accounts and strips out team collaboration features, which makes it impractical for anything beyond solo personal use. If you want approval workflows, bulk scheduling, and multi-account visibility, you need at minimum the Professional or Team plan.
Check your current plan settings before you invite teammates or start mapping out content, because adding users on a plan that doesn't support them will block the workflow entirely.
Social account credentials and admin access
Hootsuite connects to your social profiles through official platform authorization flows, which means you'll need to log in to each account during setup. Before you start, confirm you have:
- Active login credentials for every account you plan to connect (Instagram, LinkedIn, Facebook Page, X, TikTok, Pinterest, YouTube)
- Admin or editor-level permissions on any Facebook Page or LinkedIn Company Page, since personal profile access is not enough to manage business pages
- Two-factor authentication codes or backup devices handy if any accounts require them during login
If you manage accounts for clients or other team members, ask them to grant you the right page roles before your setup session. Tracking down permissions mid-process breaks your momentum.
A basic content plan
You don't need a finished content strategy, but walking into the calendar with at least a rough posting frequency in mind keeps you from setting up an empty shell. Decide in advance how many times per week you plan to post on each platform and what content categories you'll rotate through, such as educational posts, promotional content, and community engagement.
A simple planning template looks like this:
| Platform | Posts per week | Content mix |
|---|---|---|
| 4 | 50% educational, 30% product, 20% engagement | |
| 3 | 60% thought leadership, 40% company updates | |
| 3 | 40% promotional, 60% community |
Having this reference point means your calendar won't sit empty after you finish connecting accounts. You'll know exactly what to create first.
Step 1. Connect social accounts and set access
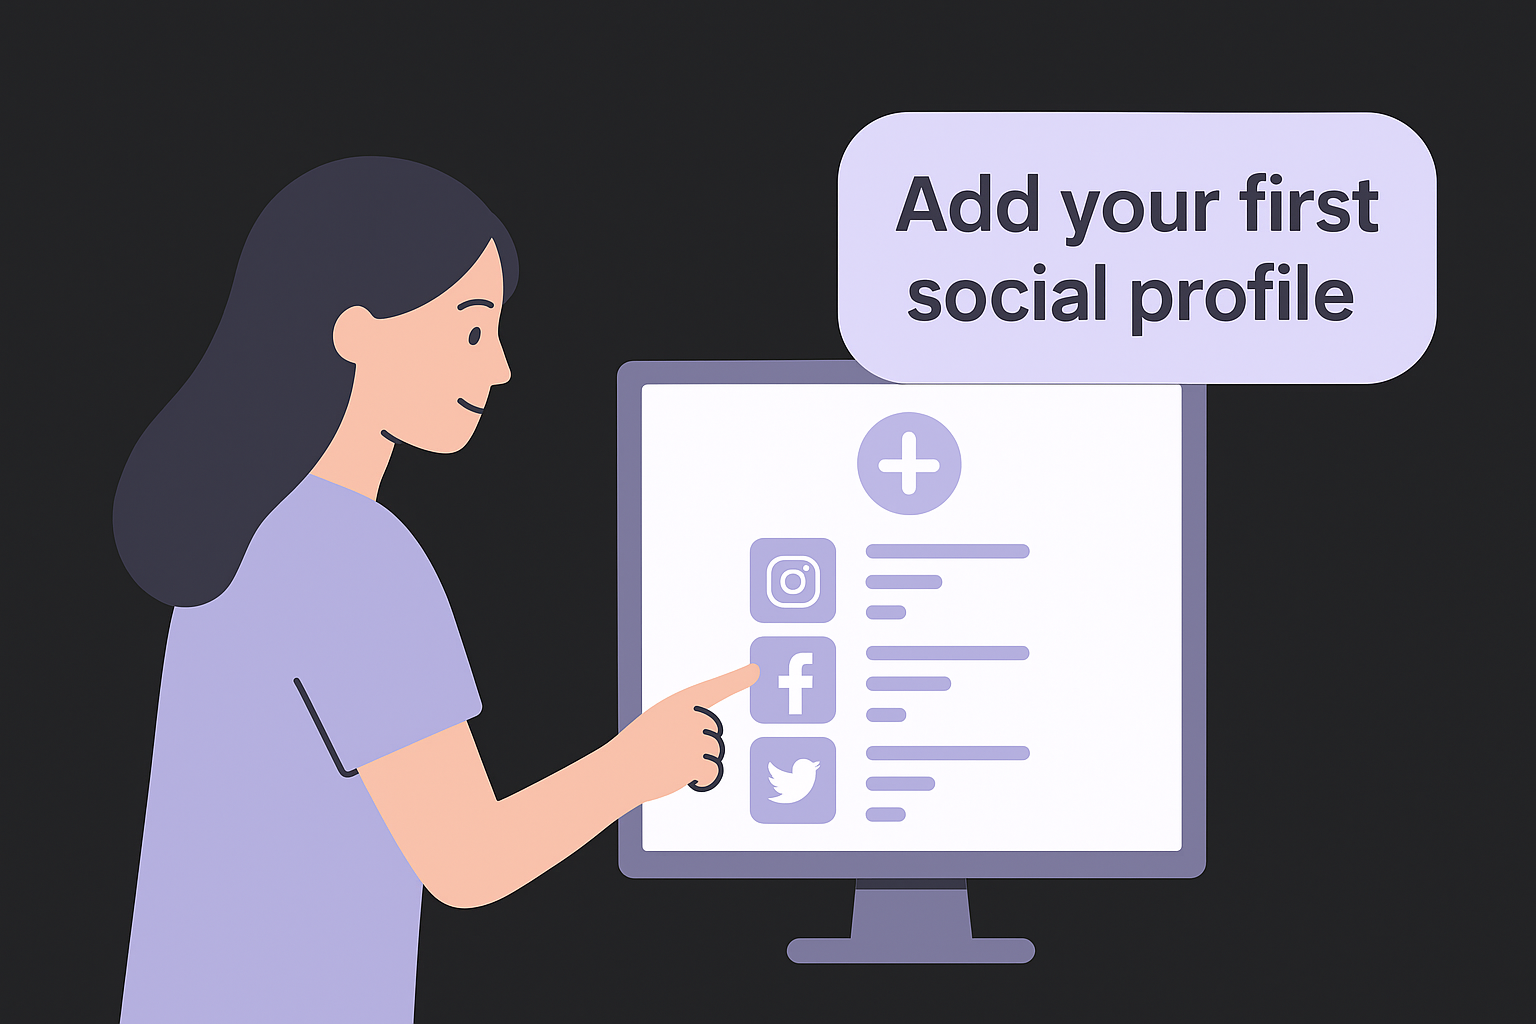
Connecting your accounts is the first real action you take inside the Hootsuite content calendar, and doing it correctly from the start prevents the most common setup headaches. Head to your Hootsuite dashboard and click "Add Social Account" in the left-hand navigation. Hootsuite will walk you through an authorization flow for each platform individually, so expect to log in to each account separately.
Add your first social profile
Select the platform you want to add from the list Hootsuite presents. For most users, starting with Instagram or Facebook makes sense because those platforms require the most setup steps. When you connect a Facebook Page, Hootsuite asks you to authorize through your personal Facebook account first, then select which Page you want to manage. If you do not see your page in the list, it means your personal account does not have admin or editor access to that page yet.
Follow this sequence for each platform you add:
- Click "Add Social Account" from the left navigation panel
- Select the platform from the grid (Instagram, LinkedIn, Facebook, X, TikTok, Pinterest, YouTube)
- Log in to the platform when the authorization pop-up opens
- Grant Hootsuite the requested permissions (do not skip or limit these, or publishing will fail)
- Confirm the account or page you want to connect and click "Done"
If a platform throws an authorization error, log out of that platform in your browser first, then restart the connection flow inside Hootsuite.
Repeat this process for every account you plan to manage. Each connected profile appears in your calendar as a separate channel you can filter by when viewing or scheduling posts.
Set team roles and permissions
Once your accounts are connected, you need to control who can do what inside the platform. Go to Account Settings and navigate to the "Members" section. Hootsuite offers several access levels: Admin, Editor, and Viewer. Admins can connect and disconnect accounts. Editors can create and schedule posts. Viewers can only see what is already scheduled.
Assign roles based on actual job responsibilities, not convenience. A copywriter does not need admin access, and a client who only reviews content should get Viewer access. Tightening permissions now prevents accidental deletions or unauthorized posts later when your team scales up and more people touch the calendar.
Step 2. Navigate calendar views and filters
Once your accounts are connected, the Hootsuite content calendar becomes your daily command center. Before you start creating posts, take a few minutes to understand how the calendar views and filters work. Jumping straight into drafting without knowing these controls means you will spend time searching for content instead of managing it.
Switch between day, week, and month views
The calendar offers three distinct views, each built for a different purpose. You switch between them using the view toggle in the top-right corner of the calendar screen. Use the right view for the right task, and you will cut the time you spend navigating by half.
Week view is where most scheduling decisions happen because it shows enough detail to catch gaps without overwhelming you with hourly breakdowns.
Here is when to use each view:
| View | Best used for |
|---|---|
| Day | Reviewing exact post times and order on a high-volume publishing day |
| Week | Planning, scheduling, and identifying gaps in your upcoming content |
| Month | Checking campaign coverage and overall posting frequency across channels |
Switch to month view at the start of each week to confirm your full content arc looks balanced, then drop into week view to handle the actual scheduling work.
Filter by platform and team member
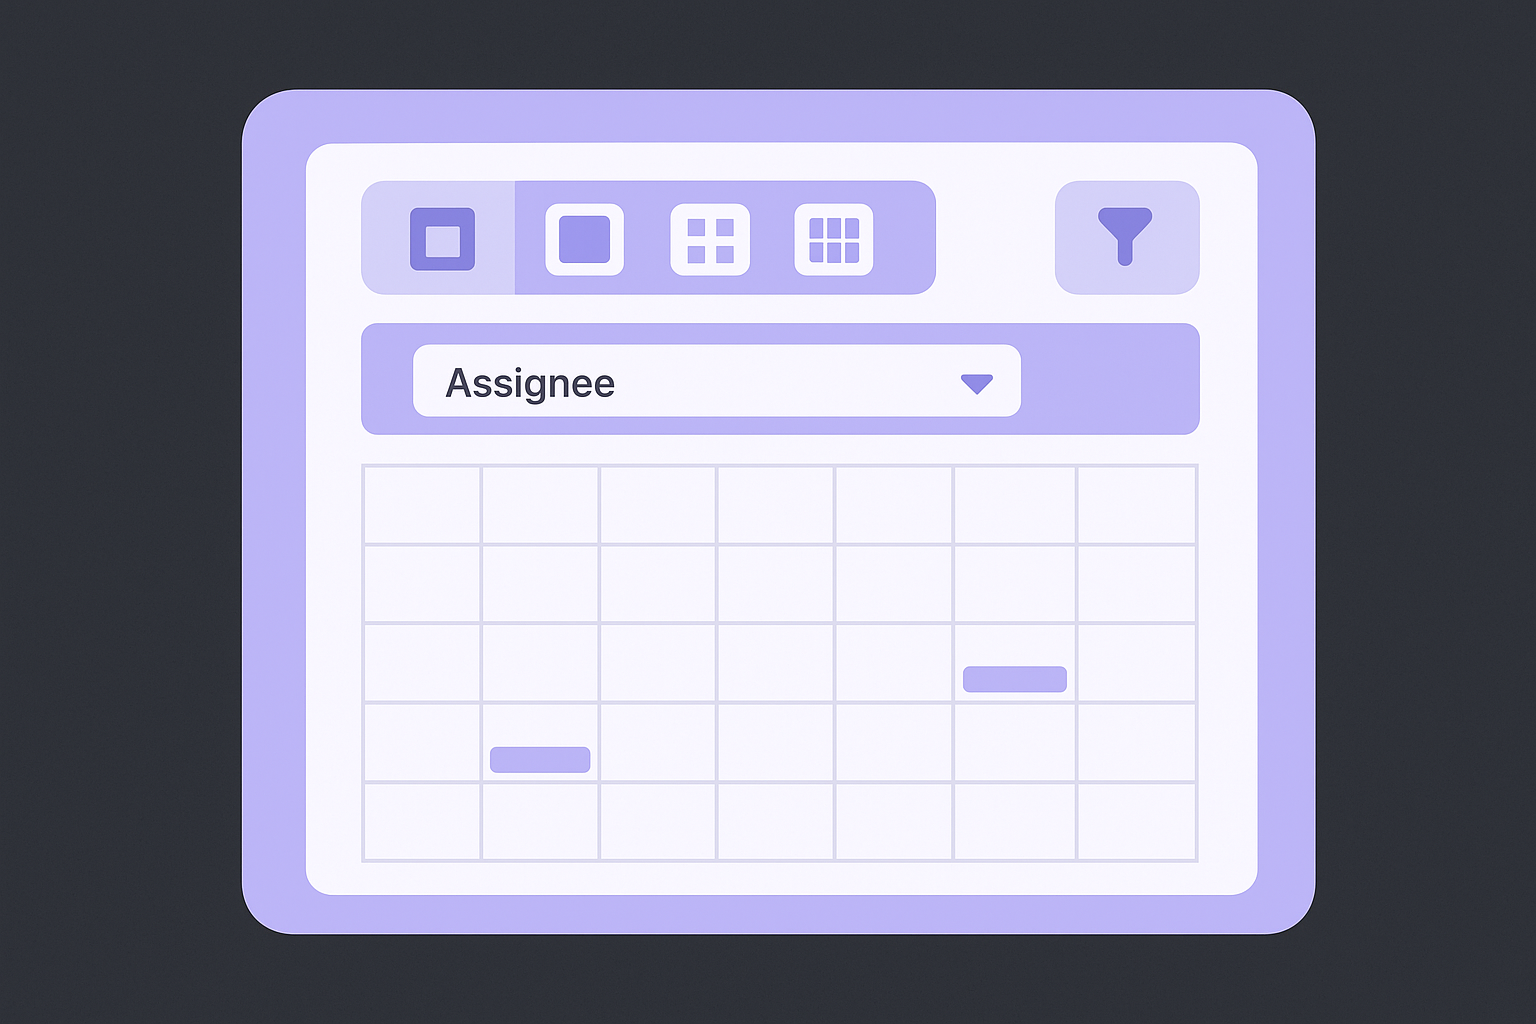
The filter bar sits at the top of the calendar and controls what content you see on screen. Without filters, the calendar shows every scheduled post across every connected account, which turns into visual noise fast when you manage three or more profiles. Use filters to isolate exactly what you need.
To filter by platform, click the platform icons at the top of the calendar and deselect any channels you do not want to see. This is especially useful when you are preparing content for a single channel and do not want LinkedIn posts cluttering your Instagram planning session. To filter by team member, click the "Assignee" dropdown and select the relevant person. This lets a manager review only the posts their copywriter queued, without scrolling past content from the rest of the team.
Combine both filters at once to get the tightest view possible. For example, select Instagram and one team member to see only that person's Instagram queue, which makes content review significantly faster during busy campaign weeks.
Step 3. Create posts and attach assets
With your calendar view set up and filtered to your liking, you are ready to build actual content. Click the "New Post" button in the top-right corner of the Hootsuite content calendar to open the post composer. This is where you write your caption, select which platforms the post goes to, attach media, and set any additional details before scheduling.
Draft your caption and choose your platforms
The composer shows a text field for your caption on the left and a list of your connected accounts on the right. Select every platform you want this post to appear on by checking the boxes next to each account. Hootsuite then displays a live preview of how your post looks on each selected platform, which lets you catch formatting issues like captions that get cut off on X or images that appear cropped on Instagram before you schedule anything.
Write platform-specific captions instead of pushing identical text everywhere. LinkedIn audiences expect longer, more professional copy, while Instagram posts perform better with shorter captions and a clear first line.
Hootsuite lets you customize the caption per platform without creating separate posts. After selecting multiple accounts, click the "Customize for each network" toggle, and the composer splits into individual text fields for each platform. Use this feature every time you cross-post to avoid copy-pasting between tools.
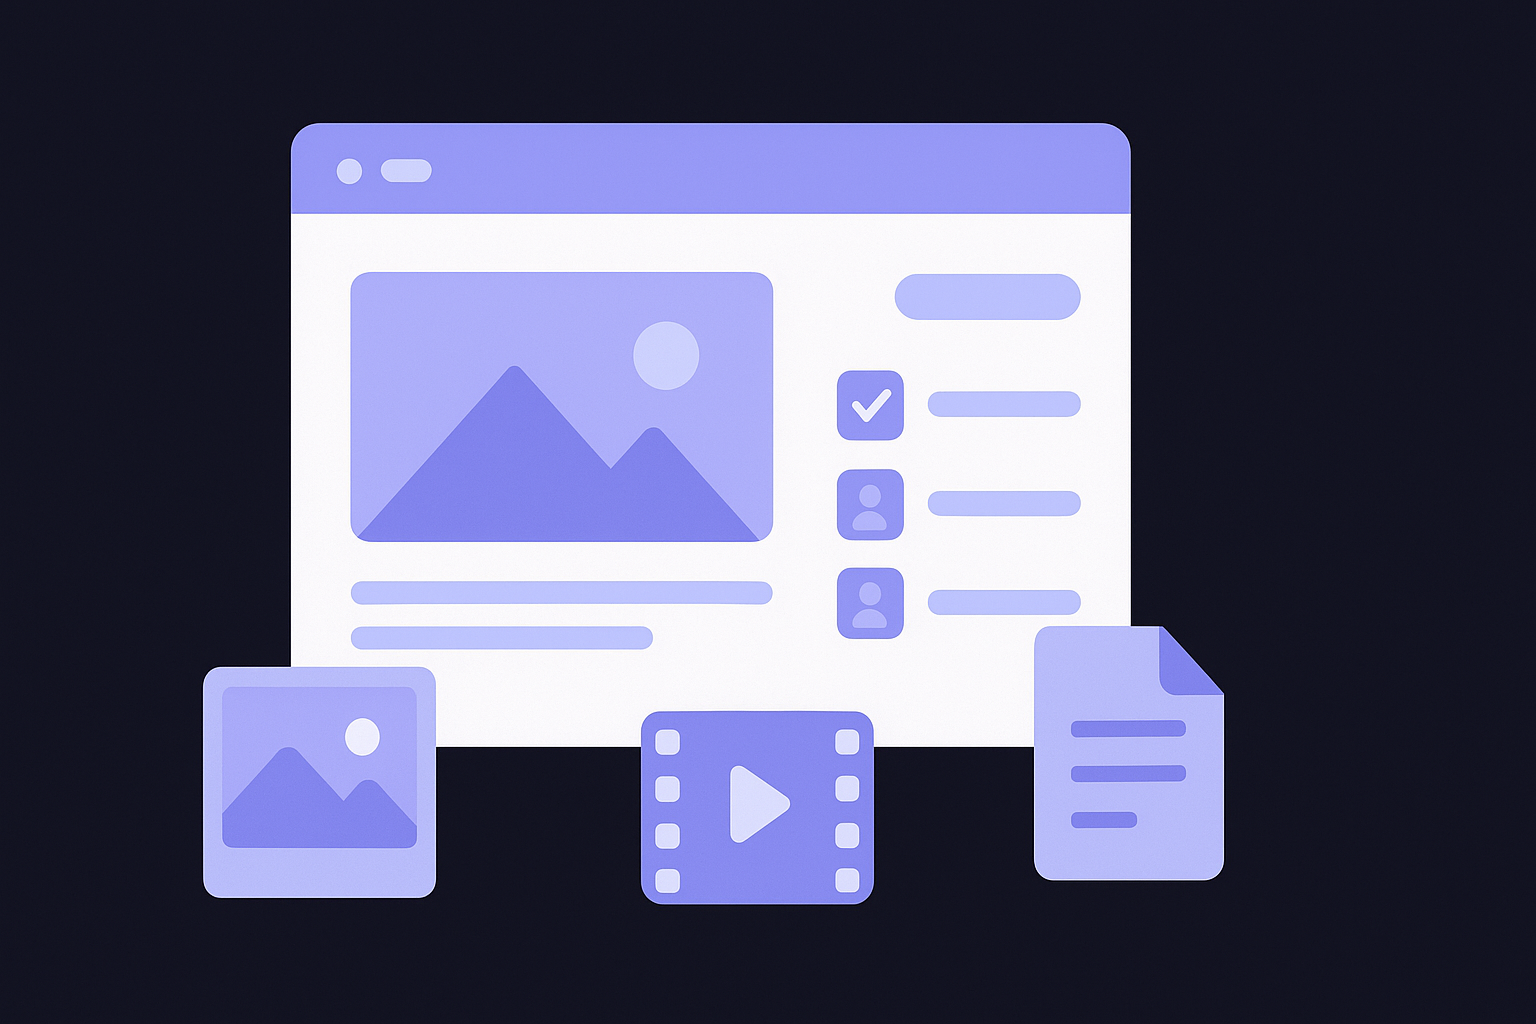
Upload images, videos, and documents
Attaching media is straightforward. Click the media icon at the bottom of the composer to upload files directly from your computer, or pull from your connected asset library if your plan includes one. Hootsuite supports the following file types and sizes:
| Asset type | Supported formats | Max file size |
|---|---|---|
| Images | JPG, PNG, GIF | 10 MB |
| Videos | MP4, MOV | 500 MB |
| Documents (LinkedIn only) | 100 MB |
After uploading, add alt text to every image directly inside the composer. This matters for accessibility and for platforms that surface alt text to screen reader users. Fill in the alt text field before you move to scheduling, because going back to add it later means reopening each post individually.
Check that every asset meets the platform's recommended dimensions before you attach it. Instagram Stories require a 9:16 ratio, LinkedIn feed images display best at 1200x627 pixels, and X images render cleanest at 1600x900 pixels.
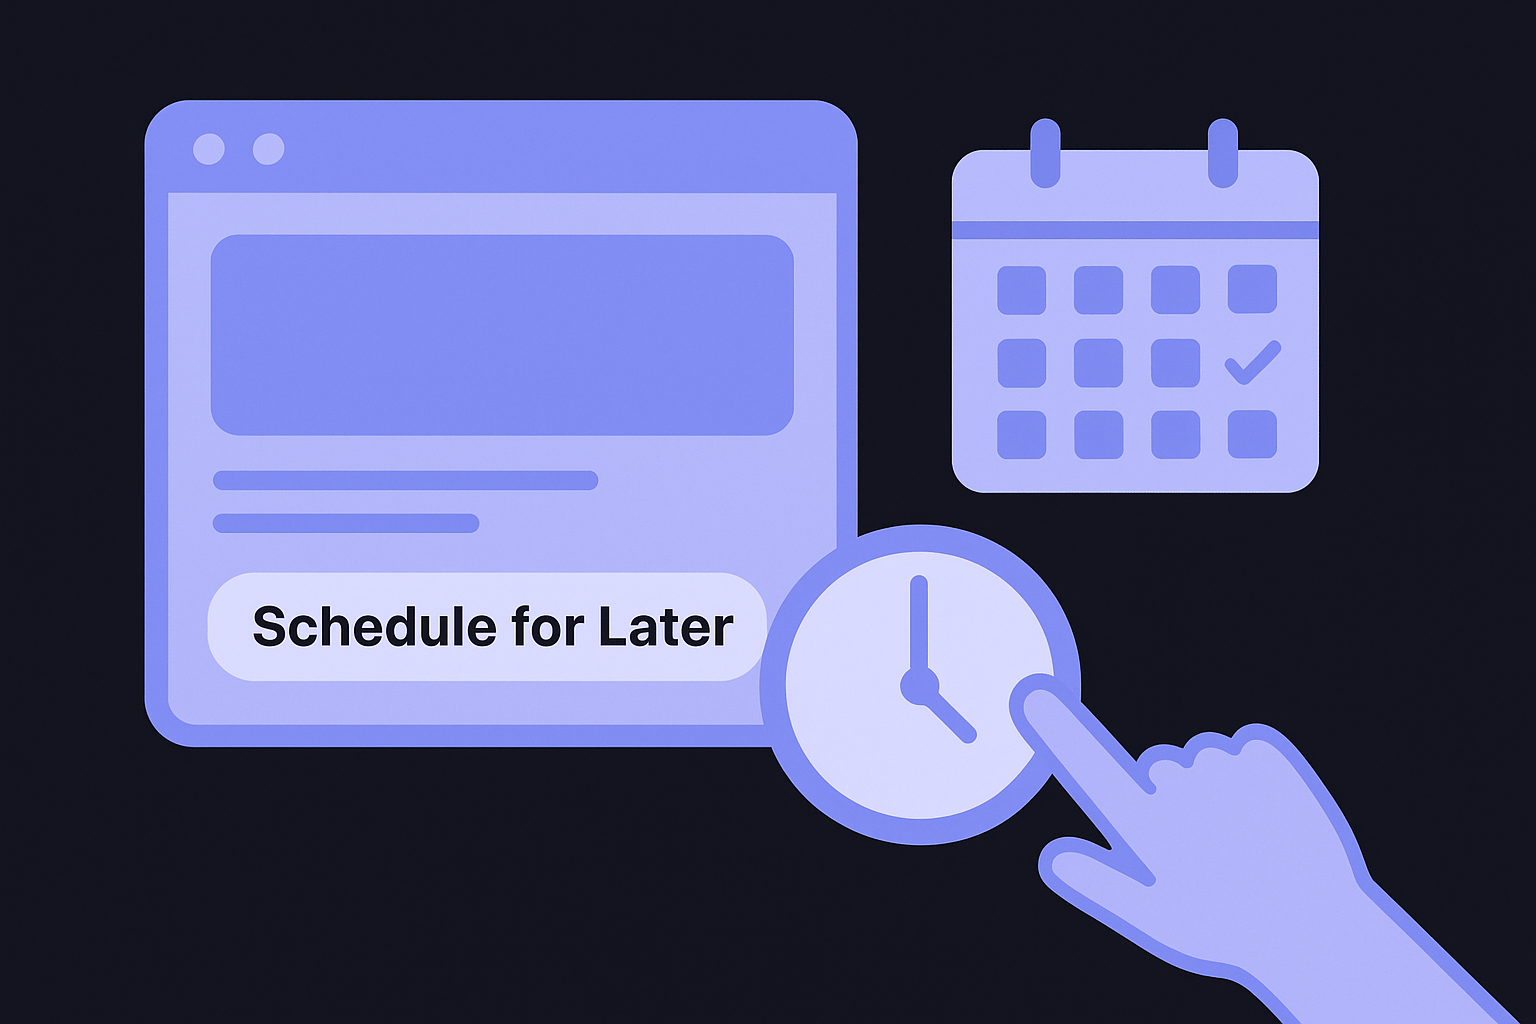
Step 4. Schedule posts and avoid common mistakes
Once your caption and assets are ready in the Hootsuite content calendar, you need to set the exact date and time before the post goes anywhere. At the bottom of the composer, click the "Schedule for Later" button rather than publishing immediately. This opens a date and time picker where you enter when you want the post to go live. Hootsuite displays times in your account's local timezone, so confirm that setting under Account Settings before you schedule anything, especially if you manage accounts for clients in different time zones.
Set the schedule time and publishing type
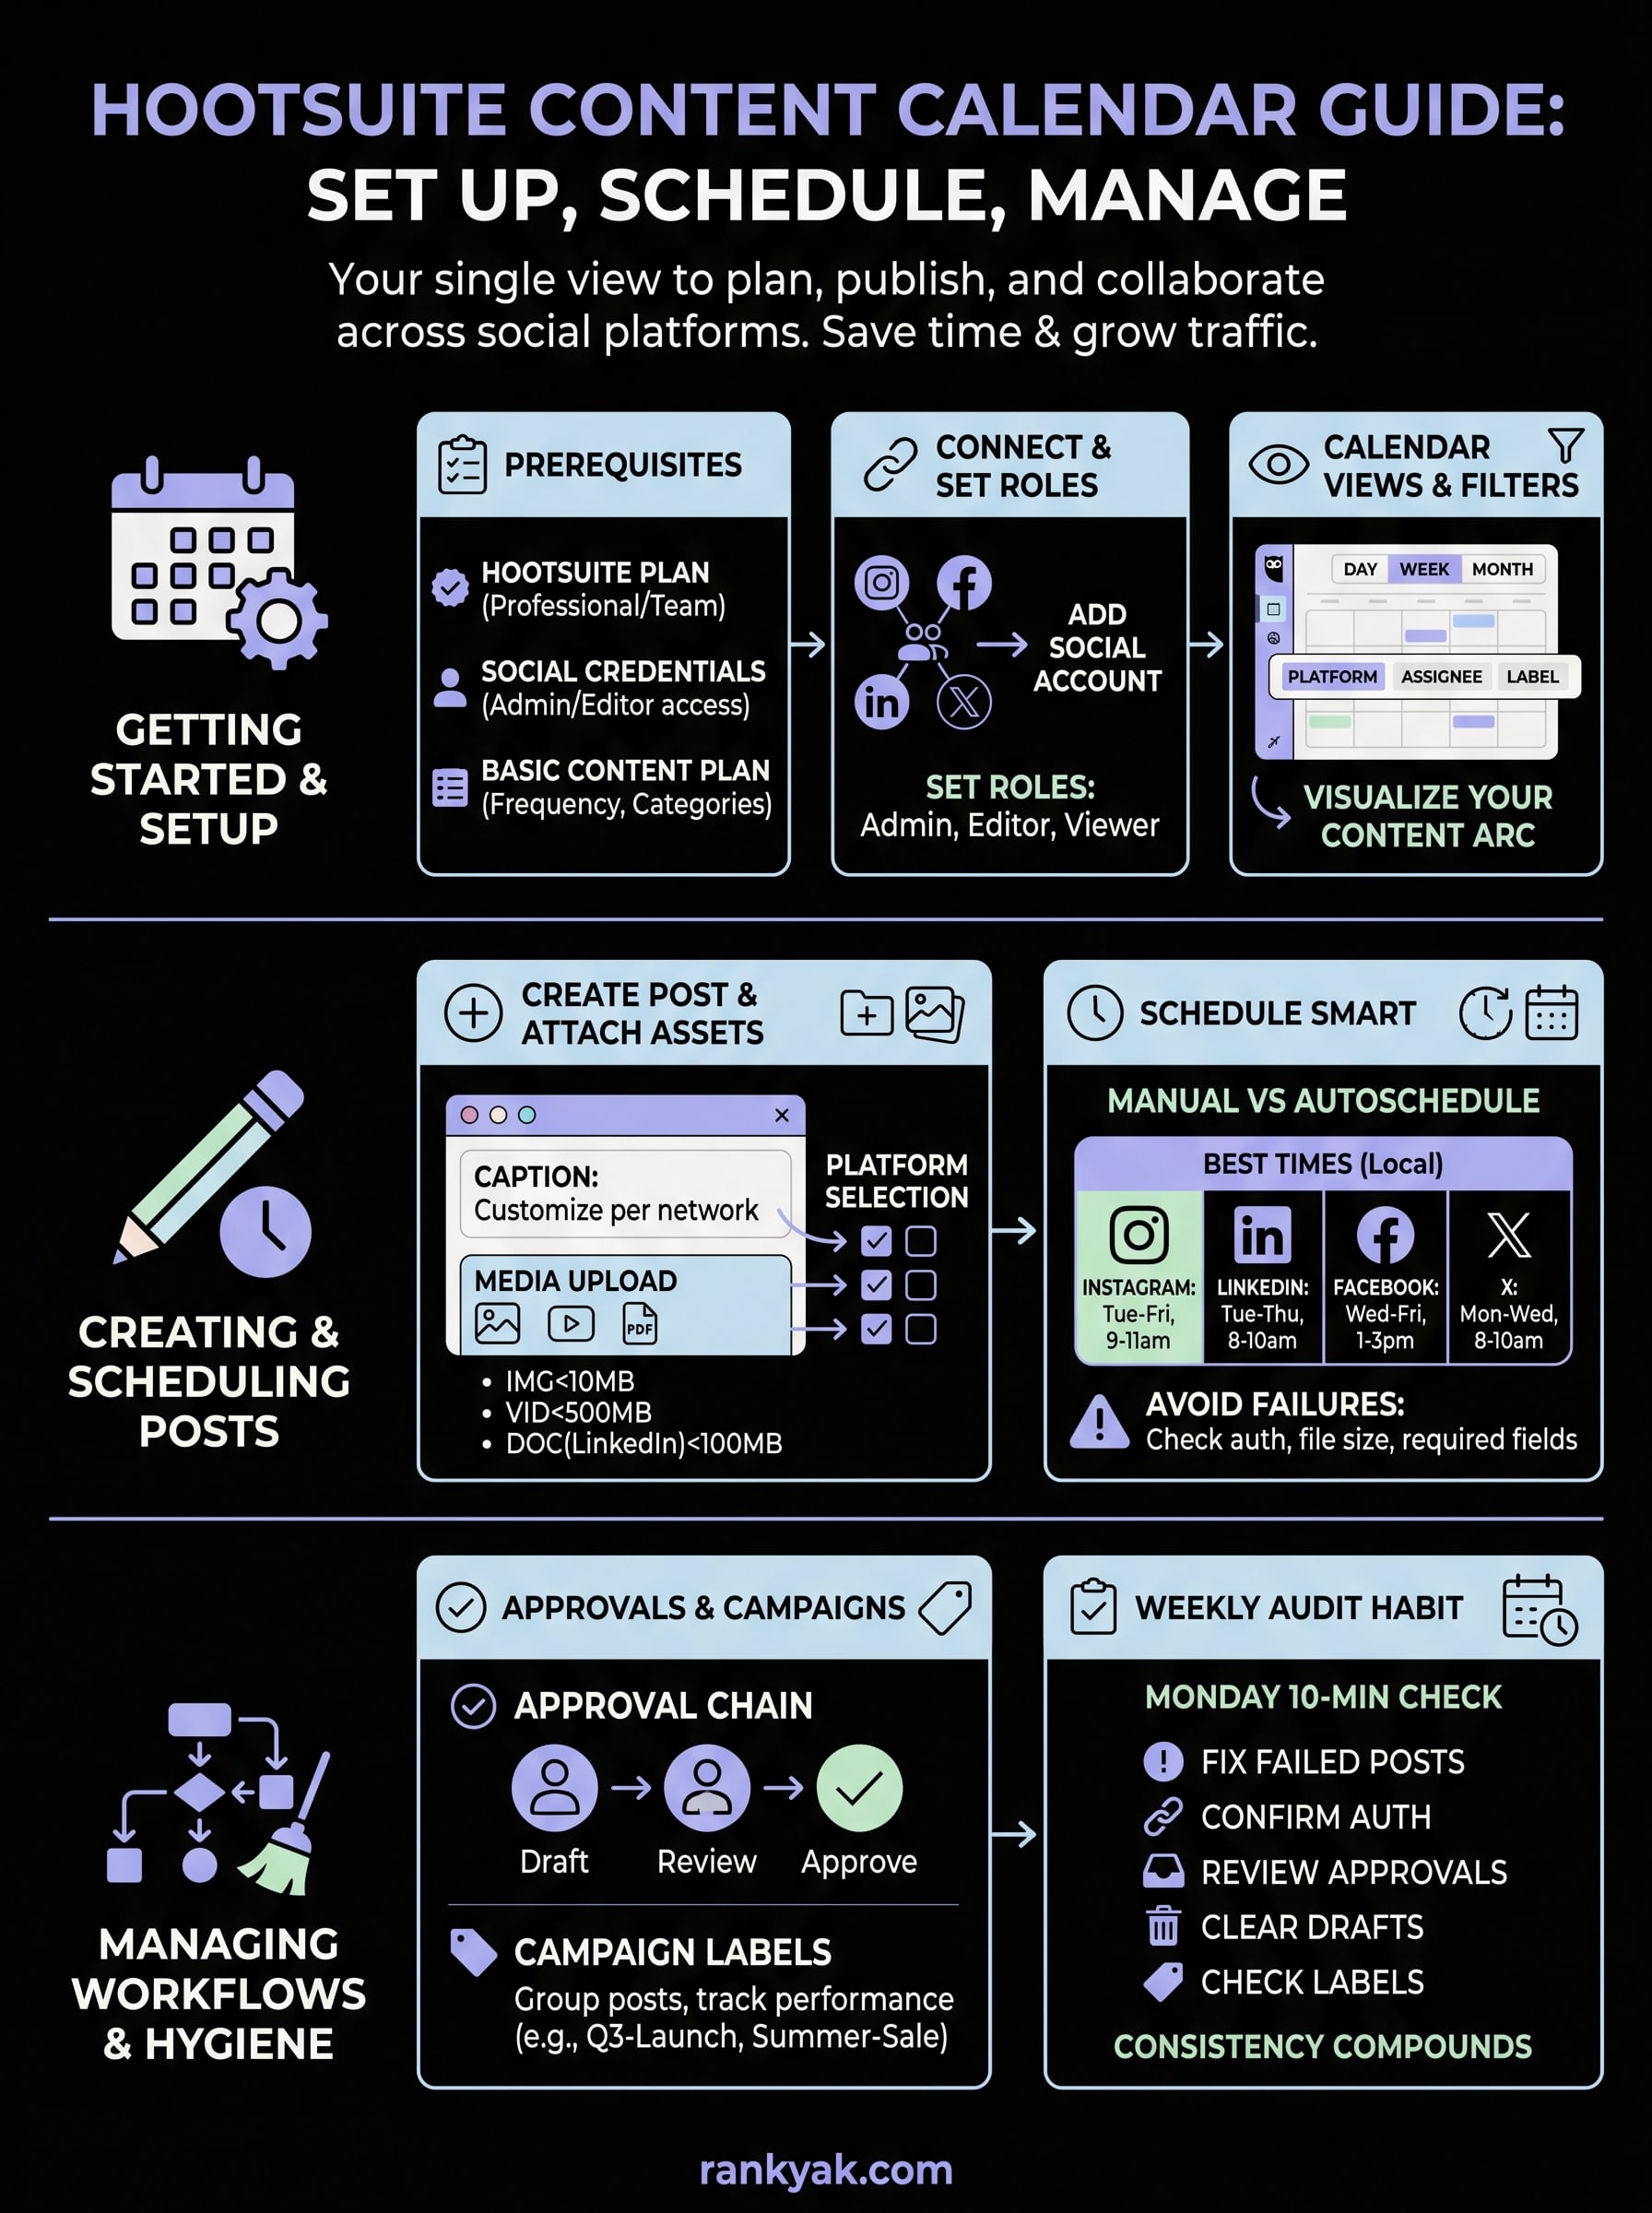
Hootsuite gives you two scheduling options: manual scheduling, where you pick a specific date and time yourself, and AutoSchedule, which lets Hootsuite pick optimal times based on your audience's activity data. AutoSchedule works best when you have enough historical engagement data on your connected accounts, typically after a few months of consistent posting. For new accounts, set times manually using the platform's own analytics recommendations.
Always preview the exact day and time one more time on the confirmation screen before clicking the final schedule button, because timezone mismatches are the most common cause of posts going live at the wrong hour.
Use this reference when setting manual times for maximum reach on each platform:
| Platform | Recommended posting windows (local time) |
|---|---|
| Tuesday-Friday, 9am-11am | |
| Tuesday-Thursday, 8am-10am | |
| Wednesday-Friday, 1pm-3pm | |
| X | Monday-Wednesday, 8am-10am |
Mistakes that cause publishing failures
Several predictable errors knock posts out of the queue without warning, and most of them happen during the scheduling step. The first is expired platform authorization: Hootsuite's connection to each social account expires periodically, and if you do not reconnect the account before your post is set to publish, it will fail silently. Check the connection status under "Social Accounts" at least once a week.
The second common mistake is uploading assets that exceed platform size limits after you have already set the schedule. Hootsuite will attempt to publish the post and fail at the point of delivery, not at the point of scheduling. Run a quick file size check before you click schedule, not after. A third issue is missing required fields on certain platforms, such as a destination URL for link posts on Facebook. Fill every required field in the composer before you move to the scheduling step, and you will avoid the majority of publishing failures.
Step 5. Edit, reschedule, and reuse existing posts
Scheduled posts are not locked in stone inside the Hootsuite content calendar. You can edit captions, swap out media, adjust times, or duplicate your best-performing content, all without starting from scratch. This flexibility is what separates a well-maintained calendar from a rigid, hard-to-manage queue.
Open and edit a scheduled post
Click any post block directly on the calendar to open a summary card. From there, click "Edit Post" to reopen the full composer with every field intact. You can change the caption, update the media file, adjust which platforms receive the post, or modify the scheduled time, then save the updated version without losing any other details tied to that post.
Edit a post before it enters the final hour before publishing, because some platforms lock the content once the queue processes it for delivery.
Use this checklist every time you edit an existing post to avoid missing a field:
- Confirm the caption is updated on every platform if you used custom text per network
- Check that the replacement media meets size and format requirements for each platform
- Verify the scheduled date and time still match your publishing plan after saving
Reschedule posts without losing content
Rescheduling works differently from editing. To move a post to a different date, drag the post block directly across the calendar to the new day when you are in week view. The time stays the same unless you click into the post and manually change it. This drag-and-drop method is the fastest way to shift content around when a campaign timeline changes at the last minute.
If you need to move a post further than the current week view allows, open the post and change the date manually inside the scheduler. Set the new date and time, then save. The post drops off its original day and reappears on the new date, so your calendar reflects the change immediately without any orphaned content left behind.
Duplicate posts to reuse top performers
Reusing content that already worked is one of the most practical moves you can make as a social media manager. Find any published or scheduled post, open it, and click "Duplicate" from the options menu. Hootsuite creates an identical copy with all the original fields filled in, which you then edit as needed before scheduling the duplicate to a new date or platform. This approach saves significant drafting time for evergreen content like recurring tips, seasonal promotions, or product highlights that stay relevant over time.
Step 6. Run approvals and collaboration workflows
Publishing content without a review step is one of the fastest ways to send the wrong message publicly. The Hootsuite content calendar includes a built-in approval system that keeps drafts, feedback, and sign-offs in one place, so your team stops chasing each other across email threads and Slack channels to get a simple post approved.
Set up an approval chain
Setting up an approval chain takes less than five minutes and immediately removes the biggest bottleneck in most social media workflows. Go to Account Settings, select "Approvals," and then assign which team members must review content before it can be scheduled. You can set a single-level approval, where one designated reviewer must sign off, or a multi-level chain, where content moves through two or more reviewers in sequence before it reaches the calendar as a scheduled post.
Assign approval roles based on content type, not just seniority. A legal reviewer for compliance-sensitive posts and a brand manager for campaign content is a more practical setup than routing every draft through one person.
Use this template to map out your approval chain before you configure it inside Hootsuite:
| Content type | Level 1 reviewer | Level 2 reviewer | Final approver |
|---|---|---|---|
| Promotional posts | Copywriter lead | Marketing manager | Brand director |
| Crisis or legal content | Legal team | PR manager | CEO or senior lead |
| Routine evergreen posts | Copywriter lead | Marketing manager | None required |
Configure each content type's chain separately so routine posts move quickly without waiting on senior sign-off, while higher-stakes content gets the extra scrutiny it needs.
Give and receive feedback inside Hootsuite
When a team member submits a draft for review, it appears in the reviewer's approval queue inside the platform rather than landing in anyone's inbox. Click the post to open it, view the full caption and attached media in context, and use the comment field to leave specific, actionable notes. Avoid vague feedback like "adjust the tone" and instead write "change the second sentence to focus on the benefit rather than the feature."
Reviewers can either approve the post with one click, which moves it forward in the chain or releases it to the calendar, or reject it and send it back to the original creator with the comment thread attached. The creator sees the rejection and notes directly inside their Hootsuite dashboard, makes the requested edits, and resubmits without the back-and-forth of tracking down who said what.
Step 7. Organize campaigns with labels and tracking
The Hootsuite content calendar becomes significantly harder to manage as your content volume grows. Without a system to group related posts, your calendar fills with disconnected items and you lose the ability to see how individual campaigns are performing as a whole. Labels solve this problem by letting you tag posts with campaign identifiers so you can filter, measure, and report on specific initiatives rather than treating every post as a standalone event.
Apply labels to group related posts
Labels work like tags you attach to individual posts at the time you create or schedule them. Inside the post composer, look for the "Labels" field near the bottom of the panel. Type the label name you want to apply, such as "Q3 Product Launch" or "Summer Sale," and Hootsuite saves it to your account for reuse on future posts. Apply the same label to every post that belongs to a specific campaign, and you can then filter the calendar by that label to see only campaign-related content in isolation.
Create a consistent label naming system before you start a campaign, because labels with inconsistent capitalization or spelling appear as separate entries and break your ability to filter accurately.
Use this template to standardize your label structure across campaigns:
| Label format | Example |
|---|---|
| [Quarter] + [Initiative] | Q3-ProductLaunch |
| [Season] + [Campaign type] | Summer-Sale |
| [Channel focus] + [Content type] | LinkedIn-ThoughtLeadership |
| [Client name] + [Campaign] | AcmeCo-Rebrand |
Apply labels consistently from the first post in a campaign so no content slips through without a tag. Retroactively labeling posts is possible but slower than tagging at creation time.
Track campaign performance after publishing
Once your labeled posts have gone live, use Hootsuite's Analytics section to filter results by label. This pulls engagement data, reach, and click metrics only for the posts tied to that campaign, giving you a clean performance snapshot without manually sorting through your entire post history.
Pull a label-filtered report at the midpoint and end of each campaign to compare what content drove the most engagement. Look specifically at which platforms delivered the highest reach for that campaign, and use those findings to adjust your label strategy and posting mix for the next initiative rather than repeating a structure that underperformed.
Step 8. Troubleshoot and maintain calendar hygiene
A well-built Hootsuite content calendar does not stay clean on its own. Failed posts accumulate, duplicate drafts pile up, and expired platform authorizations silently break your publishing queue if you leave them unchecked. Building a weekly maintenance habit takes less than fifteen minutes and prevents the kind of snowball problems that force you to rebuild your entire queue from scratch during a busy campaign week.
Fix failed and stuck posts
When a post fails to publish, Hootsuite marks it with a red error indicator on the calendar. Click the flagged post to open the error details. Most failures fall into one of four categories, and each one has a specific fix:
| Error type | Common cause | Fix |
|---|---|---|
| Authorization expired | Platform disconnected after token refresh | Go to Social Accounts, reconnect the affected profile |
| Media rejected | File exceeds platform size limit | Compress or resize the asset, then resubmit |
| Missing required field | Link post missing a URL | Reopen the post, fill the missing field, reschedule |
| Account permission removed | Page admin access revoked | Restore your admin role on the platform, then reconnect |
After fixing the root cause, do not reschedule the failed post at the original time without checking whether that window still makes sense. If the post was time-sensitive, update the caption to reflect the delay before you push it live again.
Run a weekly calendar audit
Set aside ten minutes every Monday to scan the coming week for problems before they happen. Open the week view and work through this checklist from top to bottom:
- Check that every scheduled post has media attached and no blank caption fields
- Confirm all platform authorizations are active under Account Settings
- Review any pending approvals that could delay posts going live on time
- Delete or archive any orphaned drafts sitting past their intended publish date
- Verify that labels on campaign posts are consistent with your naming system
Treating your Monday audit as a non-negotiable calendar block, the same way you would a team meeting, is what separates teams that publish consistently from teams that scramble every week.
Running this audit regularly keeps your queue accurate and your publishing reliable, so the work you put into planning and scheduling actually pays off instead of disappearing into failed posts and outdated drafts.
Wrap up and next steps
You now have a complete system for running the Hootsuite content calendar from first setup through ongoing maintenance. You connected your accounts, learned the calendar views, built posts with proper assets, scheduled content without common errors, managed approvals, organized campaigns with labels, and built a weekly audit habit that keeps everything running cleanly.
The next move is straightforward: pick one platform, connect it today, and schedule your first week of content using the steps above. Start small, then expand to additional accounts once your approval workflow and labeling system feel natural. Consistency compounds over time, and a reliable social media publishing engine frees you to focus on other growth channels.
If you want that same consistency for your SEO content, without writing every article yourself, try RankYak to automate your blog publishing and let the platform handle keyword research, drafting, and publishing on autopilot while you manage social.

Get Google and ChatGPT traffic on autopilot.
Start today and generate your first article within 15 minutes.

SEO revenue calculator
How much revenue is your website leaving on the table?
Take a quick quiz and see exactly how much organic revenue you're missing out on, along with personalized tips to fix it.
-
4 questions, under 1 minute
-
See traffic and revenue potential
-
No email required
Free · takes 1 minute · no signup needed
Question 1 of 4
Question 2 of 4
Question 3 of 4
Question 4 of 4
Your SEO growth potential
Extra visitors / month
after 6-12 months of consistent publishing
Revenue potential / year
at your niche's avg. conversion rate
Articles needed (12 mo)
to reach this traffic level
ROI with RankYak
at $99/mo ($1,188/year)
To hit that number, you'd need to:
- Build a topical authority strategy for your niche
- Research keywords & map out a full topical cluster
- Write, edit & publish an article every single day
- Build backlinks to the articles you publish
RankYak handles all of this automatically, every day.
* Estimates based on industry averages. Results vary by niche, competition, and domain authority. Most SEO results become visible after 3-6 months of consistent publishing.