How To Do Technical SEO With A Practical Checklist (2026)
You can publish the best content on the internet, but if Google can't crawl, index, or render your pages properly, none of it matters. Learning how to do technical SEO is what separates sites that rank from sites that just… exist. It's the foundation everything else, your content, your backlinks, your keyword strategy, sits on top of.
The problem is that technical SEO can feel overwhelming. Between XML sitemaps, canonical tags, Core Web Vitals, and crawl budgets, there's a lot of ground to cover. Most guides either drown you in jargon or skip the steps that actually move the needle. Neither approach helps if you're a business owner or marketer trying to get results without a dedicated dev team.
This guide breaks technical SEO into practical, actionable steps you can follow right now, complete with a 15-step technical SEO checklist you can reference anytime. We'll cover everything from site architecture to page speed to structured data. And since technical SEO works best when paired with consistent, optimized content, we'll also show where a tool like RankYak fits in, handling the daily content creation and publishing so you can focus on the infrastructure that makes it all rank.
What Technical SEO Includes in 2026
Technical SEO covers every behind-the-scenes factor that determines whether search engines can find, understand, and rank your pages. When people ask how to do technical SEO, they're really asking how to build the infrastructure that supports everything else on a site. Your content and backlinks only deliver results if this infrastructure is solid enough to support them.
The core categories you need to manage
Technical SEO breaks down into several distinct areas, and each one affects your rankings in a different way. Crawlability determines whether Googlebot can even reach your pages. Indexing controls which pages actually appear in search results. Site architecture affects how authority flows through your domain. Page speed and Core Web Vitals directly influence your rankings as a confirmed Google signal. Structured data helps search engines understand your content and unlock rich results. And HTTPS security is a baseline requirement that affects both user trust and rankings. Each pillar interacts with the others, so a fast site with a broken sitemap still wastes crawl budget on the wrong pages.
Here's a quick overview of the core pillars and what each one involves:
| Pillar | What It Controls |
|---|---|
| Crawlability | Googlebot access, robots.txt, crawl budget |
| Indexing | Search result visibility, canonical tags, noindex directives |
| Site architecture | URL structure, internal links, page depth |
| Page speed | Load time, Core Web Vitals (LCP, CLS, INP) |
| Structured data | Schema markup, rich results eligibility |
| Security | HTTPS, safe browsing, certificate validity |
| Mobile usability | Responsive design, viewport configuration |
What has changed heading into 2026
Search engines have gotten significantly better at rendering JavaScript, but that doesn't mean JavaScript is no longer a concern. Sites that rely heavily on client-side rendering still risk having content missed or delayed in indexing. Google's documentation on JavaScript SEO confirms that dynamic rendering can still cause indexing gaps if you're not careful, and that's a problem you cannot afford to ignore in competitive niches.
Another major shift is the rise of AI crawler traffic. Bots like GPTBot and ClaudeBot now crawl the web to power AI chat platforms like ChatGPT and Perplexity. If you want visibility in those tools, your robots.txt file and overall site accessibility matter well beyond just Google. You need to decide intentionally which bots you allow and structure your content so AI systems can parse and cite it accurately.
If you're not thinking about AI crawlers in 2026, you're optimizing for only half the search landscape.
Core Web Vitals have also continued to evolve. Interaction to Next Paint (INP) replaced First Input Delay as the interactivity metric, and Google has made clear that page experience signals carry real weight in rankings. Ignoring INP is not an option if you're competing in a saturated niche.
Why technical SEO requires ongoing attention
Technical SEO is not a one-time project. Every time you update your CMS, add new pages, or change your site architecture, you introduce potential new issues. A plugin can accidentally add a noindex tag to your entire site. A migration can break hundreds of internal links. A third-party script can balloon your load time overnight.
Sites that maintain strong rankings treat technical SEO as continuous maintenance, not a quarterly audit. You need monitoring in place so you catch problems before Google does. That's exactly why building a repeatable process, like the checklist this guide walks you through, matters more than any single one-off fix.
Step 1. Audit Crawlability and Site Discovery
Before you optimize anything else, you need to confirm that Google can actually reach your pages. Crawlability is the first problem to solve when learning how to do technical SEO, because every other optimization is pointless if Googlebot cannot access your content in the first place. Start here before touching anything else.
Check Your robots.txt File
Your robots.txt file tells search engine bots which parts of your site they can and cannot crawl. A misconfigured file can accidentally block your most important pages from Googlebot, and this is one of the most damaging technical mistakes site owners make without realizing it. Access your file by visiting yourdomain.com/robots.txt, review every disallow rule carefully, and test whether a specific URL is blocked for Googlebot.

Here is a clean baseline robots.txt for most sites:
User-agent: *
Disallow: /wp-admin/
Disallow: /checkout/
Disallow: /cart/

User-agent: GPTBot
Allow: /

Sitemap: https://yourdomain.com/sitemap.xml
Notice that this configuration explicitly allows GPTBot, which is how ChatGPT crawls the web. Blocking AI crawlers by default cuts you off from visibility in AI chat platforms, so be intentional about which bots you allow and which sections you restrict, and build a robots.txt with explicit rules for the AI crawlers.
Submit and Verify Your XML Sitemap
Your XML sitemap is the roadmap that tells Google where your important pages live. If you have not submitted it to Google Search Console, do that first. Navigate to "Sitemaps" under the Index section, paste in your sitemap URL, and let Google process it. The report will show you how many pages were discovered versus how many were actually indexed.
A large gap between submitted and indexed pages signals that something deeper is wrong with your crawl setup or your content quality.
Watch for pages marked noindex that still appear in your sitemap, broken URLs, or pages excluded because of redirect chains, which you can confirm by tracing the full redirect chain for each URL. Remove non-canonical and redirect URLs from your sitemap entirely and confirm that every included URL returns a clean 200 status code, which is easiest to do by validating every URL and tag in your XML sitemap in one pass.
Review Crawl Stats in Google Search Console
Search Console's Crawl Stats report shows you how often Googlebot visits your site and which pages it spends the most time on. A sudden drop in crawl activity often points to a server problem or an unintentional robots.txt change. Check this report monthly.
Pay close attention to pages with high crawl frequency but a low index rate. That pattern usually means thin content or duplicate pages are eating your crawl budget without producing any ranking benefit, so learn how to get Googlebot crawling the pages that actually matter before moving forward.
Step 2. Fix Indexing and Canonical Signals
Crawlability gets Google to your pages, but indexing determines whether those pages actually appear in search results. Even if Googlebot visits your site regularly, it may choose not to index certain pages because of duplicate content, conflicting signals, or missing directives. This step in learning how to do technical SEO is about giving Google clear, consistent instructions about which pages belong in its index and which ones do not.
Audit Your Index Coverage Report
Google Search Console's Index Coverage report is your starting point. Open it, filter by status, and work through each category systematically. "Excluded" pages are not always a problem, but every exclusion should be intentional. If pages you want indexed show up as excluded, that is a signal something in your setup is sending the wrong message.
Here are the most common exclusion reasons and what each one means for your action plan:
| Exclusion Reason | What It Means | Action Required |
|---|---|---|
| Noindex tag detected | Page has a meta robots noindex | Remove the tag if the page should rank |
| Duplicate without user-selected canonical | Google found a better version | Set an explicit canonical tag |
| Crawled, not indexed | Google visited but skipped it | Improve content depth and quality |
| Redirect | Page returns a 3xx status | Update internal links to point to final URL |
| Soft 404 | Page looks empty or near-empty | Add substantial content or return a true 404 |
Set Canonical Tags Correctly
A canonical tag tells Google which version of a URL you consider the definitive one, and it helps to understand how canonical tags work and where to place them. Without it, Google may find multiple versions of the same page (with and without trailing slashes, with query parameters, with HTTP vs HTTPS) and split ranking signals across all of them, so it pays to check the canonical each page declares across a whole list of URLs. Add a self-referencing canonical to every page, including pages you consider unique.
Here is the correct format to add inside your <head> tag:
<link rel="canonical" href="https://yourdomain.com/your-page-slug/" />
Never let your canonical tags point to redirected, noindexed, or non-200 URLs, because Google will ignore the canonical signal entirely when that happens.
Handle Pagination and Parameter URLs
Paginated pages and URL parameters create large numbers of near-duplicate pages that confuse Google's indexer. For paginated series, use rel="next" and rel="prev" attributes where your CMS supports them, and make sure each paginated page links back to a canonical root URL. For URL parameters like filters or session IDs, use Google Search Console's URL Parameters tool or configure your server to canonicalize parameterized versions back to the clean URL automatically.
Step 3. Strengthen Site Structure and Internal Links
Site architecture for SEO determines how authority flows across your domain and how easily both users and search engine crawlers navigate between pages. When you learn how to do technical SEO, treating internal links as a strategic tool rather than an afterthought is one of the highest-leverage moves you can make. Pages buried deep in your site hierarchy receive fewer internal links by default, and that means less crawl priority and ranking power flowing their way.
Build a Logical URL Structure
Your URL structure signals hierarchy and topic relevance to Google's crawlers and human visitors alike. Keep URLs short, descriptive, and keyword-focused, and turn each title into a clean URL slug before you publish. Avoid parameters, dates, or auto-generated IDs in content page URLs. A clean, well-organized structure looks like this:
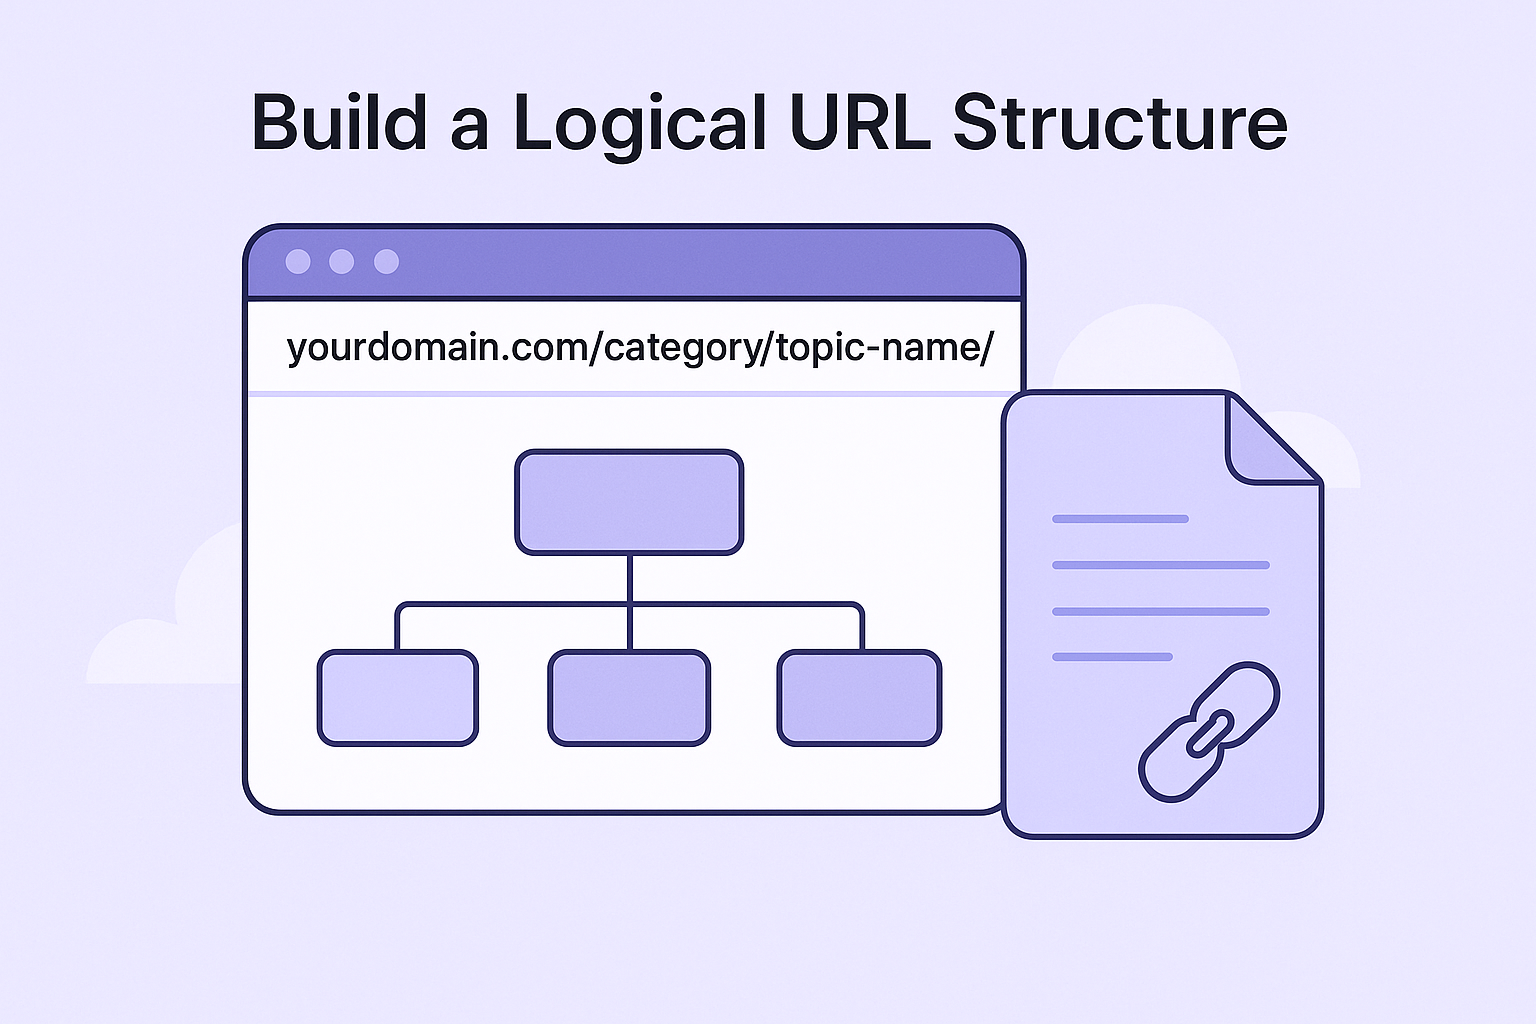
yourdomain.com/category/topic-name/
yourdomain.com/blog/your-article-slug/
Avoid structures that bury pages more than three clicks deep from your homepage. Pages deeper than that accumulate fewer internal links naturally, which means they receive less PageRank and consistently rank harder in competitive search results.
Flat site architecture, where your most important pages are reachable within three clicks of the homepage, outperforms deep siloed structures in both crawl efficiency and user experience.
Use Internal Links to Distribute Authority
Every internal link you add to a page passes a portion of that page's authority to the linked destination. Prioritize linking from your highest-traffic or highest-authority pages to newer or underperforming content. This is one of the most direct ways to lift pages stuck on page two without building a single new backlink.
Use descriptive anchor text that matches the topic of the destination page rather than generic phrases like "click here" or "read more." Google uses anchor text as a strong relevance signal, so vague anchors waste the opportunity entirely. For example, a link pointing to a page about page speed improvements should use anchor text like "improving Core Web Vitals" rather than just "this article."
Here is a quick reference for internal linking best practices:
| Practice | What to Do |
|---|---|
| Anchor text | Use descriptive, keyword-relevant phrases |
| Link depth | Keep important pages within 3 clicks of homepage |
| Orphan pages | Ensure every page has at least one internal link pointing to it |
| Links per article | Add 3 to 5 relevant internal links per piece of content |
| Broken links | Audit and fix them at least quarterly |
Step 4. Improve Speed and Core Web Vitals
Page speed is no longer just a user experience concern. Google uses Core Web Vitals as direct ranking signals, and a slow site will lose ground to faster competitors even when your content is stronger. When you look at how to do technical SEO comprehensively, speed optimization is one of the few areas where improvements produce measurable ranking gains relatively quickly after Google recrawls your pages.
Measure First, Then Fix
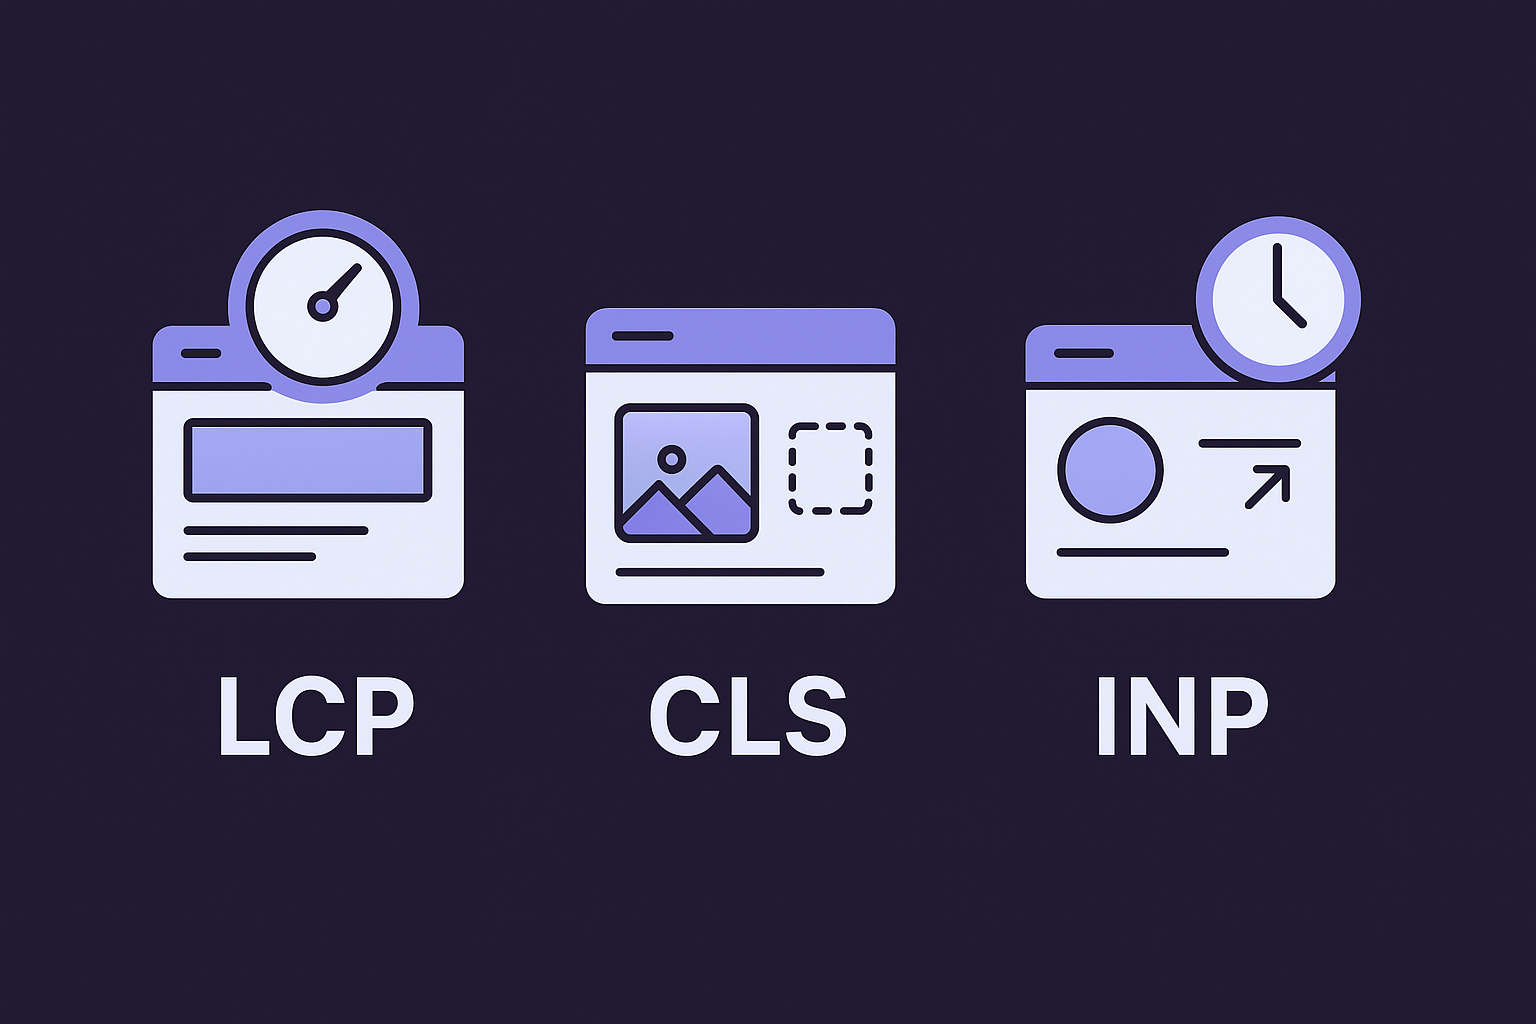
Before you change anything, you need a clear picture of where your current performance stands. Run your most important pages through Google PageSpeed Insights, which reports your real-world field data alongside lab-based diagnostics. Pay attention to all three Core Web Vitals metrics:
| Metric | What It Measures | Target Threshold |
|---|---|---|
| Largest Contentful Paint (LCP) | How fast your main content loads | Under 2.5 seconds |
| Cumulative Layout Shift (CLS) | Visual stability during load | Under 0.1 |
| Interaction to Next Paint (INP) | Responsiveness to user input | Under 200 milliseconds |
Your field data in PageSpeed Insights reflects real user experiences across devices, which is what Google actually uses to evaluate your site.
Fix the Three Core Web Vitals
LCP problems almost always trace back to a slow server response, render-blocking resources, or an unoptimized hero image. To fix your LCP, preload your largest above-the-fold image using the following tag in your <head>:
<link rel="preload" as="image" href="/images/hero.webp" fetchpriority="high" />
Also serve images in WebP or AVIF format, compress them before uploading, and use a content delivery network to reduce server response time for visitors across different geographic locations, which is part of optimizing images for search end to end.
CLS problems come from elements that shift position as the page loads, most often images or embeds without explicit dimensions defined. Fix this by always setting width and height attributes on every image:
<img src="/images/example.webp" width="800" height="450" alt="Description" />
INP issues are typically caused by heavy JavaScript execution on the main thread. Defer non-critical scripts, remove unused JavaScript, and break up long tasks into smaller chunks using the browser's scheduler. You can also audit your JS payload using Chrome DevTools' Performance panel to pinpoint exactly which scripts are blocking interactivity the longest.
Step 5. Add Schema, Handle JavaScript, and Monitor
The final layer of how to do technical SEO well is making sure Google can understand what your content means, not just read the words on the page. Schema markup, JavaScript handling, and active monitoring are what separate sites that maintain their rankings from sites that peak and then slowly slide back down. Getting these right means Google treats your site as a reliable, well-maintained resource rather than one it needs to second-guess on every crawl.
Add Schema Markup to Key Pages
Schema markup is structured data you add to your HTML that tells Google exactly what type of content a page contains, whether that is an article, a product, a FAQ, or a local business. Search engines use this data to generate rich results in search, such as star ratings, FAQs directly in the snippet, or article publication dates. These enhancements improve click-through rates without requiring you to rank any higher.
Adding schema correctly to your highest-traffic pages is one of the fastest ways to make your existing rankings work harder for you.
Start with the most impactful schema types for your site category, and generate valid JSON-LD for the type you need rather than writing it by hand. Here is a basic Article schema example to add inside a <script> tag in your page <head>:
{
  "@context": "https://schema.org",
  "@type": "Article",
  "headline": "Your Article Title Here",
  "author": {
    "@type": "Person",
    "name": "Author Name"
  },
  "datePublished": "2026-07-02",
  "publisher": {
    "@type": "Organization",
    "name": "Your Brand Name"
  }
}
After adding schema, validate it using Google's Rich Results Test to confirm Google can parse it without errors.
Audit JavaScript Rendering
Heavy JavaScript frameworks can cause Google to index a blank or incomplete version of your page if the content loads only after JavaScript executes. Use Google Search Console's URL Inspection tool, then click "Test Live URL" and compare the rendered screenshot to what a user sees. Any content missing from the rendered view is invisible to Google's indexer, which is a direct ranking risk.
Set Up Ongoing Monitoring
Technical issues surface constantly as your site grows. Configure monthly crawls using Google Search Console, watch your Core Web Vitals, index coverage, and crawl stats reports for any sudden changes, and let an automated site audit that finds and fixes weak pages handle the recurring checks. A consistent monitoring schedule catches problems before they compound into ranking drops that take months to recover from.
Wrap-Up and Next Actions
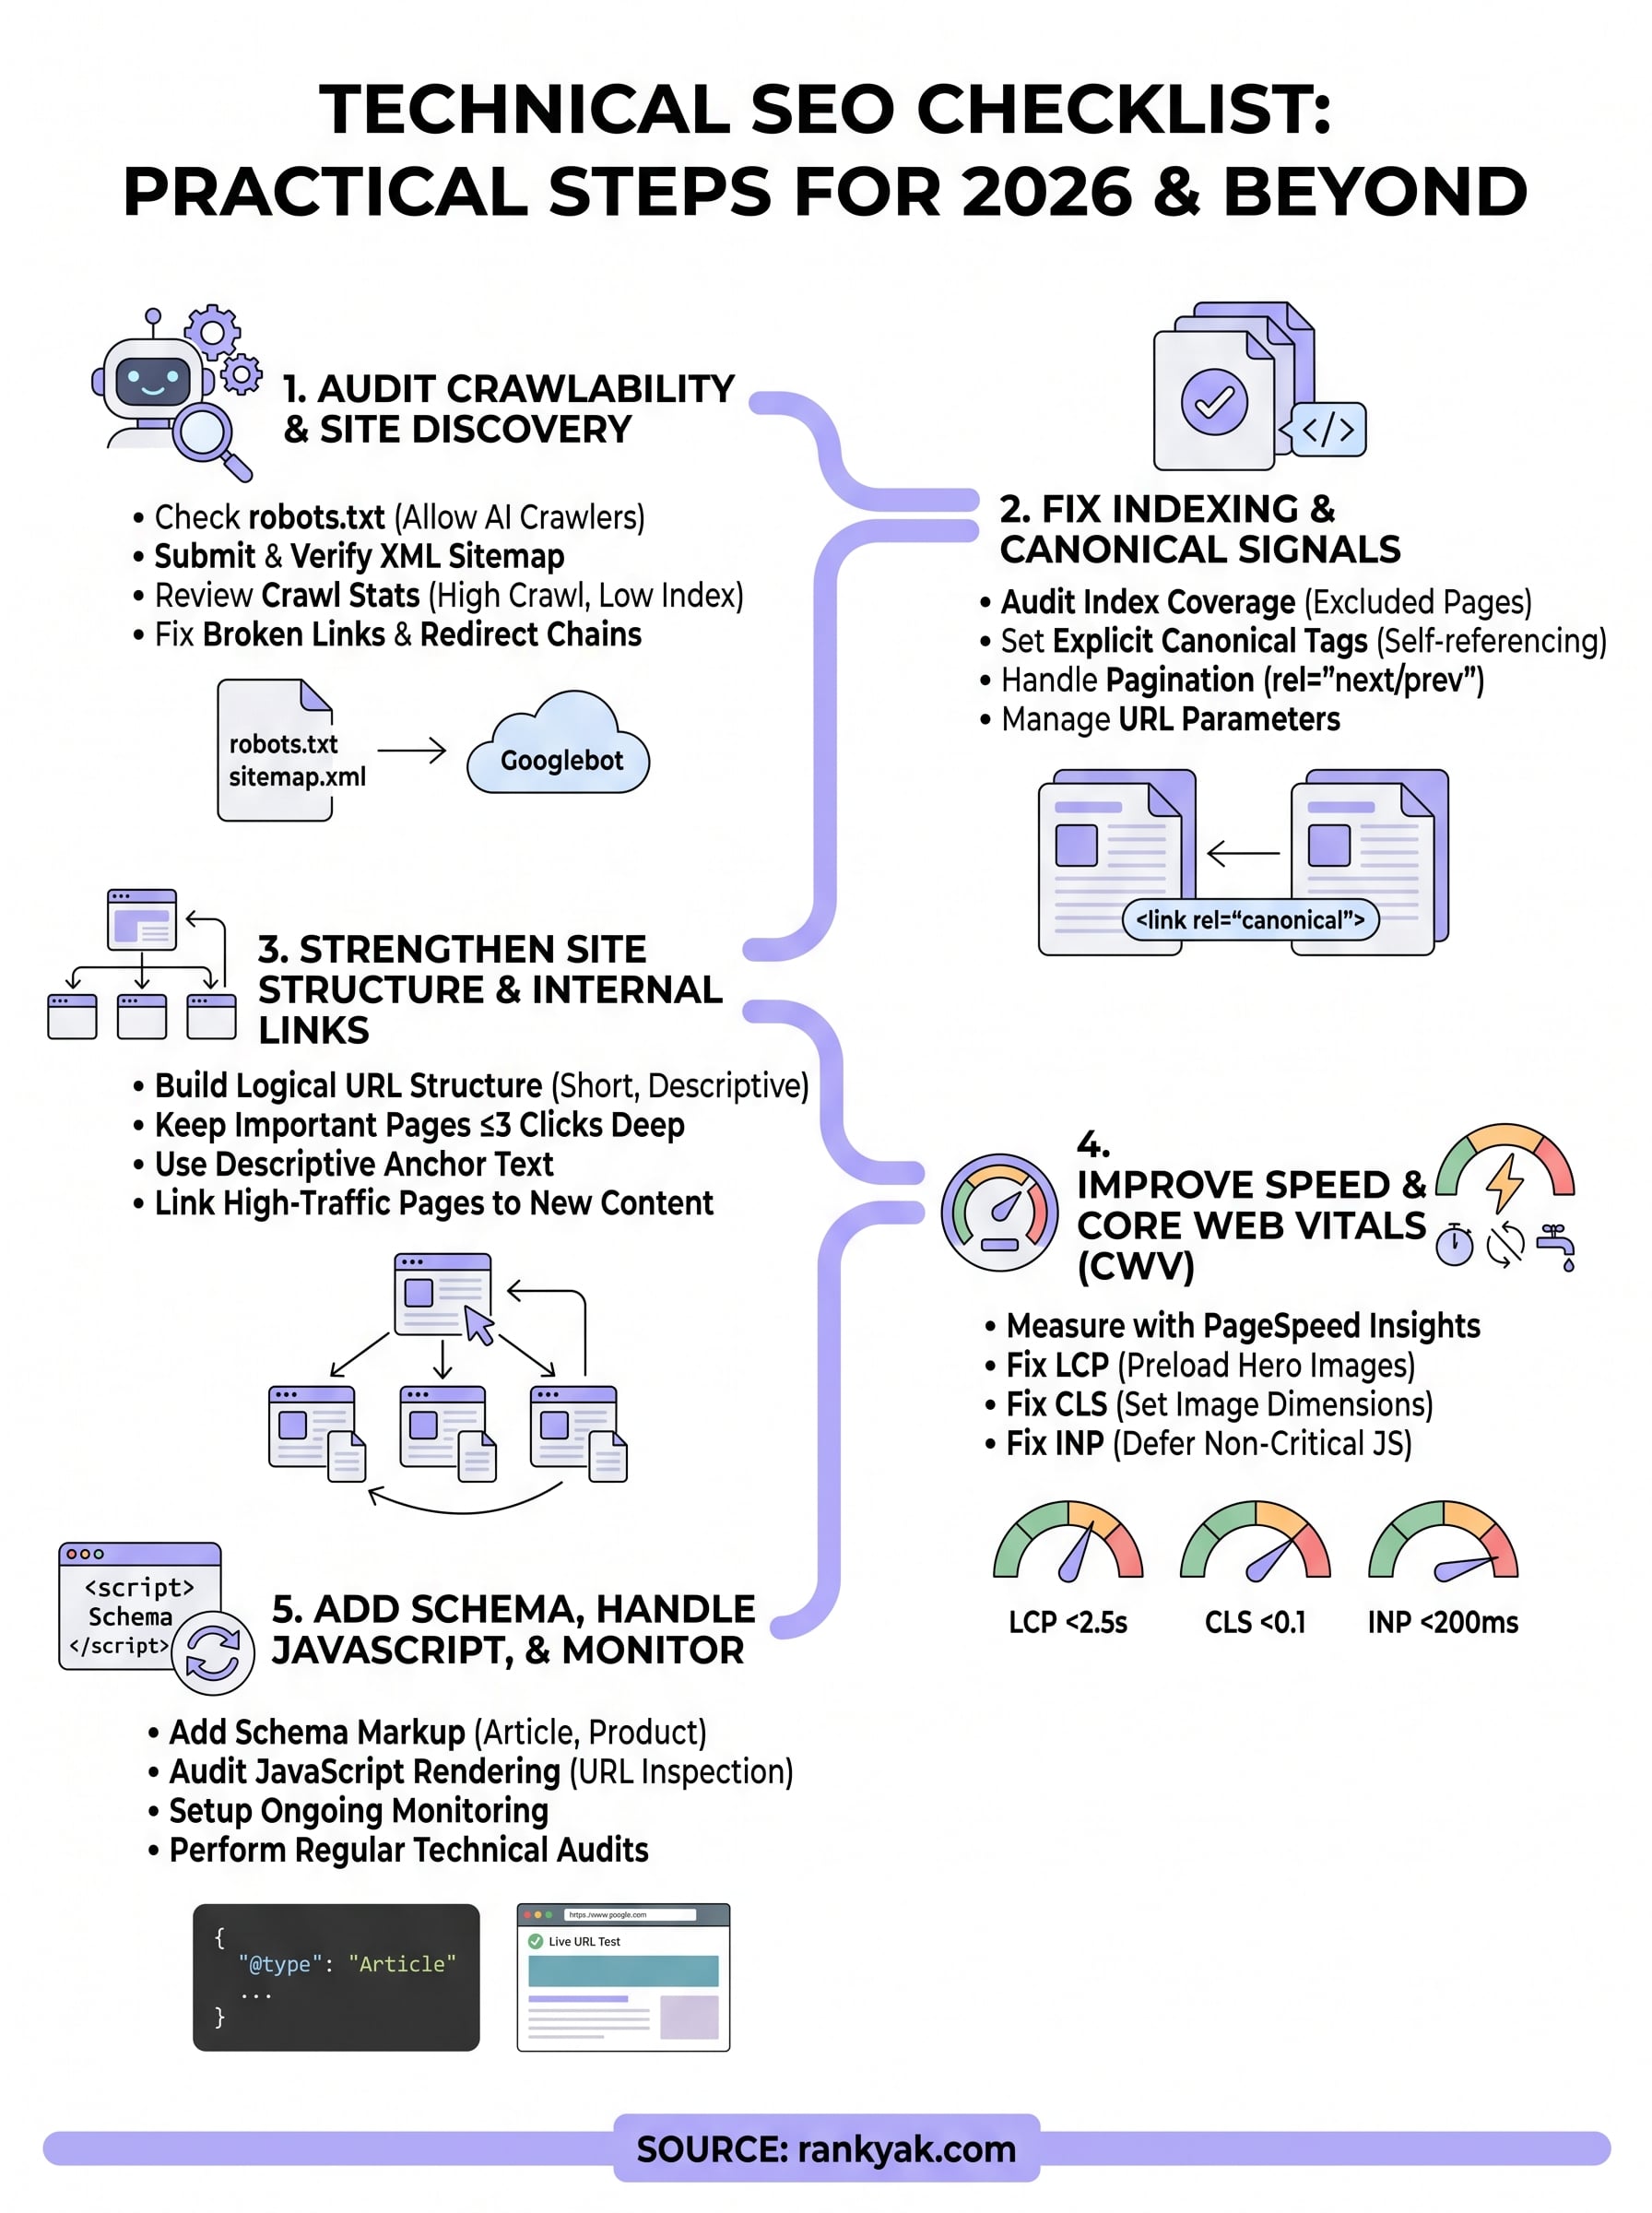
Technical SEO rewards consistency over perfection. You now have a complete picture of how to do technical SEO systematically: audit your crawlability, fix indexing signals, strengthen your site structure, improve Core Web Vitals, and layer in schema and ongoing monitoring. Work through each step in order, and you will eliminate the most common issues that hold sites back from ranking despite solid content and backlinks.
Putting this foundation to work requires a steady stream of optimized content for Google to discover and rank. That is where the infrastructure you just built pays off, because every well-structured, fast-loading, properly indexed page becomes an asset. If you want to put content creation on autopilot while you focus on the technical side, let RankYak publish daily SEO-optimized articles for you and see how they accelerate everything you have just put in place.
Lars Koole is a co-founder of RankYak and has worked in SEO since 2021, on the side where a strategy has to become a live page: inside agencies, alongside them, for clients directly, and in-house on the products being ranked. He is a software engineer by trade, which is how that page gets built. Before RankYak he founded companies of his own, two of which were acquired. At RankYak he owns the engineering and everything AI, and works out the solution and the implementation of each new feature.