On-Page SEO Guide: Step-By-Step Checklist for Beginners

You can publish content every single day and still get zero organic traffic if your pages aren't optimized correctly. That's where on-page SEO comes in, it's the practice of fine-tuning individual pages so search engines understand what they're about and rank them for the right queries.
Most beginners either skip on-page optimization entirely or overthink it to the point of paralysis. The truth is, it's a repeatable process. Once you know the steps, you can apply them to every page you publish, or let a tool like RankYak handle the optimization automatically while you focus on running your business.
This guide breaks down on-page SEO into a clear, step-by-step checklist you can follow right now. You'll learn how to structure your pages, write titles and meta descriptions that earn clicks, use headings and internal links effectively, and avoid the most common mistakes that keep beginners stuck on page five. No fluff, no theory overload, just the actionable steps that actually move the needle on your rankings.
What on-page SEO covers in 2026
On-page SEO refers to every optimization you make directly on a web page to help search engines understand its content and rank it for the right queries. Unlike off-page SEO, which deals with backlinks from other sites, or technical SEO, which covers your site's infrastructure, on-page SEO is entirely within your control. That makes it the best starting point for anyone trying to improve their search rankings without spending money on ads or link outreach.
The signals Google evaluates on your page
Google's ranking systems look at multiple signals within a page to decide where it belongs in search results. The core ones include keyword placement and relevance, heading structure, content quality, URL format, meta tags, internal linking, image optimization, and page experience signals. Each signal tells Google something different about your page, and together they help determine whether your content deserves to rank for a given query.
A common mistake beginners make is treating on-page SEO as a checklist of tricks. In reality, Google rewards pages that genuinely help the reader, which means your optimization decisions should always start with what serves the person landing on your page, not just what satisfies a crawler. This on-page seo guide takes exactly that approach, so every step you follow here has a direct reason tied to searcher value.
Ranking signals matter, but the underlying goal is always to make your page more useful, more trustworthy, and easier to understand for real people.
How on-page SEO has changed in 2026
Search engines have become significantly better at evaluating content quality and topical depth. Keyword stuffing not only fails to help in 2026, it actively signals low quality to Google's systems. A shorter, well-structured page that fully answers a reader's question will consistently outrank a longer page that repeats a target keyword 20 times without adding real insight.
AI-generated content is now widespread, and Google has responded by placing greater weight on experience, expertise, authoritativeness, and trustworthiness (E-E-A-T). Your page needs clear evidence that a knowledgeable person created or reviewed it. Concrete examples, original observations, and accurate citations all contribute to stronger E-E-A-T signals that Google's systems can detect and reward.
What on-page SEO does not include
Understanding the boundaries of on-page SEO helps you focus your effort in the right places. On-page SEO does not include link building, domain authority, or social media signals, which fall under off-page SEO. It also does not cover crawlability, server-level speed issues, or XML sitemaps, which belong to technical SEO.
That said, the lines can blur in practice. Page load speed, for example, is partly a technical concern but also affects the page experience signals Google measures at the page level. When you follow the steps in this guide, you will handle the on-page layer thoroughly. Technical SEO and link building are separate disciplines worth pursuing in parallel, but they will not compensate for weak on-page optimization. A strong foundation on the page itself is always the first priority.
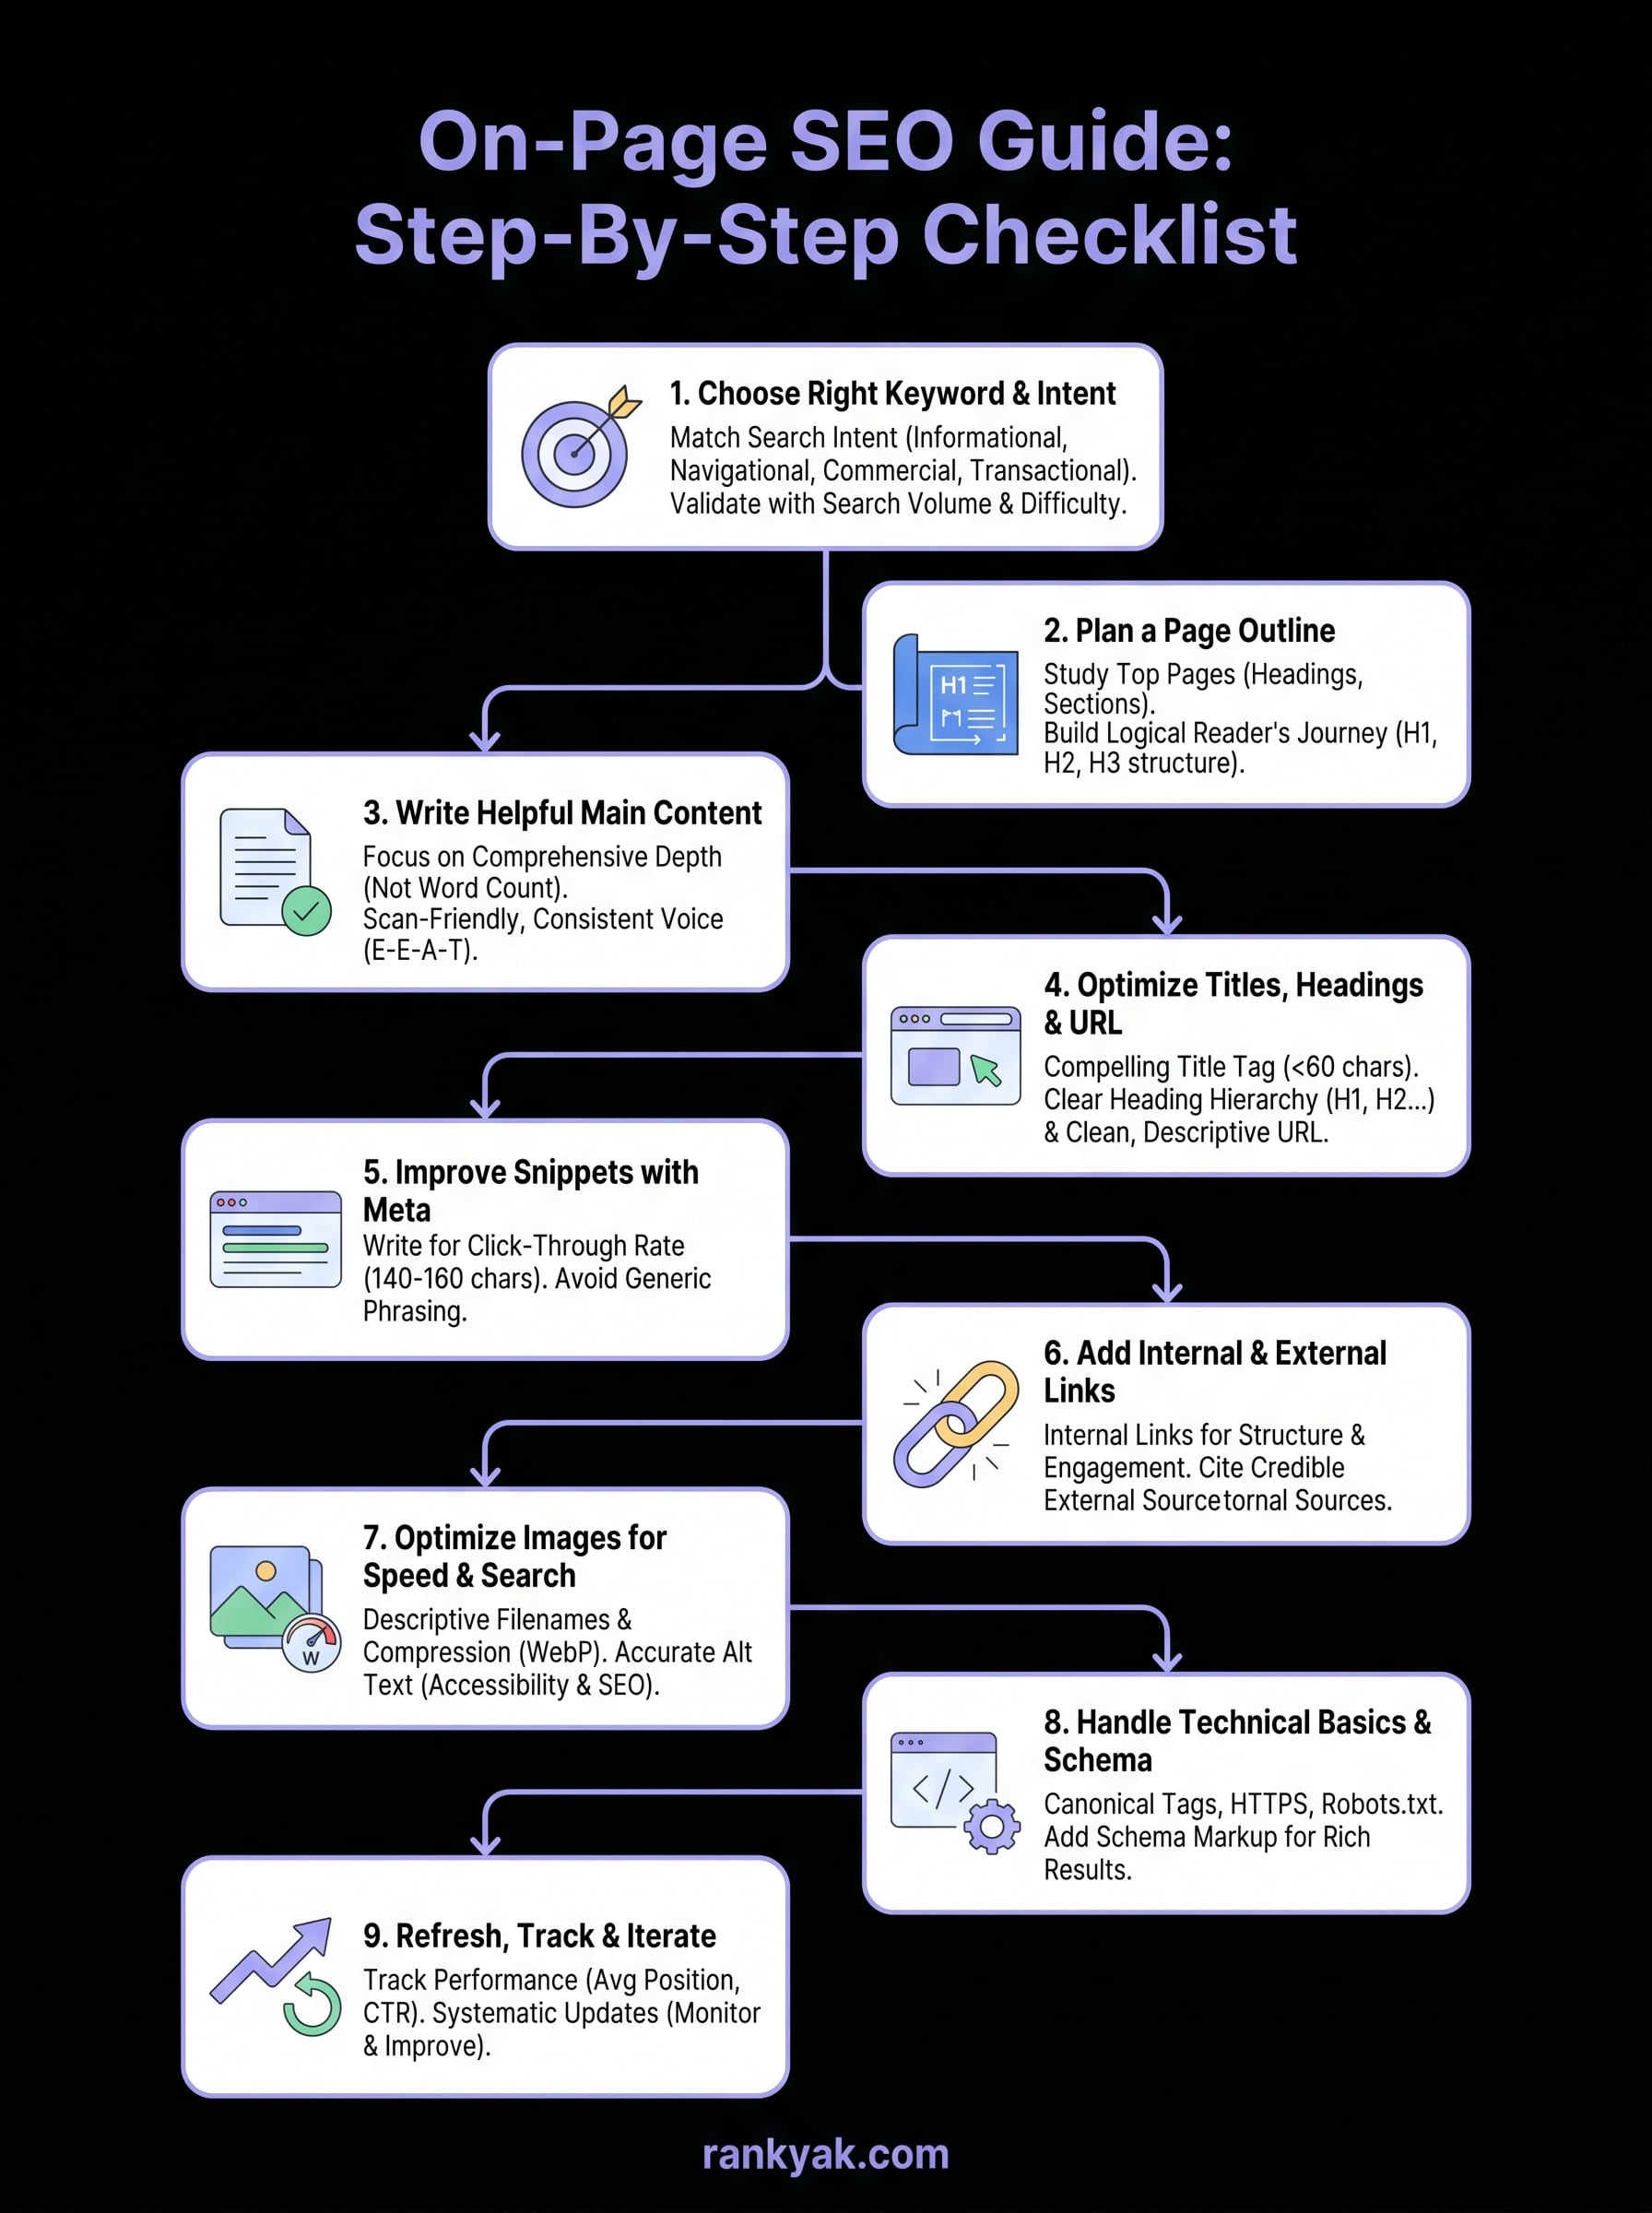
Step 1. Choose the right keyword and intent
Every page you optimize should target one primary keyword that reflects exactly what your audience is searching for. Picking the wrong keyword, or the right keyword with the wrong intent, wastes every optimization effort you apply afterward. Before you touch a title tag or write a single heading, confirm that the keyword you are targeting matches both the topic and the format of the page you plan to build.
Match your keyword to a specific search intent
Search intent tells you why someone typed a query into Google: are they looking to learn something, compare options, navigate to a site, or complete a purchase? Google groups intent into four main types: informational, navigational, commercial, and transactional. When your page type does not match the dominant intent for a keyword, Google will not rank it consistently, no matter how thoroughly you apply every tactic in this on-page seo guide.
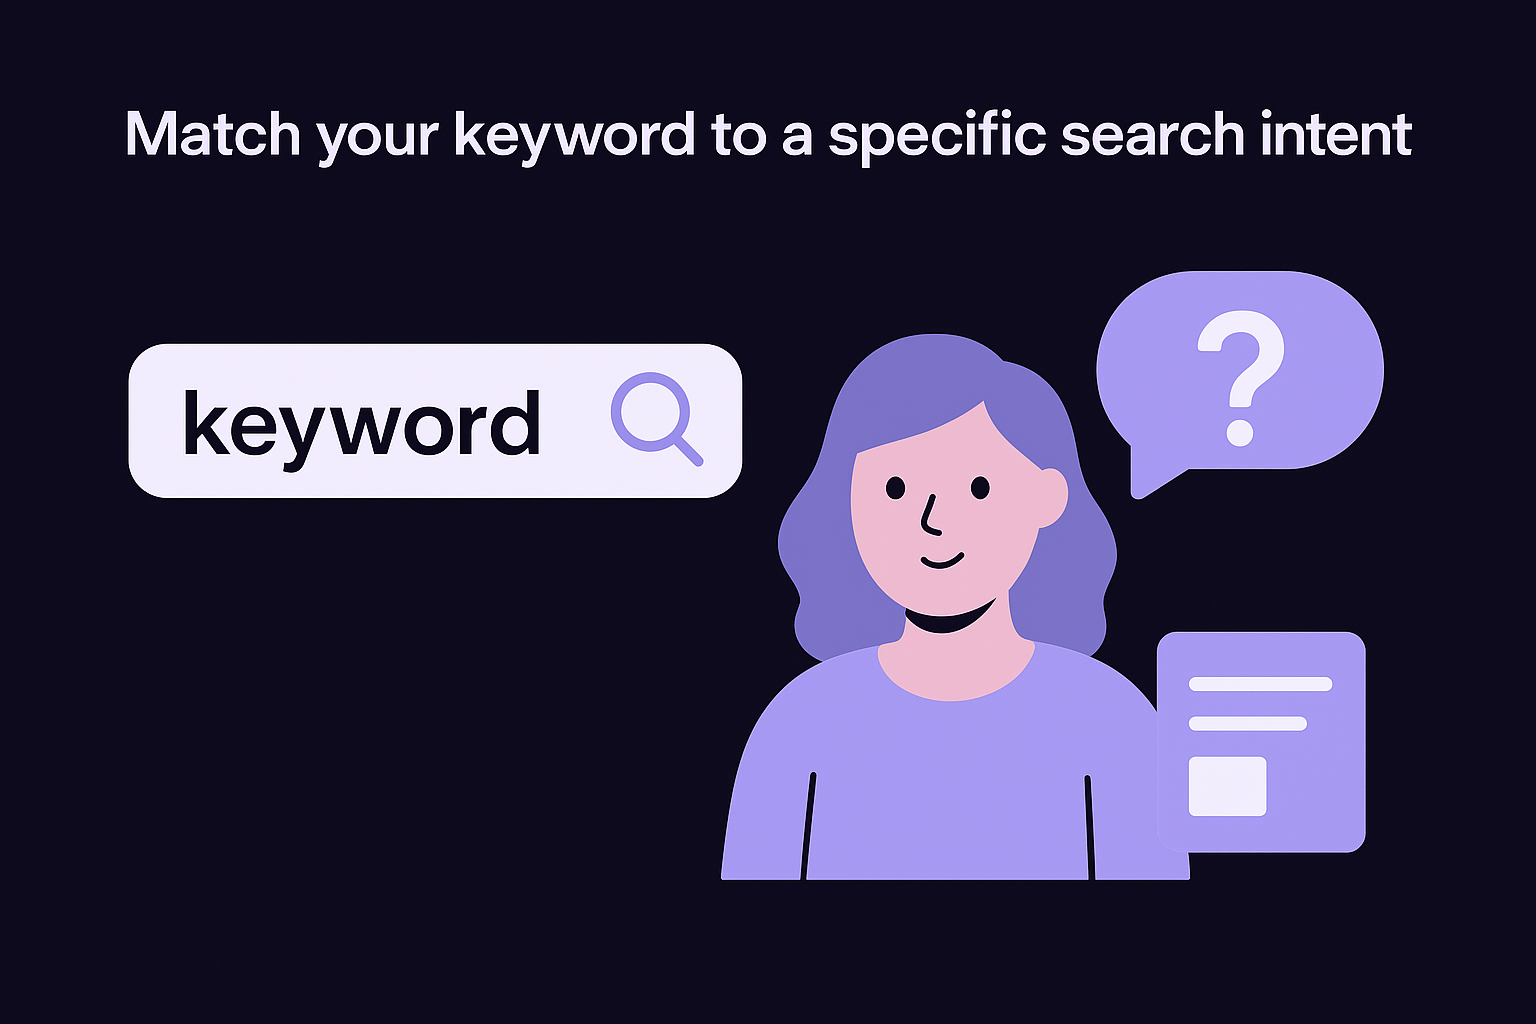
If the top ten results for your target keyword are all product pages and you publish a blog post, you are building the wrong page type for that query.
Here is a breakdown of intent types and the page formats that match each one:
| Intent type | What the searcher wants | Best page format |
|---|---|---|
| Informational | Learn something | Blog post, guide, how-to |
| Navigational | Find a specific site or page | Homepage, brand page |
| Commercial | Compare options before buying | Review, comparison article |
| Transactional | Buy, sign up, or download now | Product page, landing page |
Validate your keyword before you commit
Once you identify a keyword that fits your content type, check search volume and keyword difficulty before you invest time optimizing for it. A keyword with strong volume but extreme competition can take years to crack. A lower-volume keyword with manageable competition can drive consistent traffic within weeks, especially if your site is newer.
Google Search Console shows you which queries already send visitors to your site. Those existing terms often reveal lower-competition variations worth targeting with dedicated pages. For brand-new pages, look for keywords where the current top results are thin, outdated, or missing a complete answer to the full query. That gap is your opportunity.
A solid keyword selection checks three boxes: monthly search volume above 100, keyword difficulty below 40, and search results dominated by your intended page format. Confirm all three before you move to the outline.
Step 2. Plan a page outline that wins
A strong outline acts as a blueprint for your entire page before you write a single sentence of body content. Most beginners skip this step and end up with pages that wander across a topic loosely rather than covering it completely. Spending ten minutes on structure saves hours of editing later and gives your page a clear topical hierarchy that search engines can parse efficiently. An outline also prevents the common mistake of burying critical information below less important content.
Study the top-ranking pages first
Open the top five results for your target keyword and scan their heading structure and section order. You are not copying their content; you are identifying what topics the searcher expects to find covered on a page like yours. If every top result includes a dedicated section on setup, common errors, and next steps, those subjects belong in your outline too. Any topic you skip signals to Google that your page is less thorough than the existing competition.
Take note of the specific questions those pages answer under each heading. Real reader questions buried in top-ranking content reveal what the audience actually needs, not just what you assume they want. Google's "People also ask" box reinforces this: every question that appears there is a potential heading opportunity worth including in your outline if it fits the page's search intent.
The goal is to build an outline that covers everything the top pages cover, plus at least one angle or depth they missed.
Build your outline around the reader's journey
Map your headings to the logical progression of the reader's understanding, moving from basic framing at the top to specific how-to steps in the middle, then closing with next actions. This flow keeps readers engaged longer, which signals to Google that your content fully satisfies the query. Here is a reusable outline template you can apply to any how-to page covered in this on-page seo guide:
H1: [Primary keyword + benefit or scope]
  H2: What [topic] is (and why it matters)
  H2: Step 1. [First action]
    H3: [Sub-action or deeper explanation]
    H3: [Example or common mistake]
  H2: Step 2. [Second action]
    H3: [Sub-action or related question]
  H2: [Advanced tip or common pitfall]
  H2: Next steps
Each H2 should represent a distinct subtopic, and each H3 should add depth to its parent without veering into an unrelated area. Keep your draft outline to the minimum sections the reader genuinely needs, then expand only when a coverage gap becomes obvious during the writing stage.
Step 3. Write helpful, original main content
Your outline gives you the structure; now the content needs to deliver real value on every point you promised to cover. Writing helpful content means going beyond restating what other pages already say. Every paragraph should either answer a specific question, demonstrate a process with a concrete example, or share an insight the reader cannot get from the top three results alone. This is the standard Google holds pages to, and it is the core principle behind every recommendation in this on-page seo guide.
Focus on depth, not word count
Search engines do not reward length for its own sake. They reward comprehensive coverage of the topic a reader came to understand. A 600-word page that fully answers a focused question will outperform a 3,000-word page that circles the same basic points repeatedly without adding substance.
Write to satisfy the reader's question completely, then stop, not to hit an arbitrary word count.
Before you write each section, ask yourself what the reader still does not understand after reading the competing pages. That knowledge gap is where your original contribution lives. Use concrete examples, real numbers, and step-by-step breakdowns to fill those gaps. Vague explanations signal low expertise to both readers and search engines.
Structure each paragraph to scan well
Most readers scan before they commit to reading a full page. Keep each paragraph to four sentences or fewer and front-load the main point into the first sentence. If a reader skips everything except the first sentence of each paragraph, they should still walk away with a clear understanding of your page's core argument.
Use this formatting checklist for every section you write:
- Lead with the main point in the first sentence
- Support it with a specific example or data point in the second
- Clarify any nuance or common mistake in the third
- Connect to the next section or action in the fourth
Write with a consistent voice
Readers trust pages that sound like a real person wrote them for a specific audience, not pages that feel assembled from generic information pulled from multiple sources. Use your natural tone and vocabulary throughout the page. If your audience is small business owners, write the way you would explain the topic to one of them in conversation. Consistency in voice also makes your content easier for Google to associate with a recognizable author identity, which directly supports your E-E-A-T signals.
Step 4. Optimize titles, headings, and URL
Your title tag, heading structure, and URL are the three most visible on-page signals Google uses to understand what a page covers. Getting these right tells search engines exactly where to slot your content in search results, and it tells readers why they should click your result instead of the nine others on the page. This step is where most of the tangible ranking gains in any on-page seo guide actually come from.
Write a title tag that earns the click
Your title tag should lead with your primary keyword and stay under 60 characters so Google does not truncate it in search results. A title cut off mid-sentence loses both clarity and click-through rate. Include a number, a specific benefit, or a relevant year when it adds genuine value to the searcher's decision, but skip filler words that push your keyword further back in the tag.
The title tag is your first and sometimes only chance to tell a searcher your page answers their exact question.
Use this template for any informational or how-to page:
[Primary keyword]: [Specific benefit or scope] for [Audience]
Example: On-Page SEO Guide: Step-By-Step Checklist for Beginners
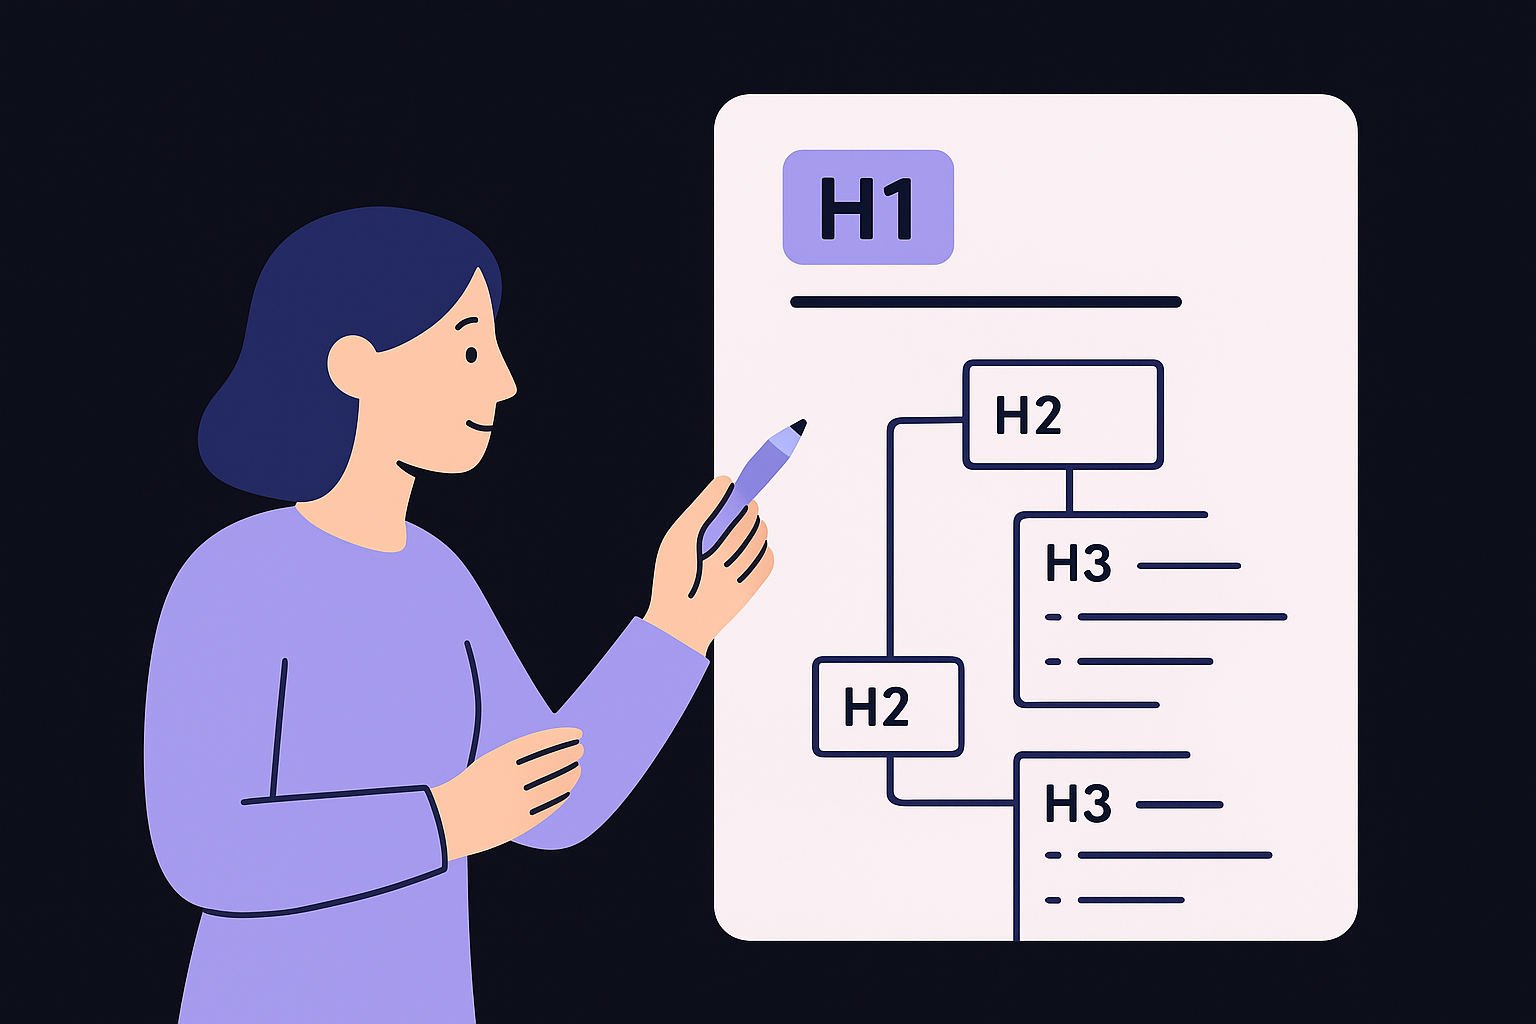
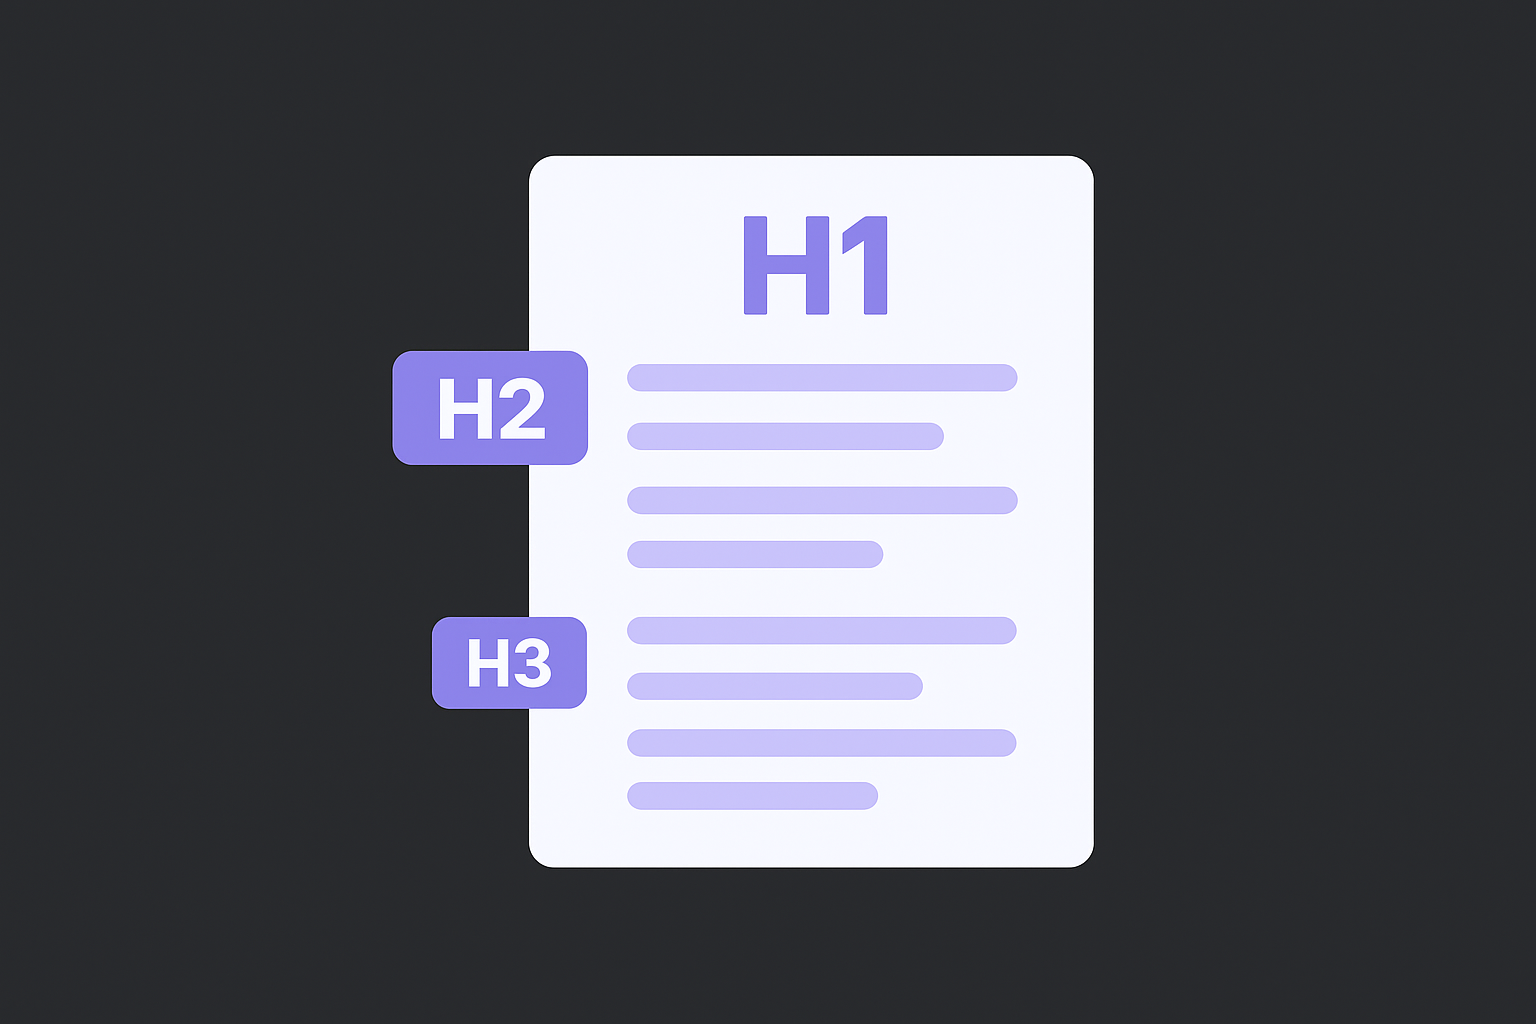
Structure headings with a clear hierarchy
Each page should have exactly one H1 tag that matches or closely mirrors your title tag, and H2 tags that divide the body into the major subtopics your outline identified. H3 tags go one level deeper, adding structure inside a complex section without introducing an entirely new major topic. Never skip heading levels, because a reader scanning your page will lose the logical thread.
Your headings should read like a standalone table of contents. If someone reads only your H2 and H3 headings in sequence, they should understand the full scope of your page before reading a single body paragraph. Place your primary keyword in the H1, include natural variations in two or three H2s, and keep the rest descriptive rather than keyword-heavy.
Keep your URL short and descriptive
A clean URL helps both search engines and real visitors understand the page before they land on it. Strip out stop words like "a," "the," and "of," and use hyphens to separate words rather than underscores or spaces. Your URL should reflect the primary keyword and nothing else.
Good:  /on-page-seo-guide
Avoid: /blog/2026/05/30/on-page-seo-guide-for-beginners-complete-checklist
Set your URL at publication and avoid changing it later, because redirects add friction and can cause you to lose link equity accumulated over time.
Step 5. Improve snippets with meta description
Your meta description does not directly influence your ranking position, but it has a significant impact on click-through rate, which sends Google a behavioral signal about how relevant your page is to a query. When someone scans a search results page, your meta description is the two-line pitch that decides whether they click your result or the one below it. Treat it like ad copy written for a reader who has not visited your site yet.
A well-written meta description converts searchers into visitors even before your content has a chance to prove itself.
Write a meta description that drives clicks
Every meta description you write should stay between 140 and 160 characters so Google displays it in full rather than cutting it off with an ellipsis. Front-load the most compelling information, because readers scan the first few words before deciding to read the rest. Include your primary keyword naturally in the description, since Google bolds matching words in snippets when they align with the searcher's query, which makes your result stand out visually on the page.
Use this template to build a strong meta description for any how-to page in this on-page seo guide:
[Action verb] + [primary benefit] + [proof or specificity] + [soft call to action].
Example: Learn how to optimize every page for higher rankings with a
step-by-step checklist built for beginners. Start improving your SEO today.
What to avoid in your meta description
The most common mistakes in meta descriptions are generic phrasing and keyword stuffing, both of which reduce click-through rate without offering any ranking benefit. Phrases like "this article covers everything you need to know" tell the reader nothing specific about what they will gain. Replace vague language with a concrete outcome or a specific number, such as the number of steps in your guide or the exact result the reader can expect after following your advice.
Avoid duplicating the same meta description across multiple pages on your site. Google can detect duplicate meta descriptions and may auto-generate its own version from your body content instead, which is often less compelling than something you wrote intentionally. Write a unique description for every page you publish, even if it takes an extra two minutes per page. That small investment compounds into meaningfully better click-through rates over time.
Step 6. Add internal and external links
Links on your page serve two purposes: they help search engines map the relationships between your content, and they help real readers find related information without bouncing back to Google to search again. Both internal links (pointing to other pages on your site) and external links (pointing to authoritative sources outside your site) signal that your page is well-connected and trustworthy. Skipping this step leaves ranking value on the table and makes your content feel isolated from the broader context it belongs to.
Use internal links to guide readers deeper
Every page you publish is an opportunity to pass ranking signals to other pages on your site while keeping readers engaged longer. When you mention a concept that another page on your site covers in detail, link to it directly in that sentence. This practice, called internal linking, distributes page authority across your site and tells Google which pages you consider most important.
Use this template to decide when and how to add internal links:
Trigger: A term or concept appears in your body content
  that another page on your site covers in depth.
Action: Hyperlink the descriptive anchor text in that sentence.
Example: "...which is why [keyword research] is the first step
  before you touch any element on the page."
Avoid: "click here" or "read more" as anchor text.
Aim for: 3 to 5 internal links per 1,000 words of body content.
Internal links with descriptive anchor text tell Google exactly what the destination page is about, which strengthens the ranking signals for both pages simultaneously.
Add external links to support your claims
When you cite a statistic, reference a study, or explain a concept that originates from a well-known authority, link to that source directly. Pointing to credible external sources like Google Search Central signals to both readers and search engines that your content is grounded in verifiable information rather than unsupported claims.
Keep your external links limited to genuinely authoritative sources such as government sites, academic institutions, and major platform documentation. One or two strong external links per major section is enough. Every follow link you add passes a small amount of your page's authority outward, so be selective. This on-page seo guide recommends opening external links in a new tab so readers stay on your page while the source loads, which you set with the target="_blank" attribute in your HTML.
Step 7. Optimize images for speed and search
Images are one of the most overlooked elements in any on-page seo guide, yet they affect both your rankings and your page load speed directly. A page that loads slowly because of uncompressed images will lose visitors before they read a single word, and Google factors that page experience signal into where it slots your content in search results. Treating image optimization as optional is a mistake that costs you traffic from two directions at once: slower load times hurt rankings, and missing alt text removes an entire category of search signals from your page.
Name and compress every image before you upload it
The file name you give an image before uploading it is one of the few signals Google has to understand what the image shows. A file named IMG_4823.jpg tells Google nothing. A file named on-page-seo-checklist-example.jpg immediately communicates the subject and context of the image. Use hyphens to separate words in every file name, keep the name concise, and include your primary keyword only when it genuinely describes the image.
Compress every image before it reaches your server. Tools built into your CMS, or free browser-based compressors, can reduce file size by 50 to 80 percent without any visible quality loss. Use the WebP format wherever your platform supports it, since WebP files are significantly smaller than JPEG or PNG at the same visual quality. Apply this naming and compression template before every upload:
File naming:  [descriptive-keyword-phrase].webp
Example:      title-tag-character-limit-example.webp
Avoid:        image1.jpg, screenshot.png, photo_final_v2.jpeg

Target size:  Under 100KB for most inline images
              Under 200KB for full-width hero images
Write alt text that describes the image accurately
Alt text serves two purposes: it tells screen readers what an image shows for accessibility, and it tells search engines how to index and rank your image in image search results. Write alt text as a plain, accurate description of what the image contains. If the image includes your target keyword naturally in the description, include it, but never force a keyword into alt text that does not describe the image accurately.
Descriptive alt text written for real users will always serve SEO better than alt text stuffed with keywords.
Keep alt text between 50 and 125 characters and skip filler phrases like "image of" or "photo showing," since screen readers already announce that context automatically. Every image on your page should have unique alt text that reflects its specific content.
Step 8. Handle technical basics and schema
On-page SEO does not end with your written content. A handful of technical elements sit at the page level and directly influence whether Google can crawl, understand, and display your page correctly in search results. These signals are invisible to the reader but carry real weight with search engines. Fixing them takes fewer than 15 minutes per page, and skipping them means leaving ranking potential untouched even after you have done everything else in this on-page seo guide correctly.
Fix core technical signals at the page level
Your page needs a canonical tag to tell Google which URL is the definitive version of your content when duplicate or near-duplicate versions exist. Without it, Google may split ranking signals across multiple URLs instead of consolidating them on the one you want indexed. Add the canonical tag inside your <head> element using this format:
<link rel="canonical" href="https://yourdomain.com/your-page-slug/" />
Confirm that your page loads over HTTPS, since Google treats secure pages as a baseline trust signal you can verify directly in your browser's address bar. Also check that your page is not accidentally blocked from crawling by reviewing your robots.txt file and confirming the page does not carry a noindex meta tag unless you intentionally want to exclude it from search results.
A single accidental noindex tag can remove an otherwise fully optimized page from Google's index entirely.
Add structured data to earn rich results
Schema markup is code you add to your page that tells Google exactly what type of content it contains, such as a how-to guide, a FAQ, or an article. Pages with valid schema are eligible for rich results in Google Search, which display additional visual elements like step lists or expanded question panels that increase your click-through rate without requiring a higher ranking position.
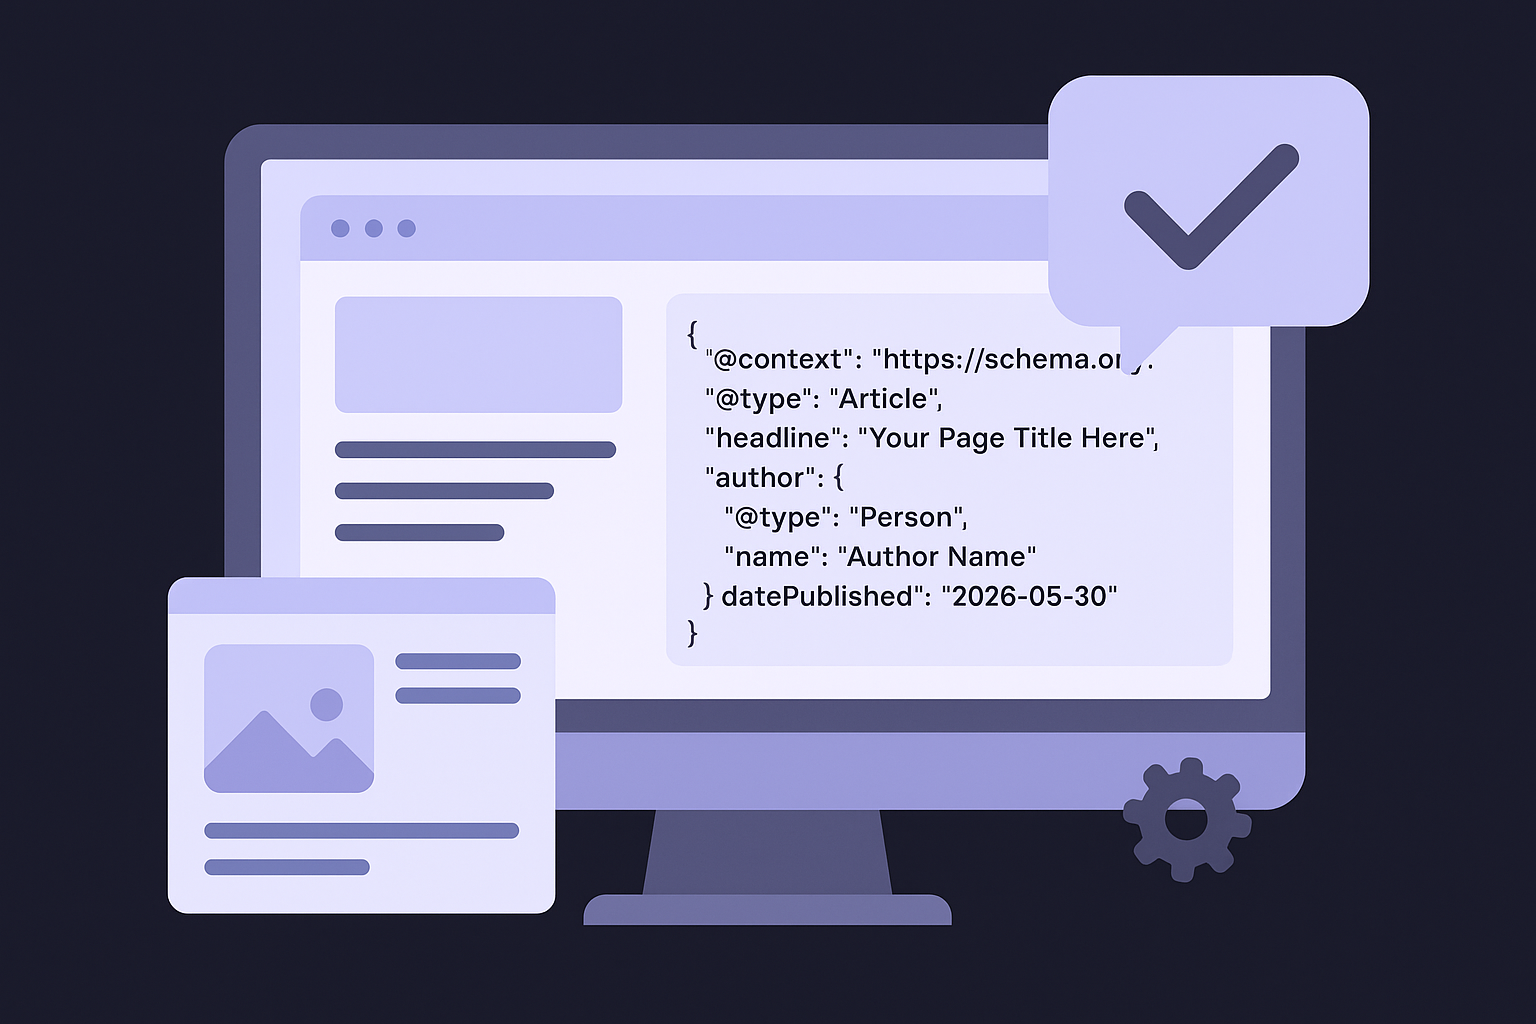
Add a basic Article schema to any blog post or guide using the JSON-LD format inside your <head> tag:
{
  "@context": "https://schema.org",
  "@type": "Article",
  "headline": "Your Page Title Here",
  "author": {
    "@type": "Person",
    "name": "Author Name"
  },
  "datePublished": "2026-05-30",
  "dateModified": "2026-05-30"
}
Validate your markup using Google's Rich Results Test before publishing. Errors in your structured data prevent Google from reading the schema and block you from earning the rich result formats your markup was designed to unlock.
Step 9. Refresh, track, and iterate
On-page SEO is not a one-time task you complete and forget. Pages that rank well today can slip tomorrow as competitors publish stronger content, search intent shifts, or Google updates its systems. Building a regular refresh cycle into your workflow keeps your content competitive and compounds the gains you made by following this on-page seo guide from the beginning. The habit of tracking, reviewing, and updating your pages is what separates sites that sustain their rankings from those that spike briefly and fade.
Consistent iteration on existing content almost always delivers more ranking improvement per hour than publishing a brand-new page from scratch.
Track performance before you refresh anything
You need real performance data before you decide what to change on a page. Open Google Search Console and pull the Performance report for your page. Focus on three numbers: average position, click-through rate, and total impressions over the past 90 days. These three metrics tell you whether your page is gaining visibility, losing ground, or attracting impressions without converting them into clicks.
Use this tracking template each time you review a page:
Page URL:
Review date:
Average position (last 90 days):
Click-through rate (last 90 days):
Total impressions (last 90 days):
Top queries driving impressions:
Queries with position 5-15 (quick-win targets):
Action triggered: [update title / expand content / add schema / other]
Know when to update a page
A page sitting at positions 5 to 15 for a high-value query is your highest-priority refresh target, because it already has enough relevance to rank near the top and a few targeted improvements can push it into the top three. If your click-through rate falls below 2 percent on a page with significant impressions, your title tag or meta description is the first thing to rewrite, since readers are seeing your result but choosing something else.
Set a quarterly review calendar for every published page. Check whether competing pages have added new sections, examples, or data that your page no longer covers. Any coverage gap that opened since your original publication date is an opportunity to update your content and signal to Google that your page has improved.
Apply updates systematically
When you refresh a page, change one element at a time so you can attribute any ranking movement to a specific update. Start with the title tag, then the meta description, then body content gaps, then internal links. Update the dateModified field in your schema markup after each substantive revision so Google recognizes the page has genuinely changed, not just received a cosmetic tweak.
Next steps
You now have a complete on-page seo guide you can apply to every page on your site, from choosing the right keyword in Step 1 to refreshing and tracking performance in Step 9. Each step builds on the previous one, so the best move is to pick one published page today and run it through the full checklist from start to finish. One fully optimized page delivers more value than ten pages that each received partial attention.
The challenge most site owners hit next is consistency. Doing this work manually for every page you publish takes real time, and that time compounds fast as your site grows. RankYak handles the entire on-page optimization process automatically, from keyword selection and content structure to internal linking and schema, so every article you publish is already built to rank. Start your free trial today and see what fully automated on-page SEO looks like in practice.

Get Google and ChatGPT traffic on autopilot.
Start today and generate your first article within 15 minutes.

SEO revenue calculator
How much revenue is your website leaving on the table?
Take a quick quiz and see exactly how much organic revenue you're missing out on, along with personalized tips to fix it.
-
4 questions, under 1 minute
-
See traffic and revenue potential
-
No email required
Free · takes 1 minute · no signup needed
Question 1 of 4
Question 2 of 4
Question 3 of 4
Question 4 of 4
Your SEO growth potential
Extra visitors / month
after 6-12 months of consistent publishing
Revenue potential / year
at your niche's avg. conversion rate
Articles needed (12 mo)
to reach this traffic level
ROI with RankYak
on the Professional plan ($129/mo)
To hit that number, you'd need to:
- Build a topical authority strategy for your niche
- Research keywords & map out a full topical cluster
- Write, edit & publish an article every single day
- Build backlinks to the articles you publish
RankYak handles all of this automatically, every day.
* Estimates based on industry averages. Results vary by niche, competition, and domain authority. Most SEO results become visible after 3-6 months of consistent publishing.